Punch Needle Pillow
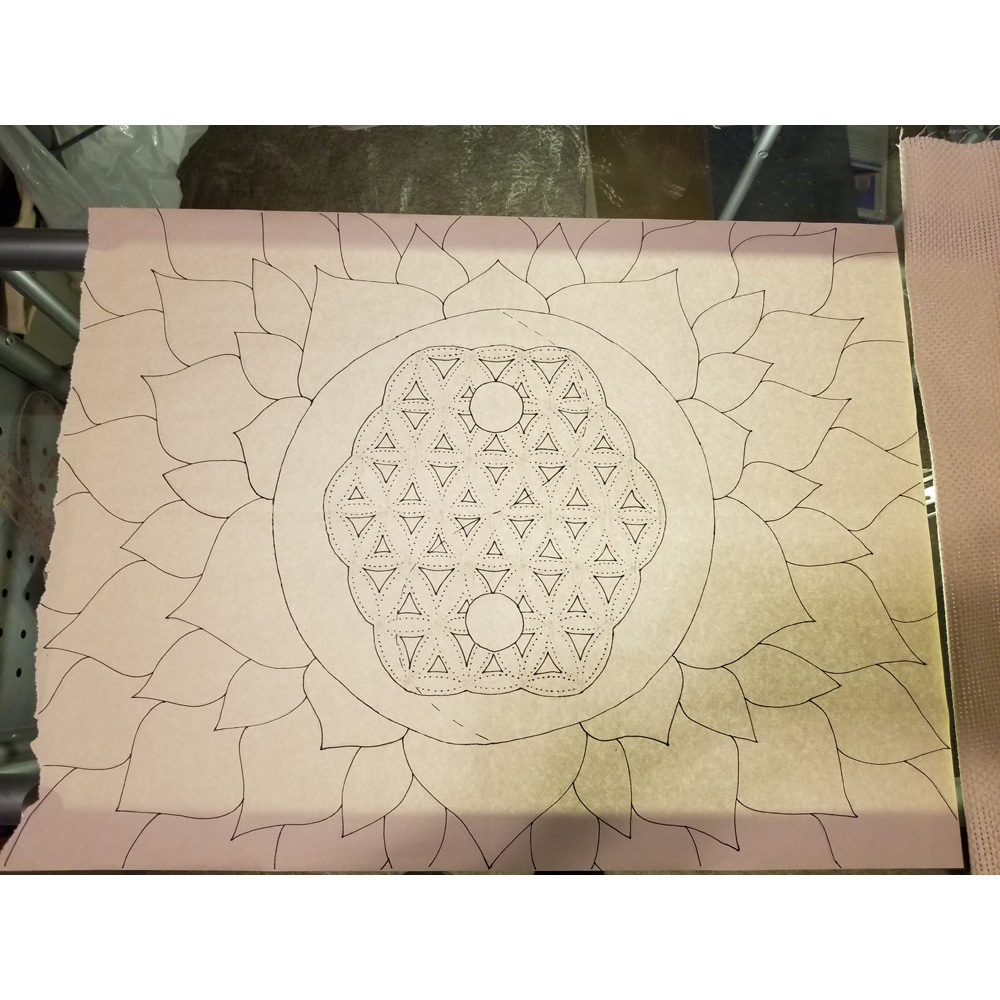
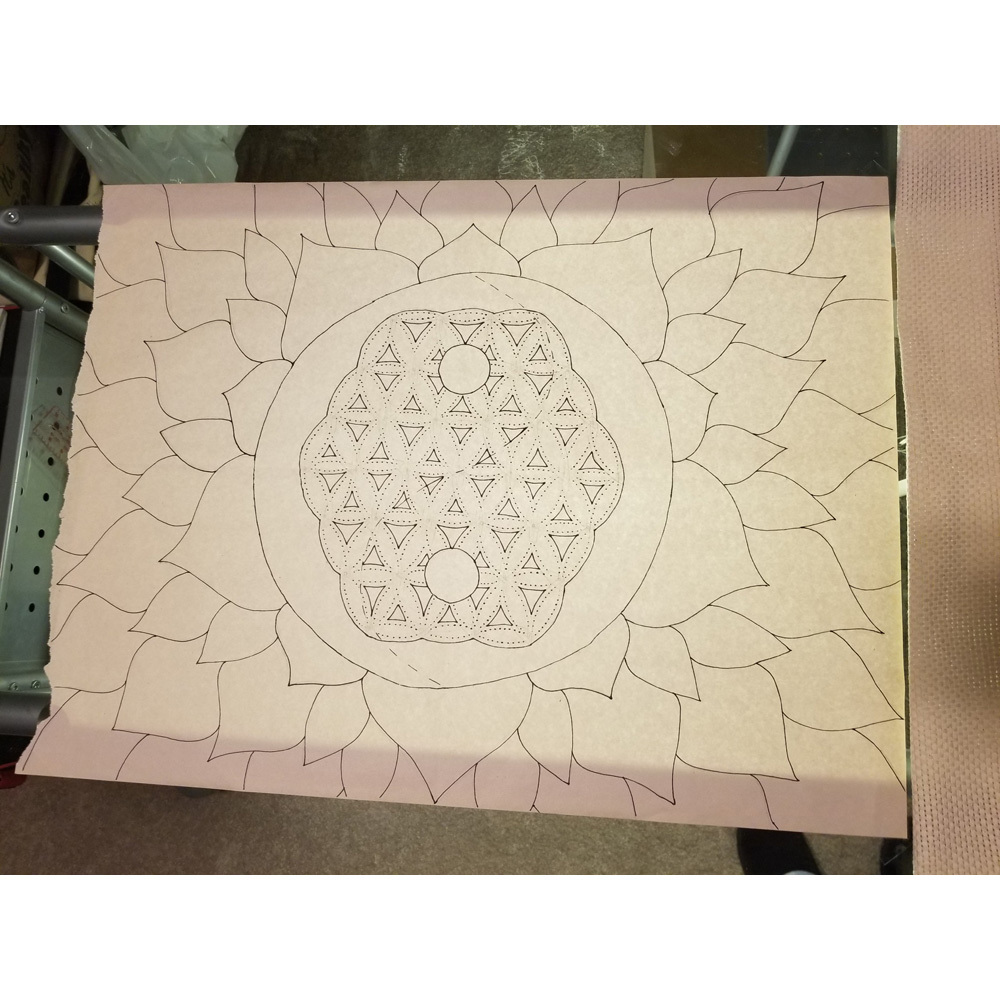
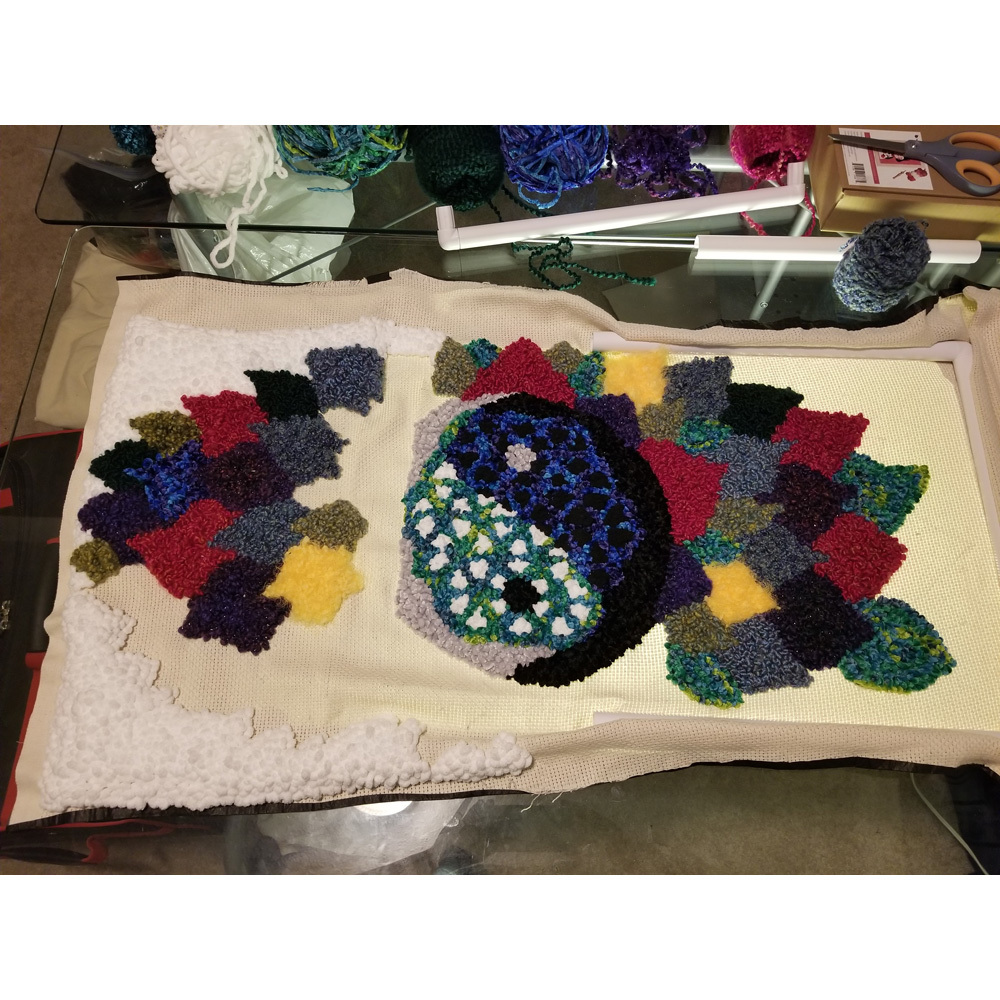
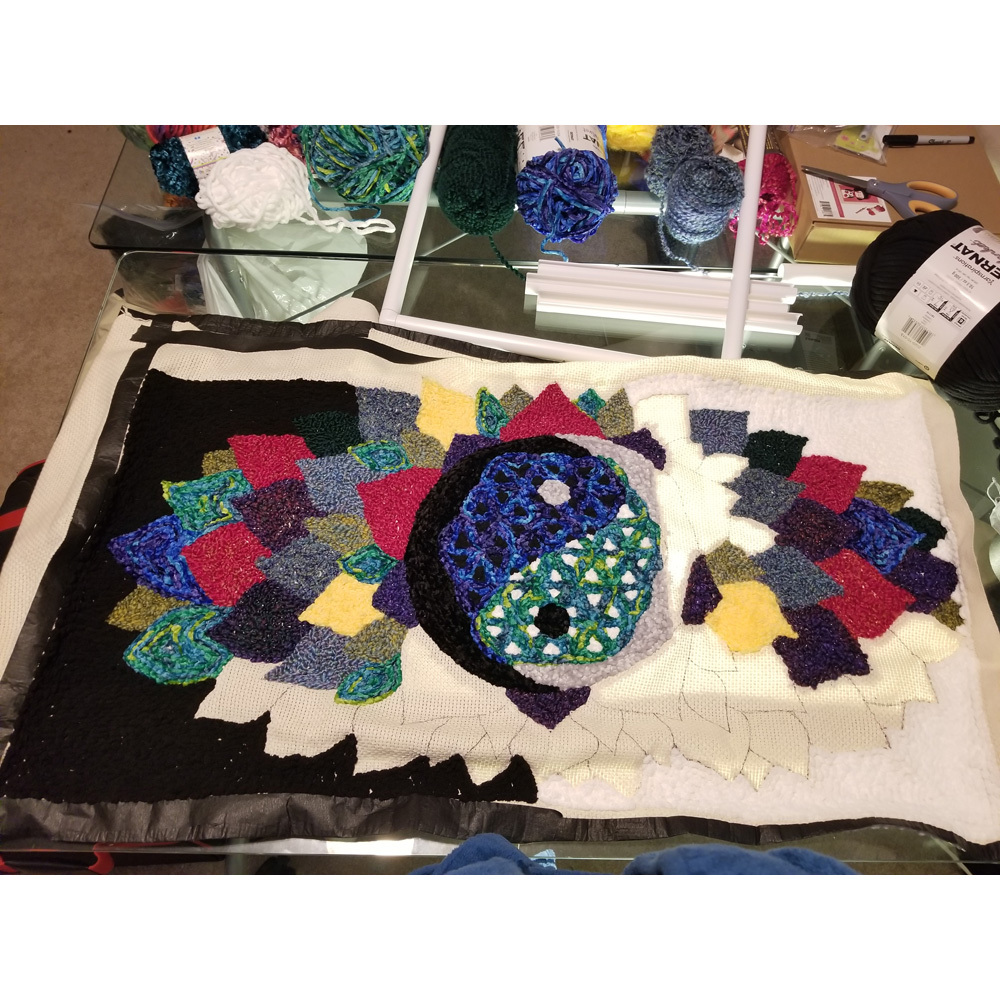
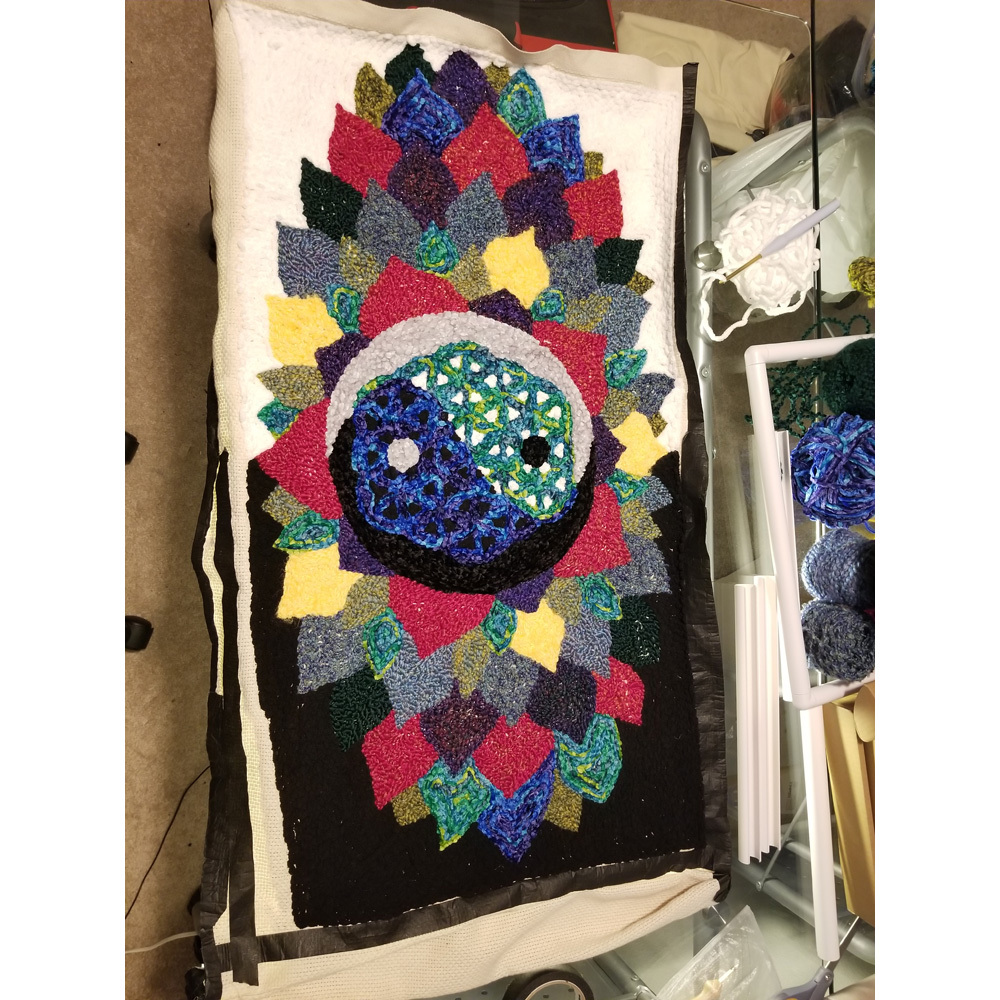
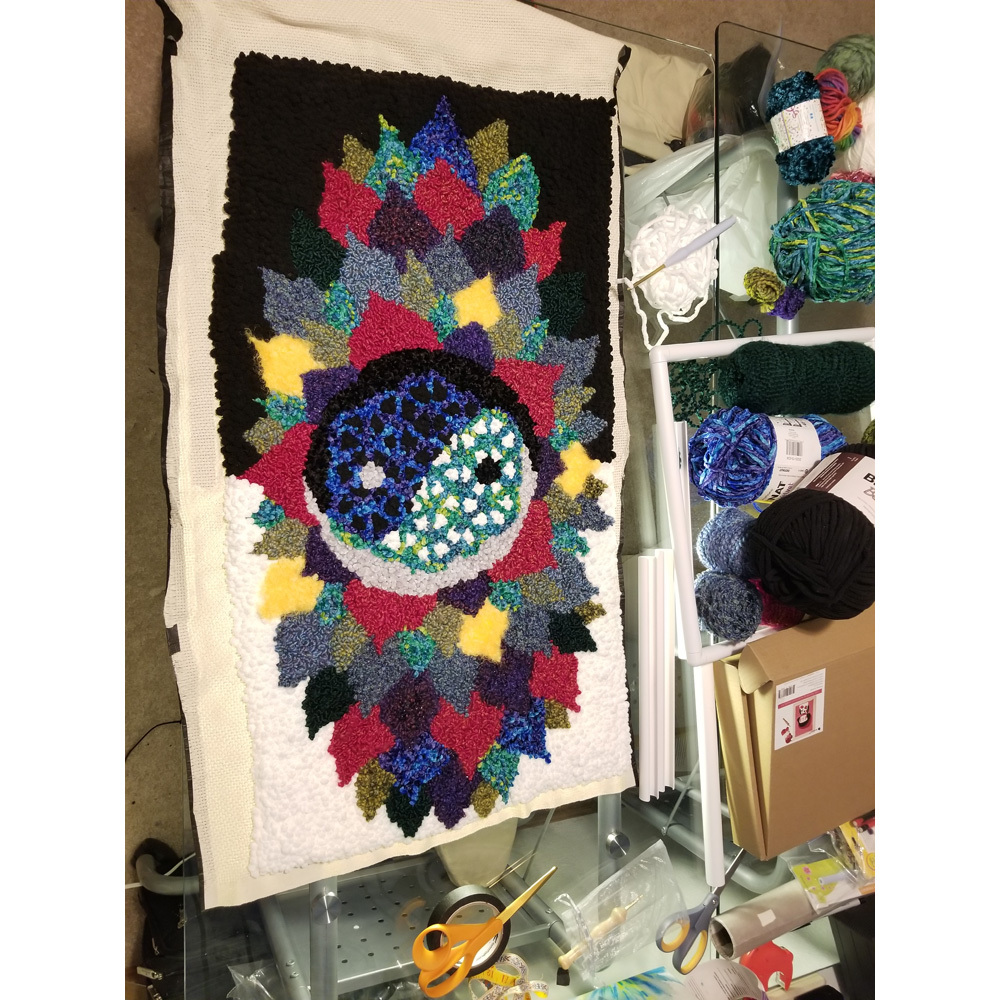
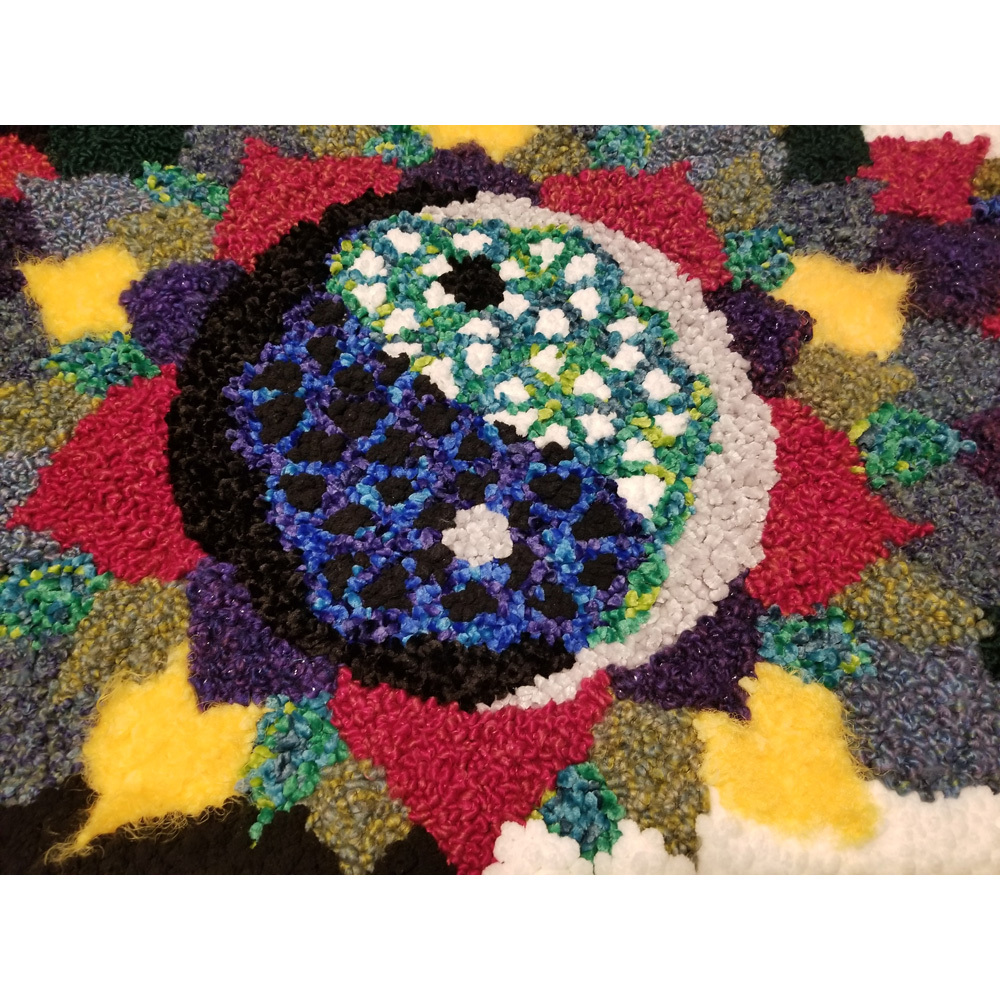
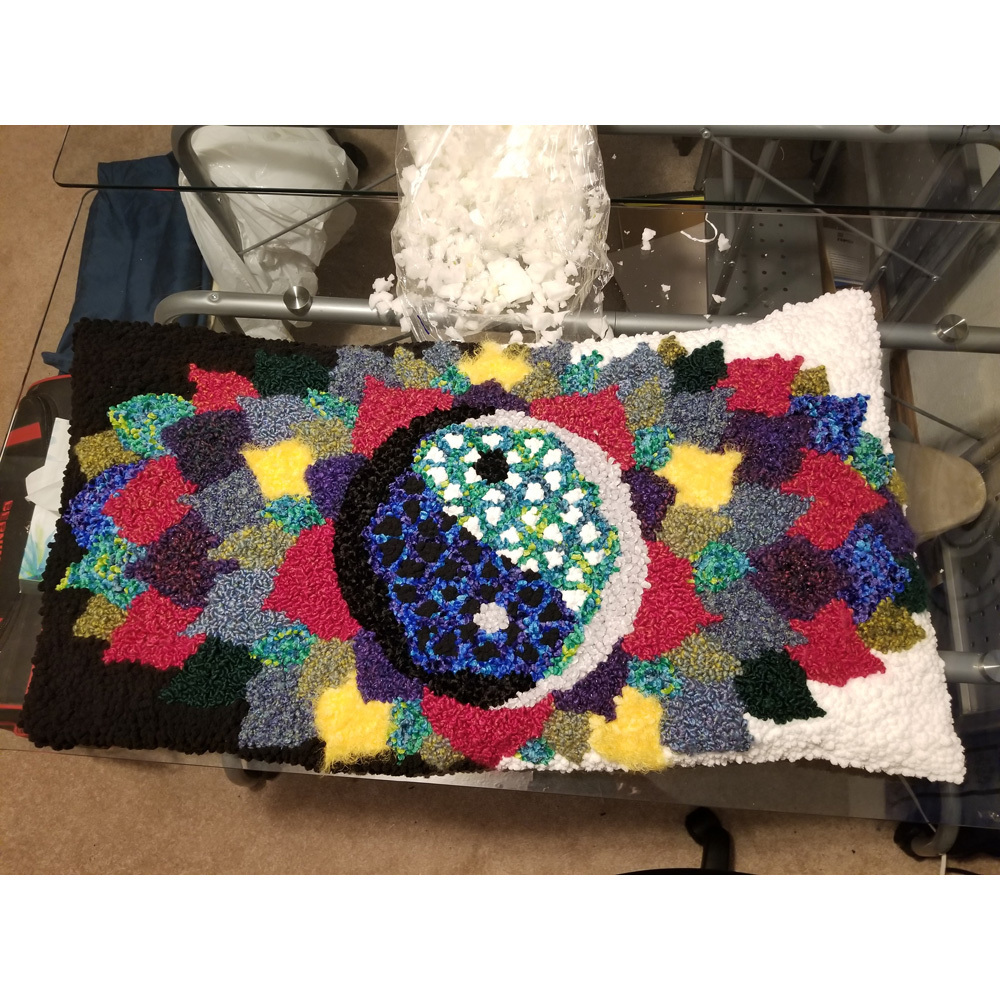
I have recently found a craft that has regained popularity from a previous era. The punch needle was used in 1880 Post Industrial Revolution, and is now trending as a fun craft that uses Monks Cloth and Yarn to paint a picture. I created a design for a punch needle pillow cover featuring a Yin & Yang Symbol coupled with the Flower of Life Symbol in the center of a Lotus Flower.
Materials
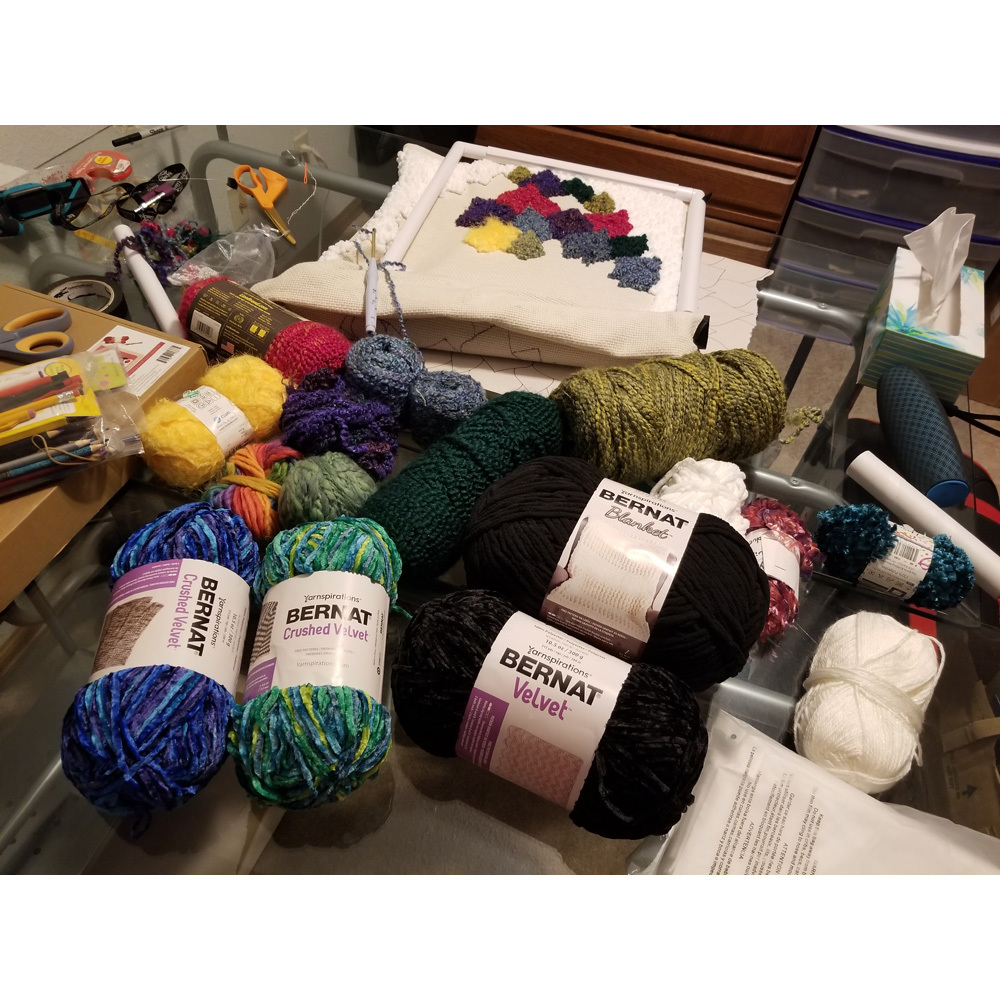
- Yarn
- Monks Cloth
- Punch Needle
- Threader
- Plastic Clip Frame
- Darning Needle
- Drafting Paper
- Pencil
- Ruler
- Pattern Curves
- Sharpie
- Scissors
- Light Table
- Tape
- Serger
- Needle
- Thread
Design to Product
Tips & Tricks
I’ve learned quite a bit about Punch Needle crafts over the past few weeks. I turned to youtube in the beginning, but I found that most videos were made to make this look easy. No one even mentions anything about how to keep your loops where you stich them. Someone did say to iron on a backing material to seal them in place when you are done, which is a interesting trick, but I choose not to do that when I made this pillow cover design.
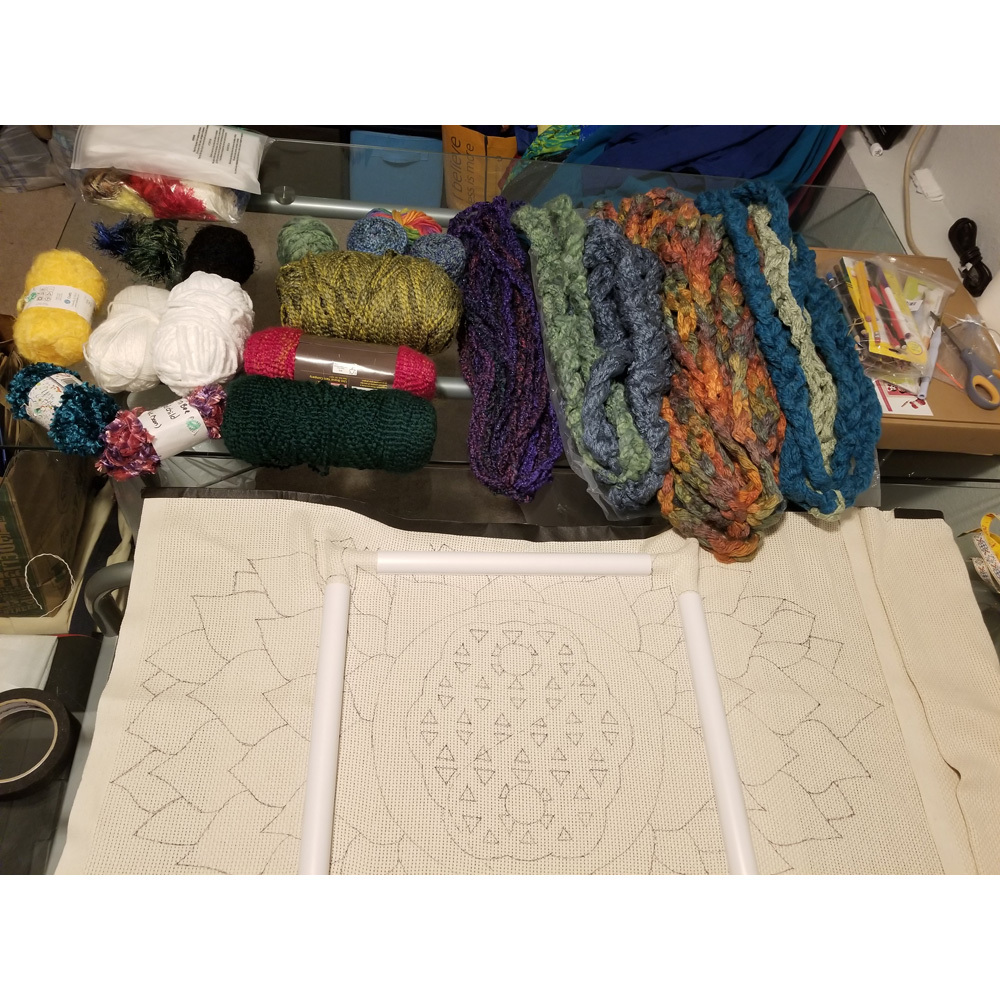
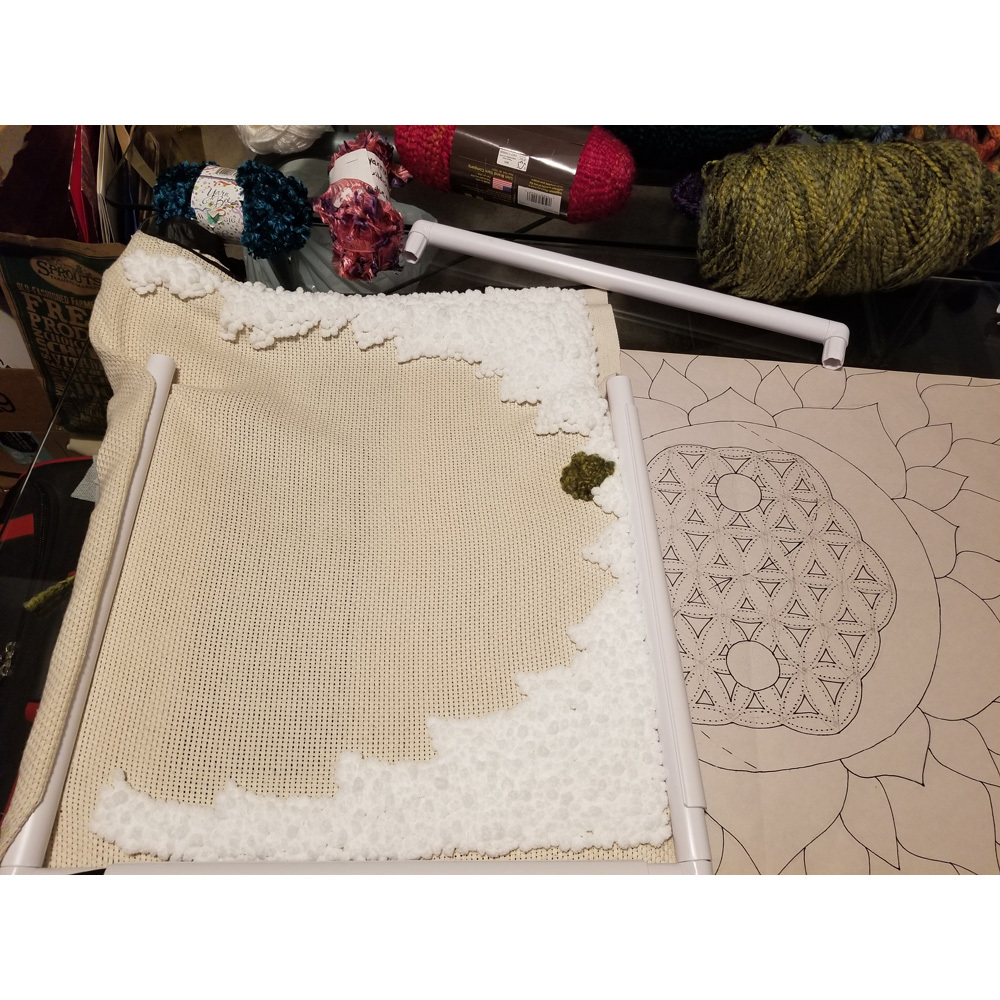
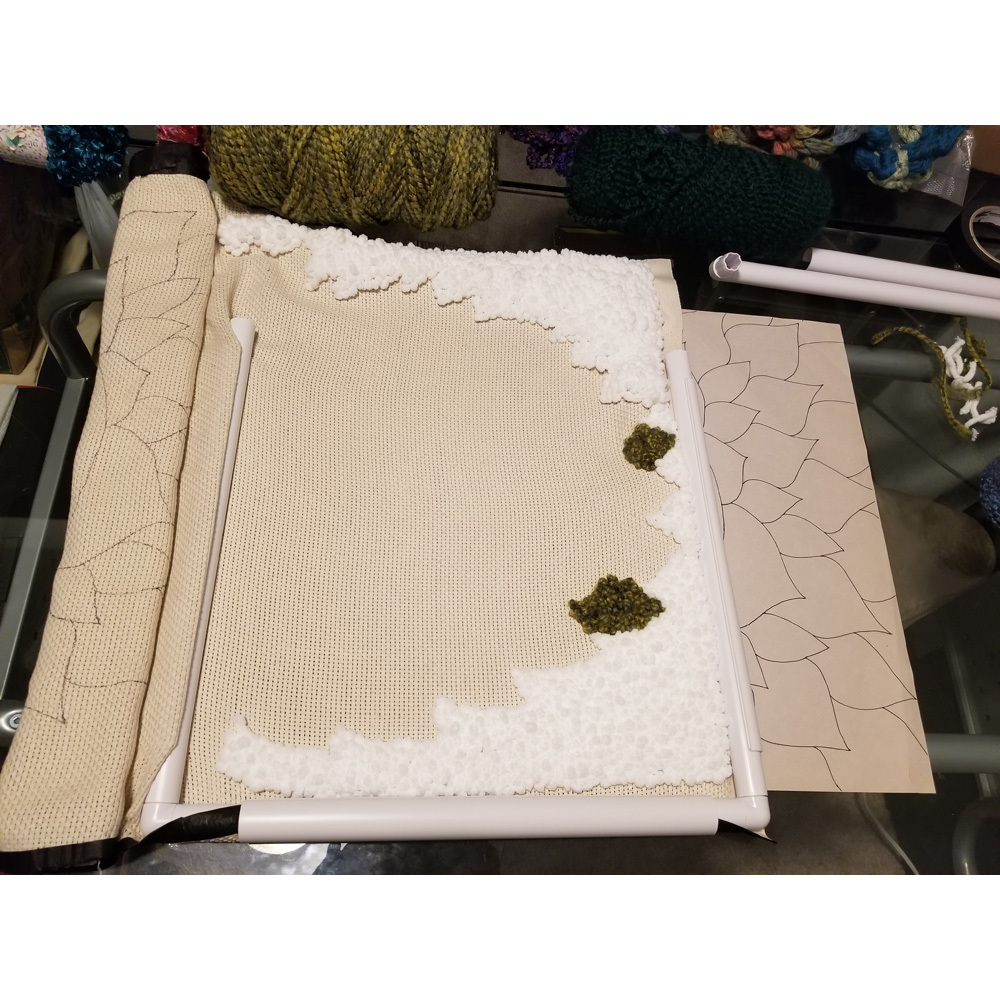
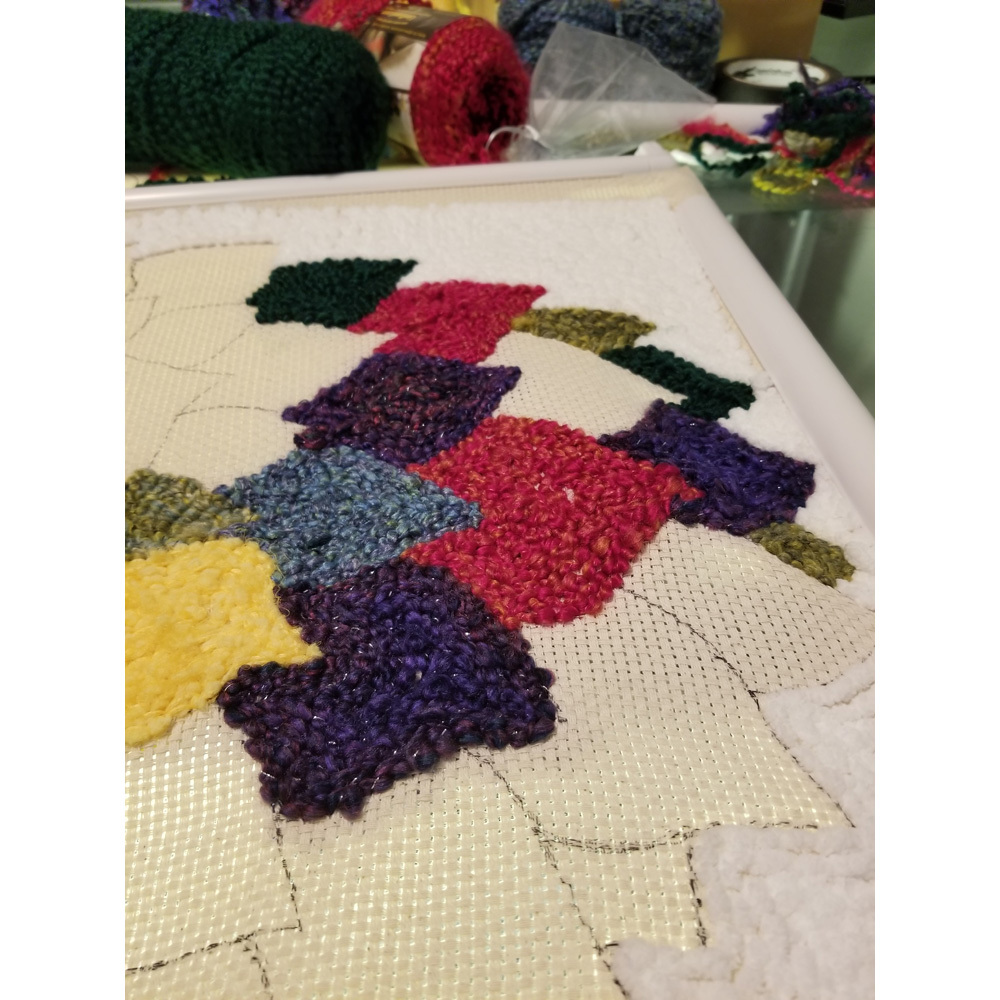
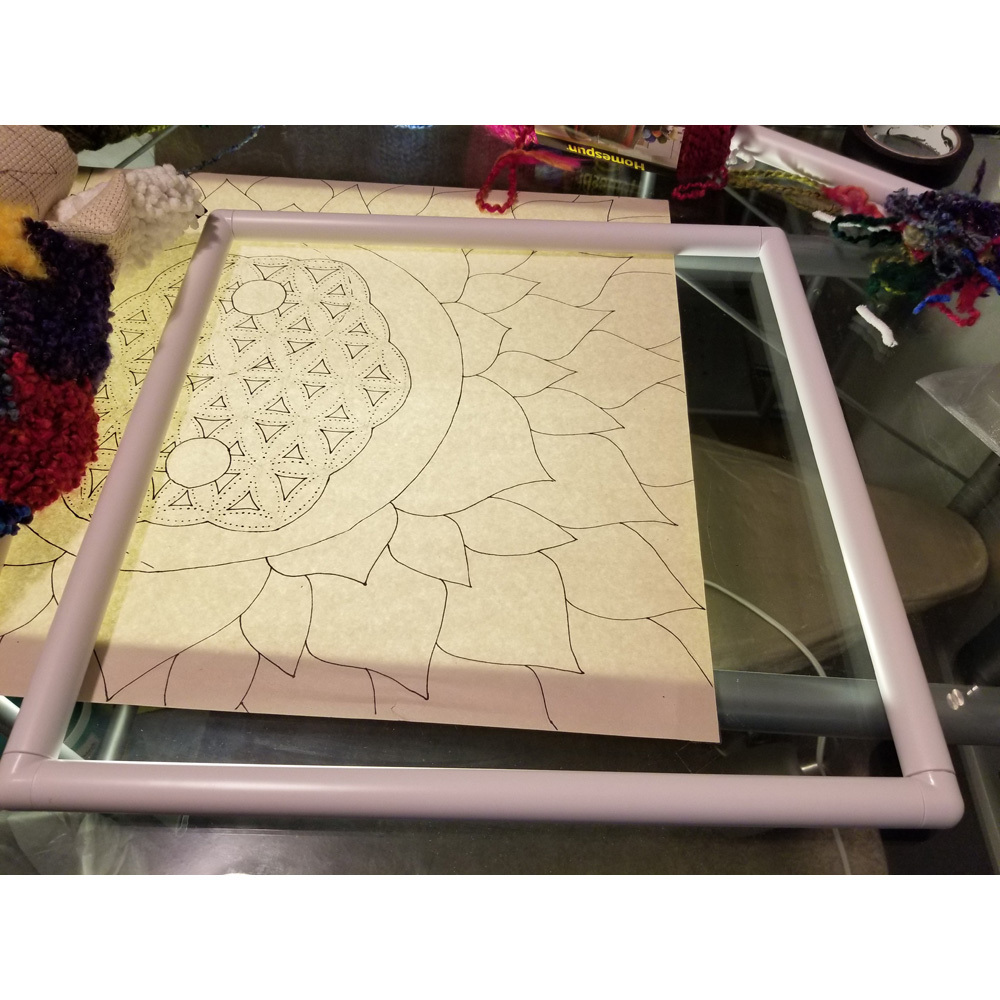
First thing I learned was to draft the design as I wanted it to appear on a separate piece of paper, ideally the same size as the project. My drafting paper was tall enough but not quite wide enough, but this was ok because the flower petals would be easy enough to draw on the monks cloth canvas. I’m a digital minded person so I used a vector outline I created to help me sketch the design I had in mind. It was also very helpful to use a ruler and pattern curves to get the proportions correct.
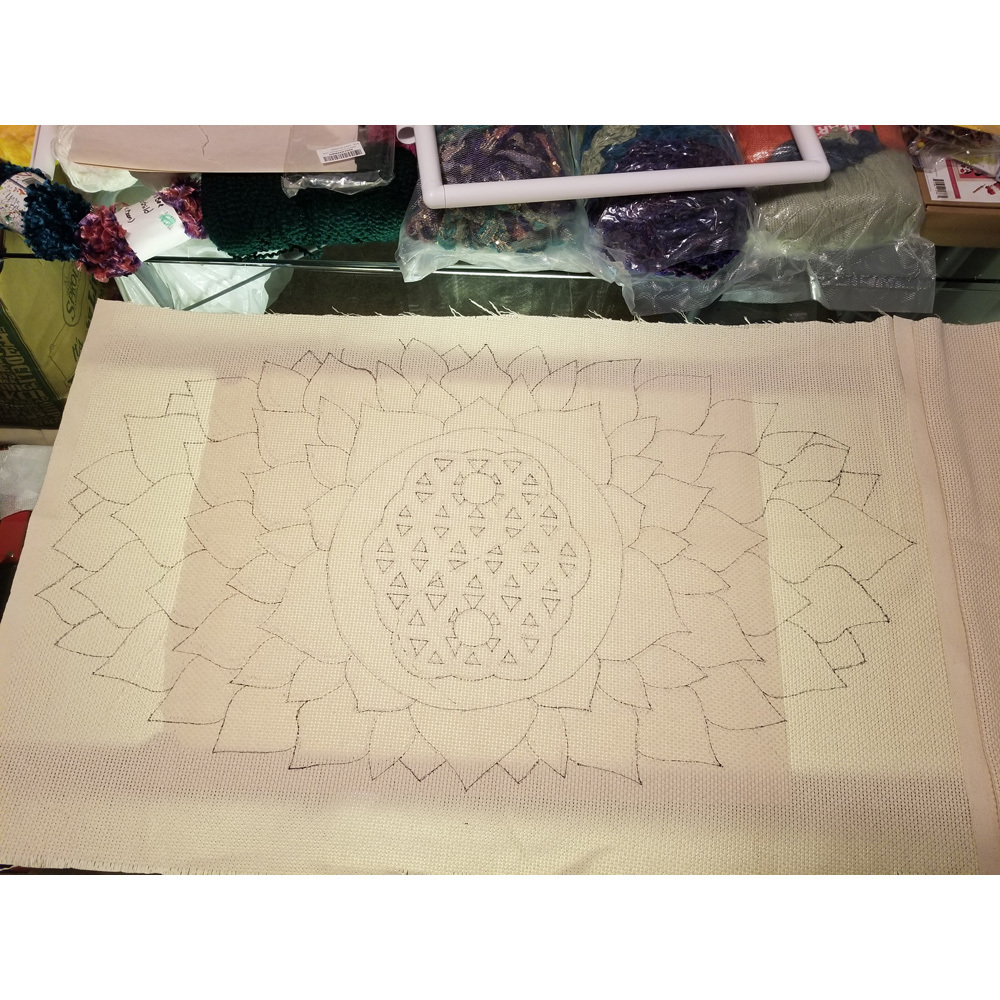
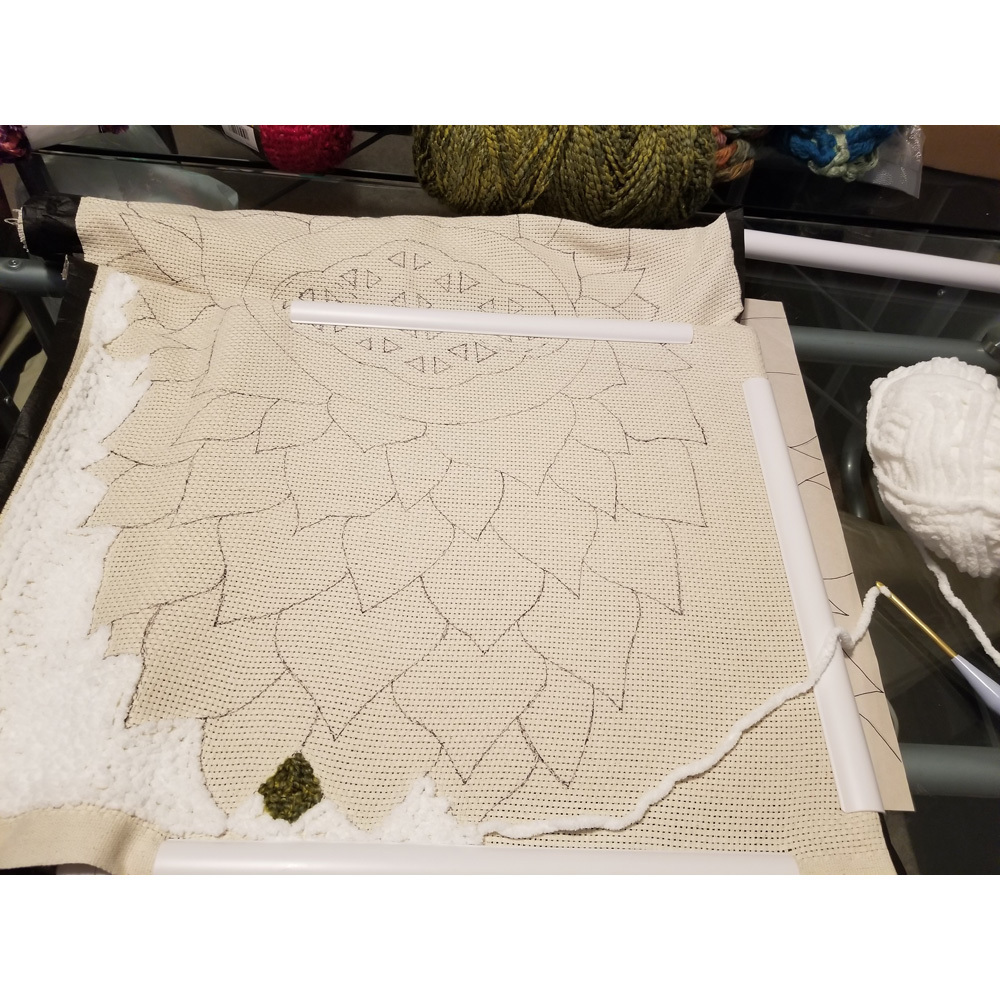
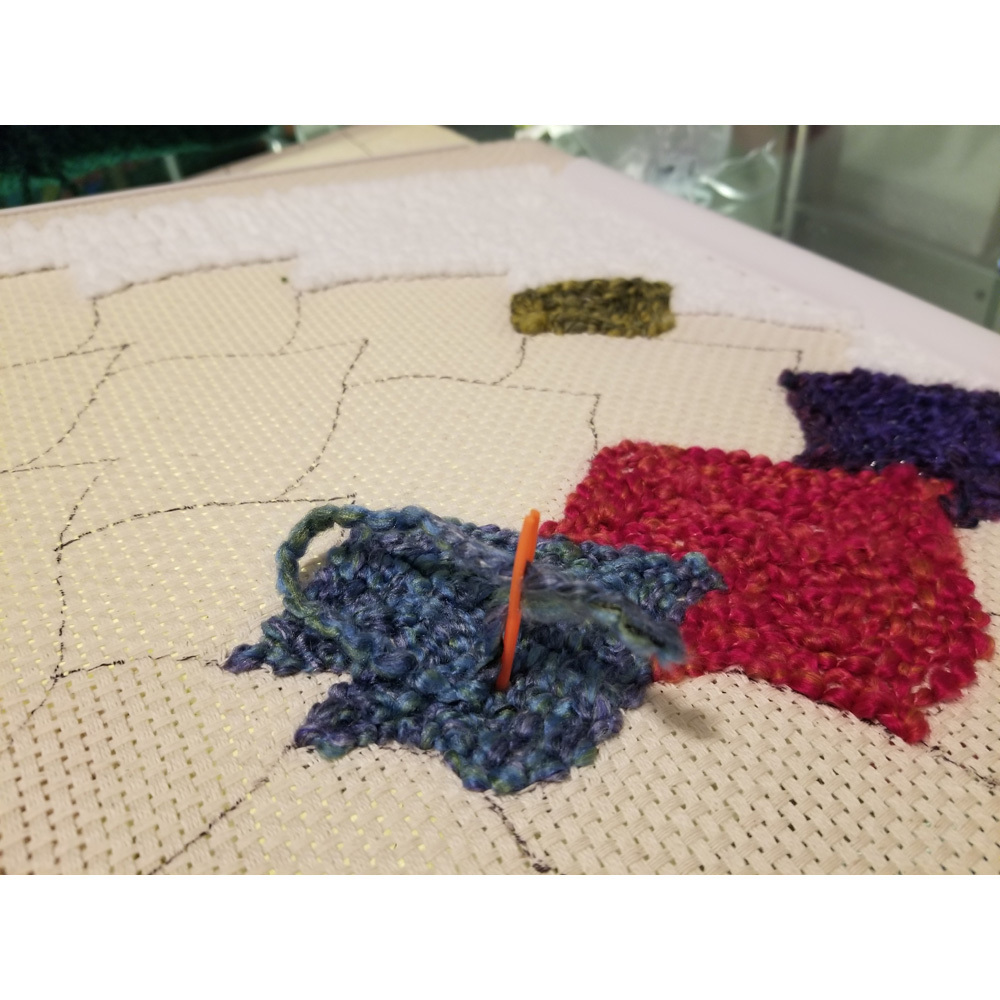
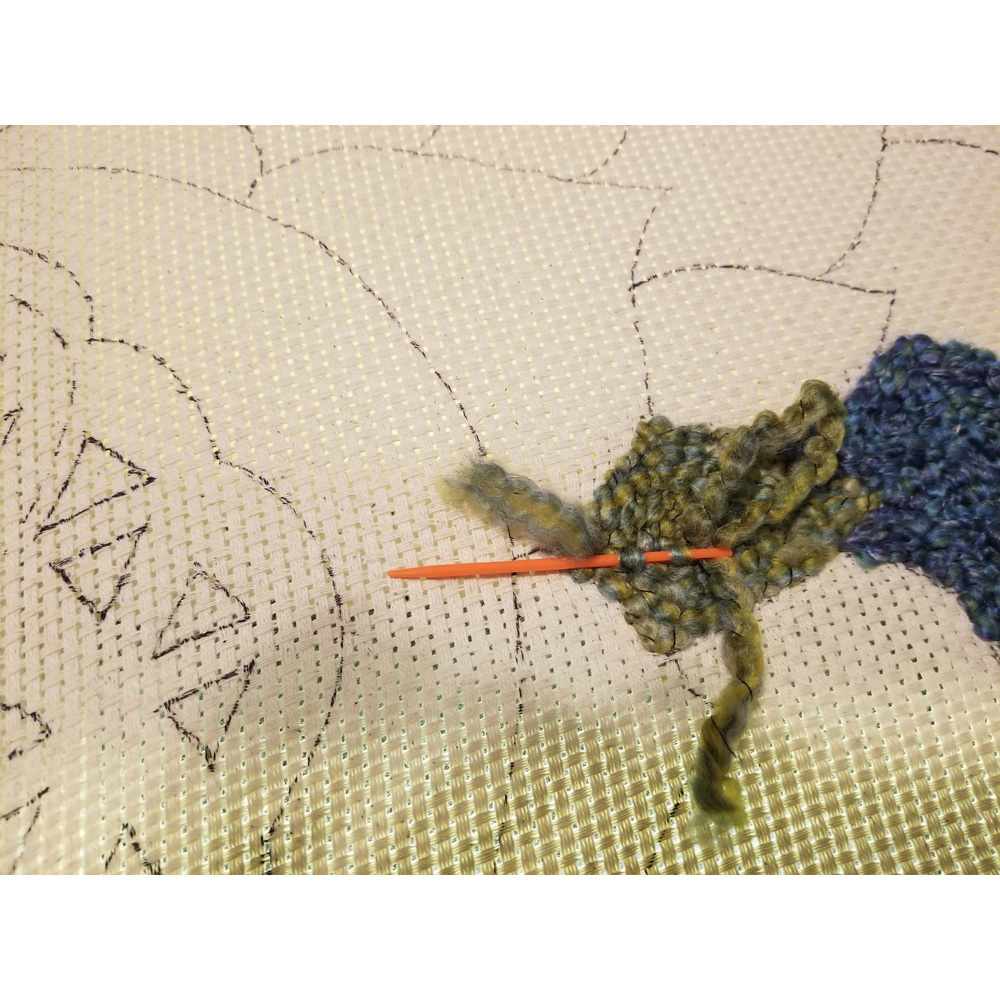
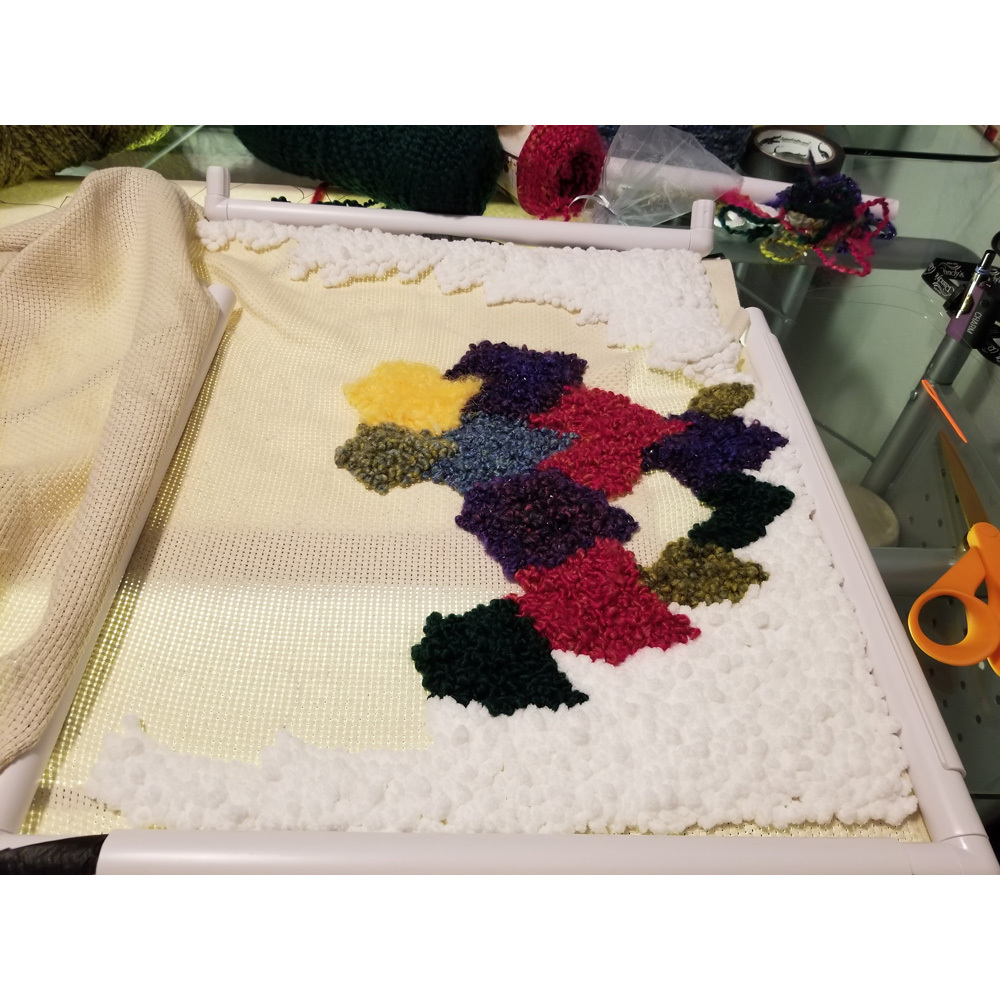
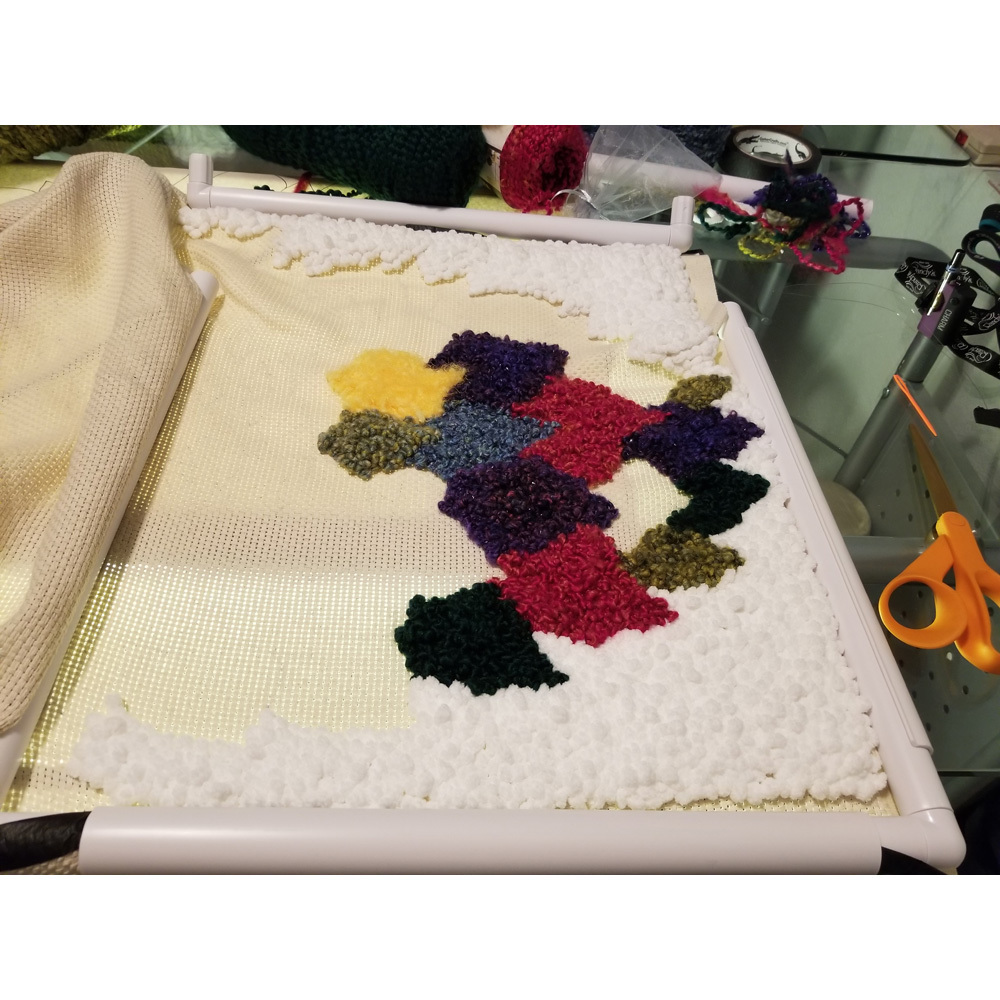
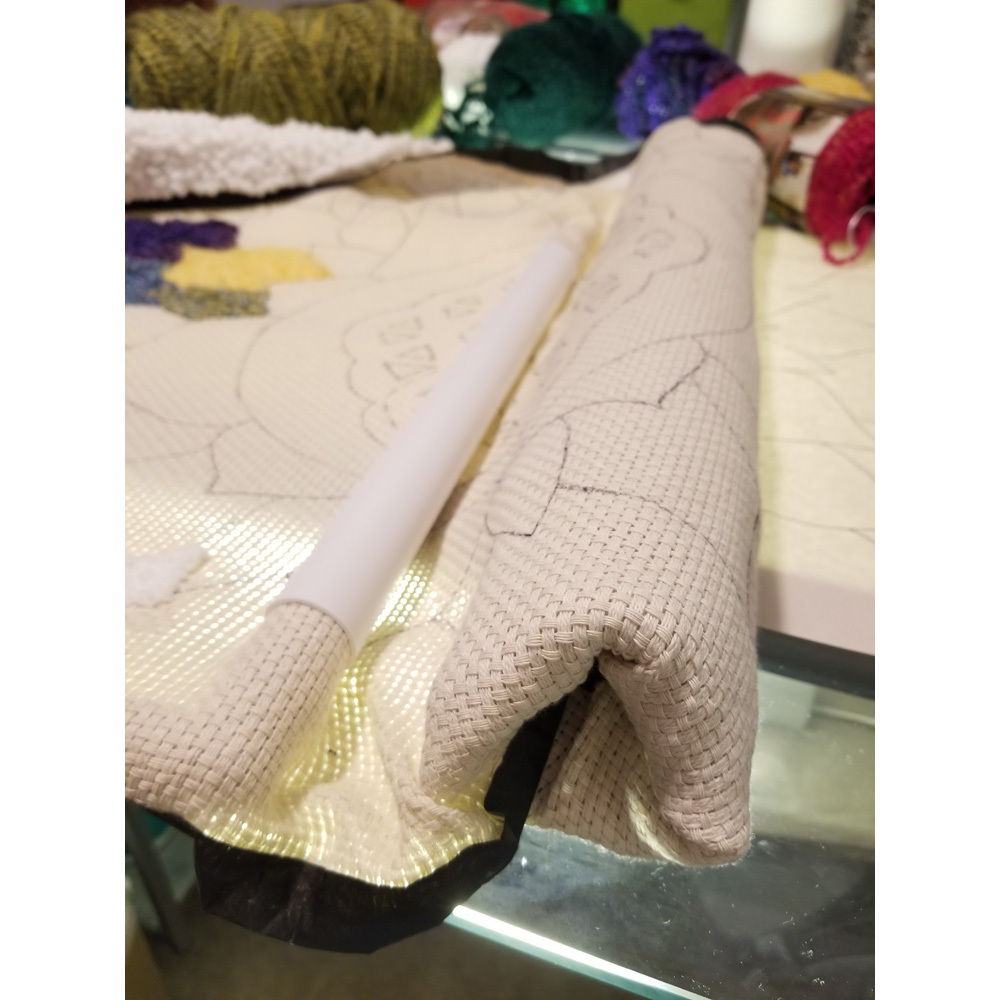
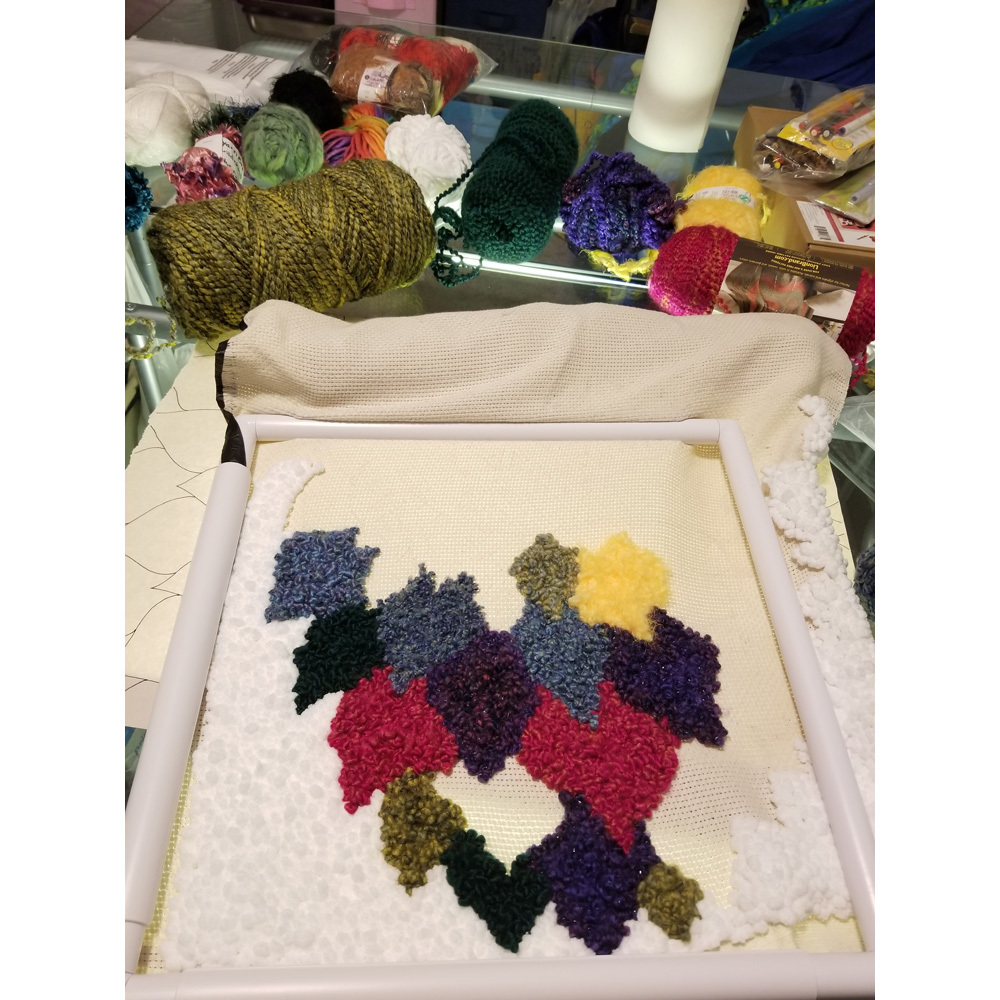
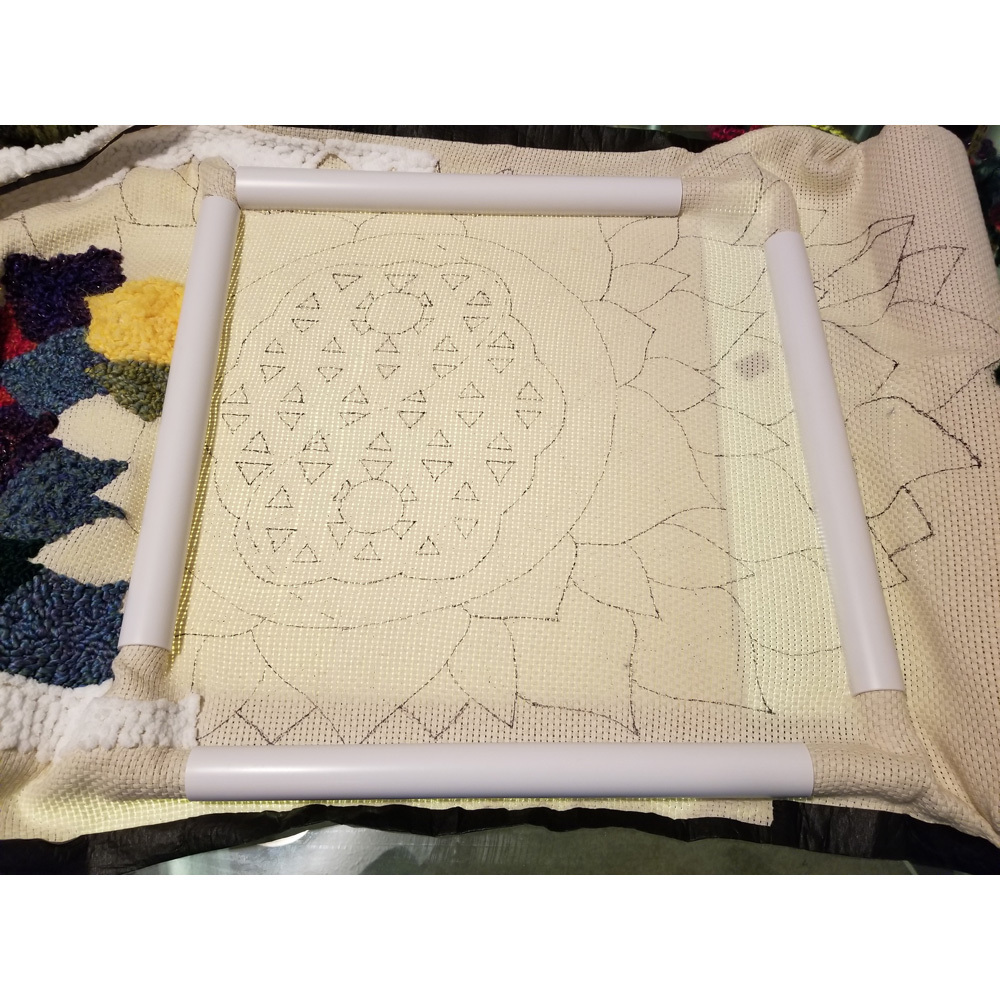
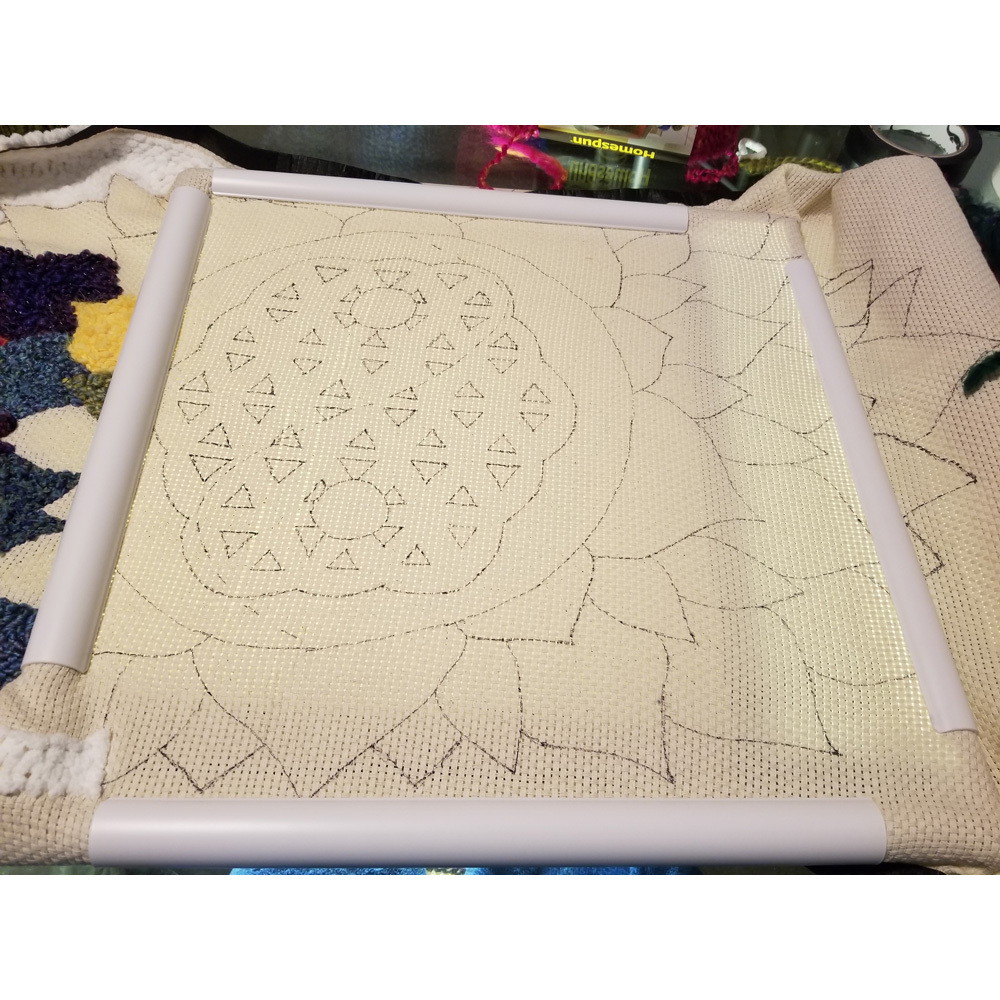
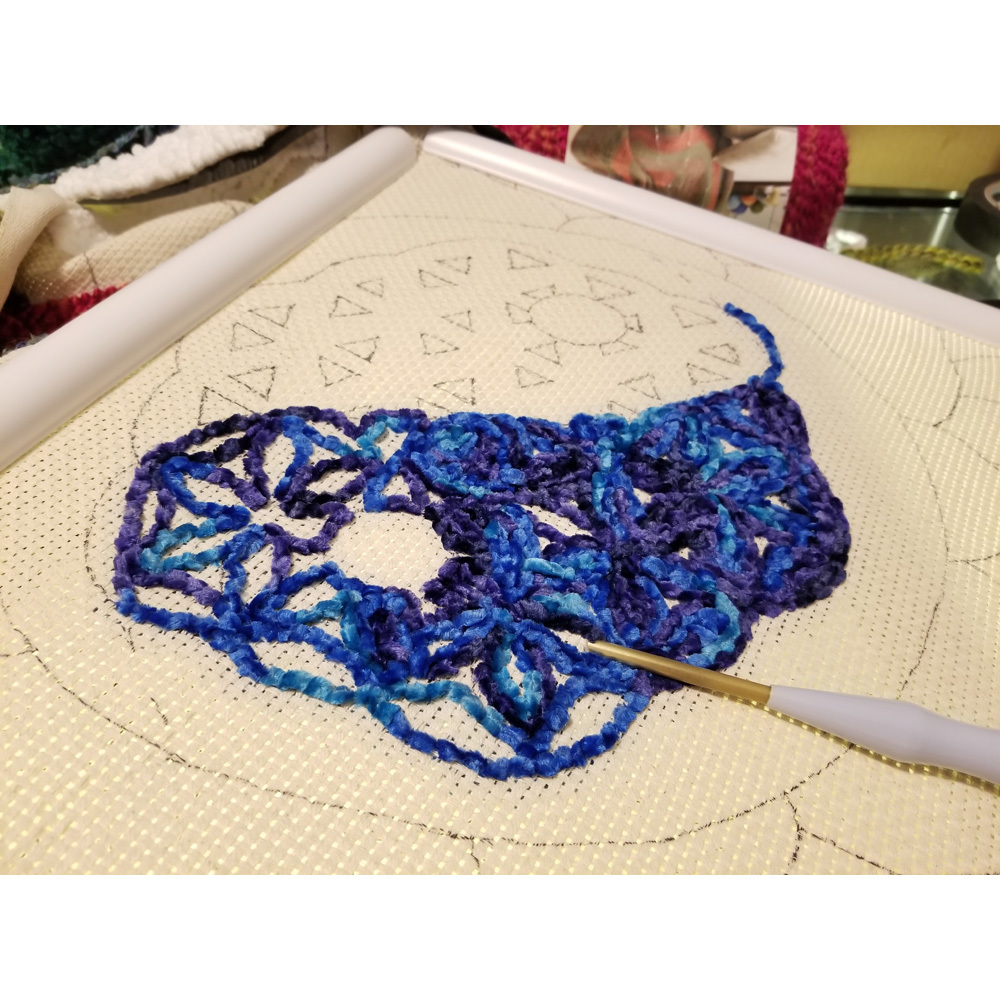
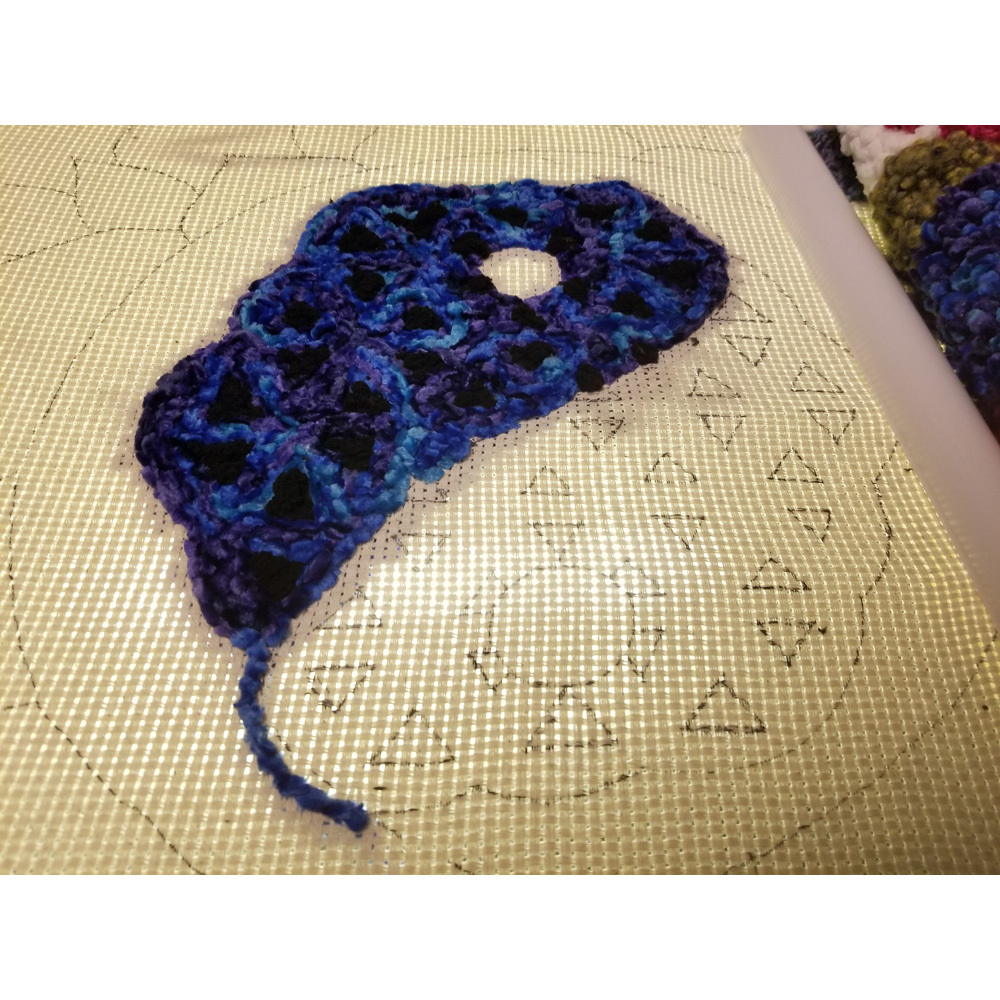
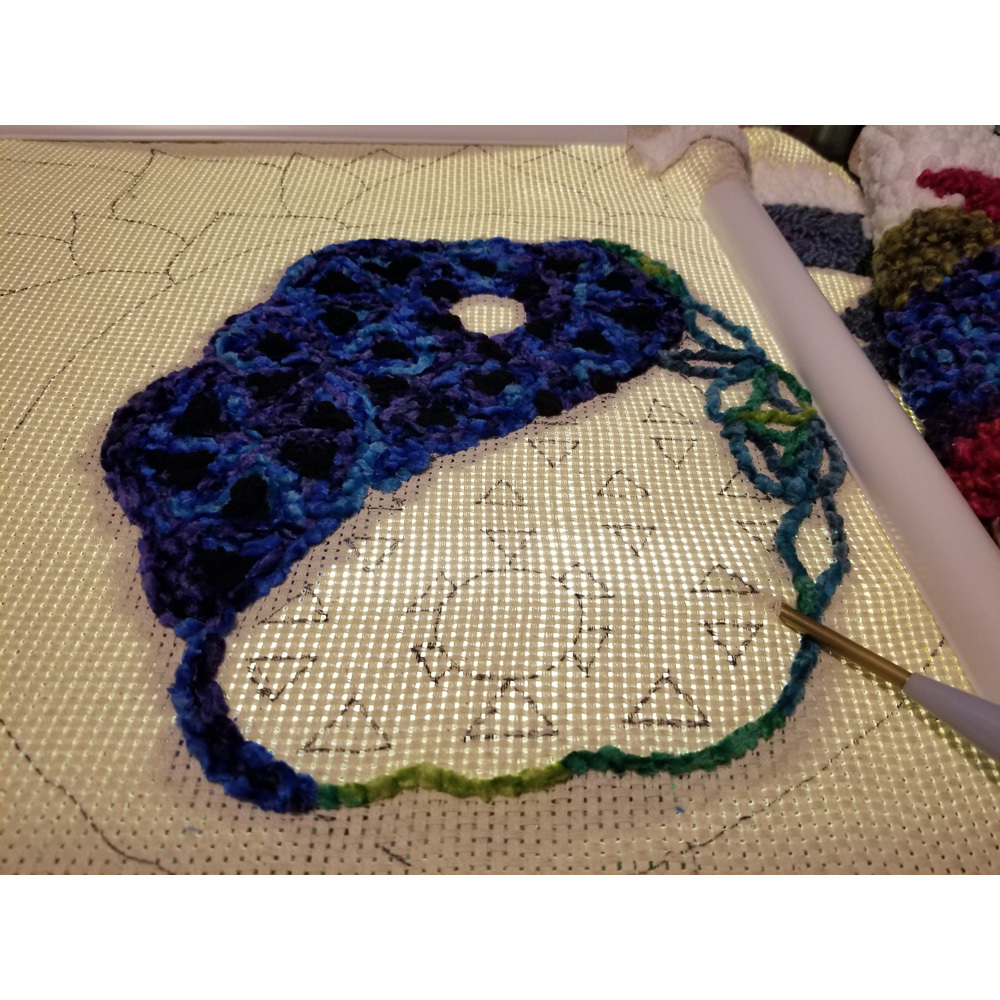
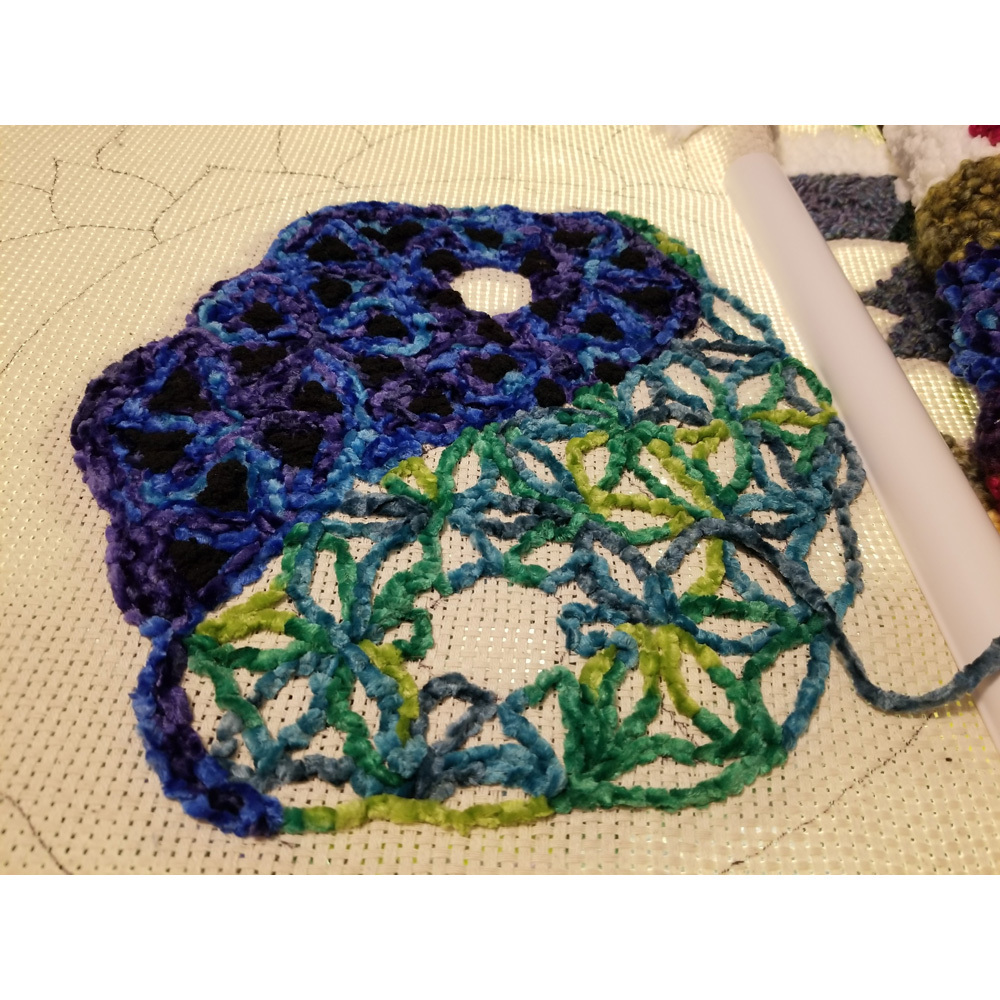
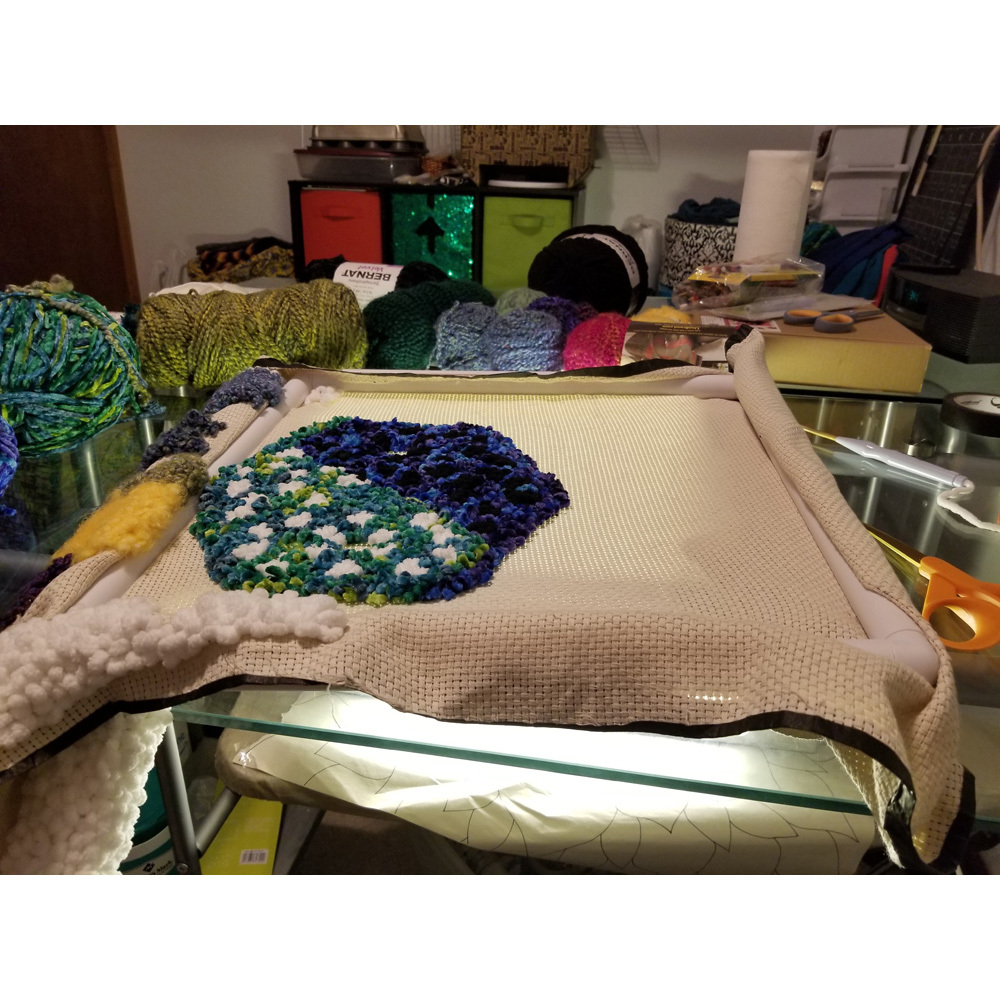
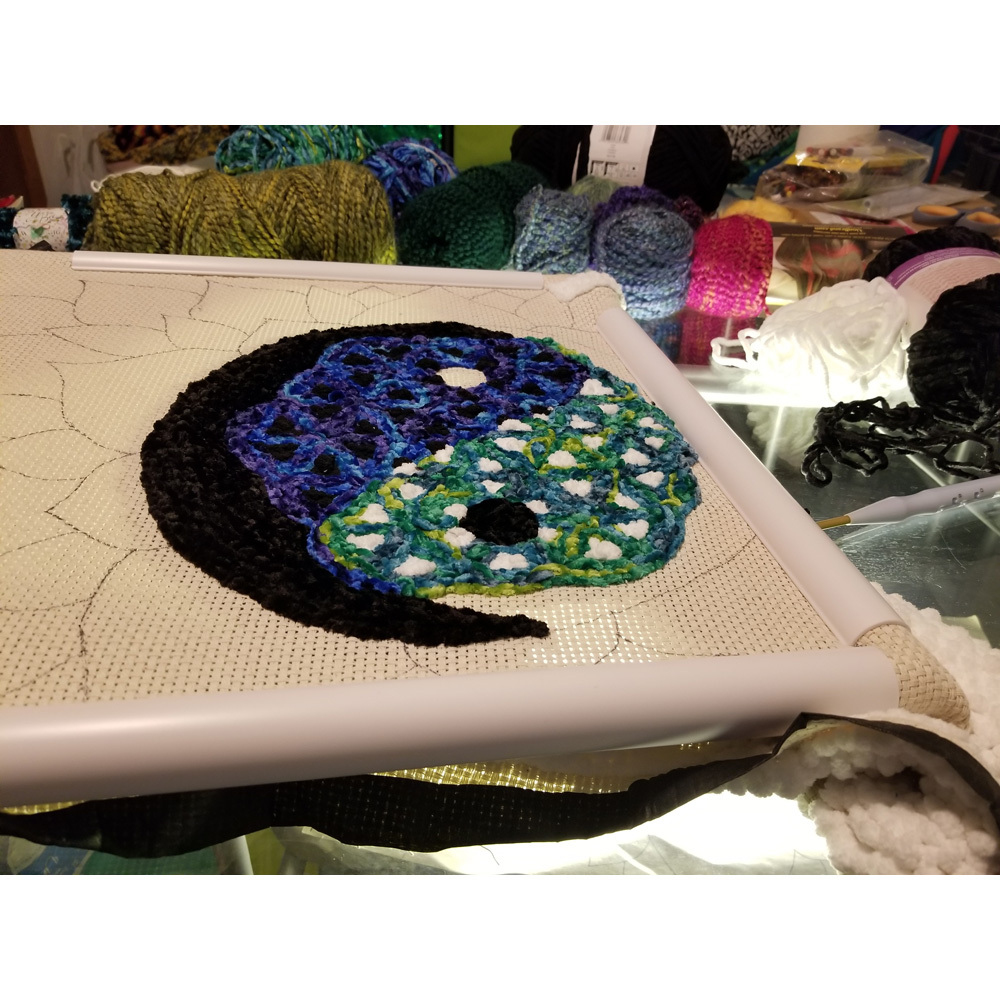
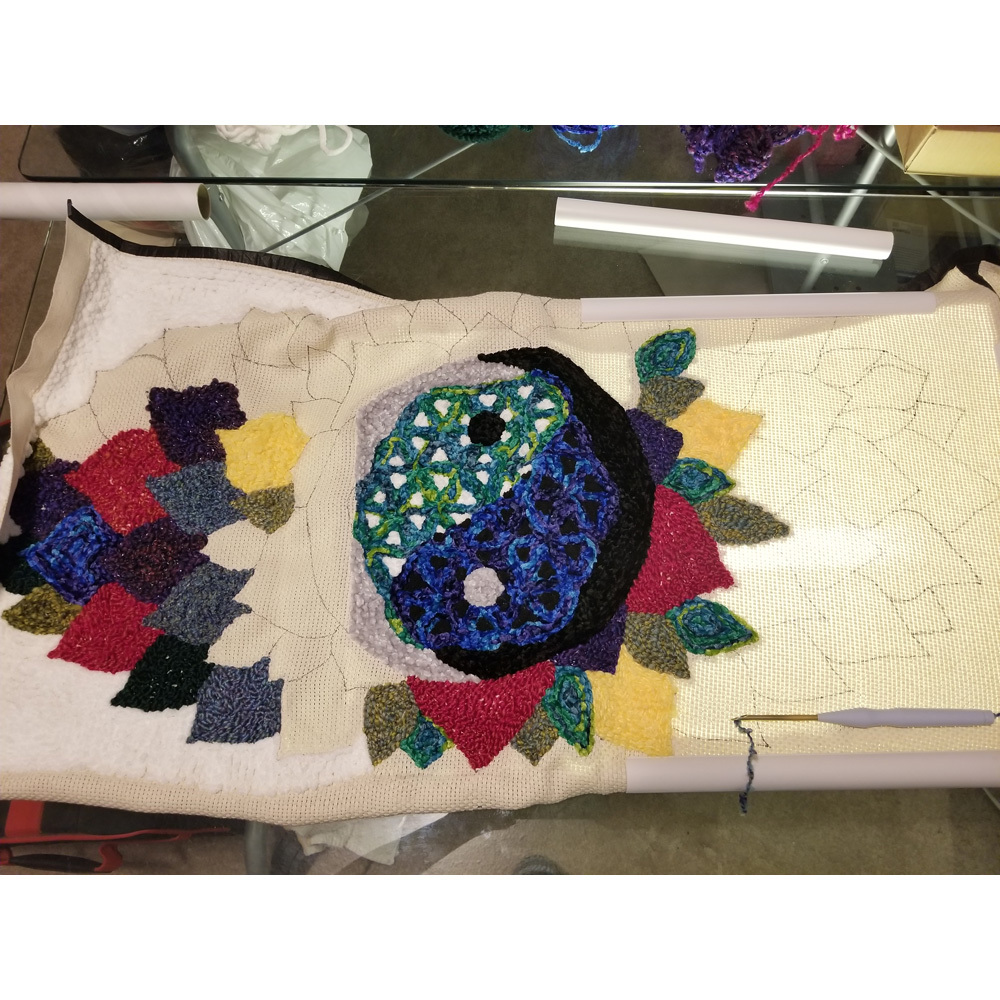
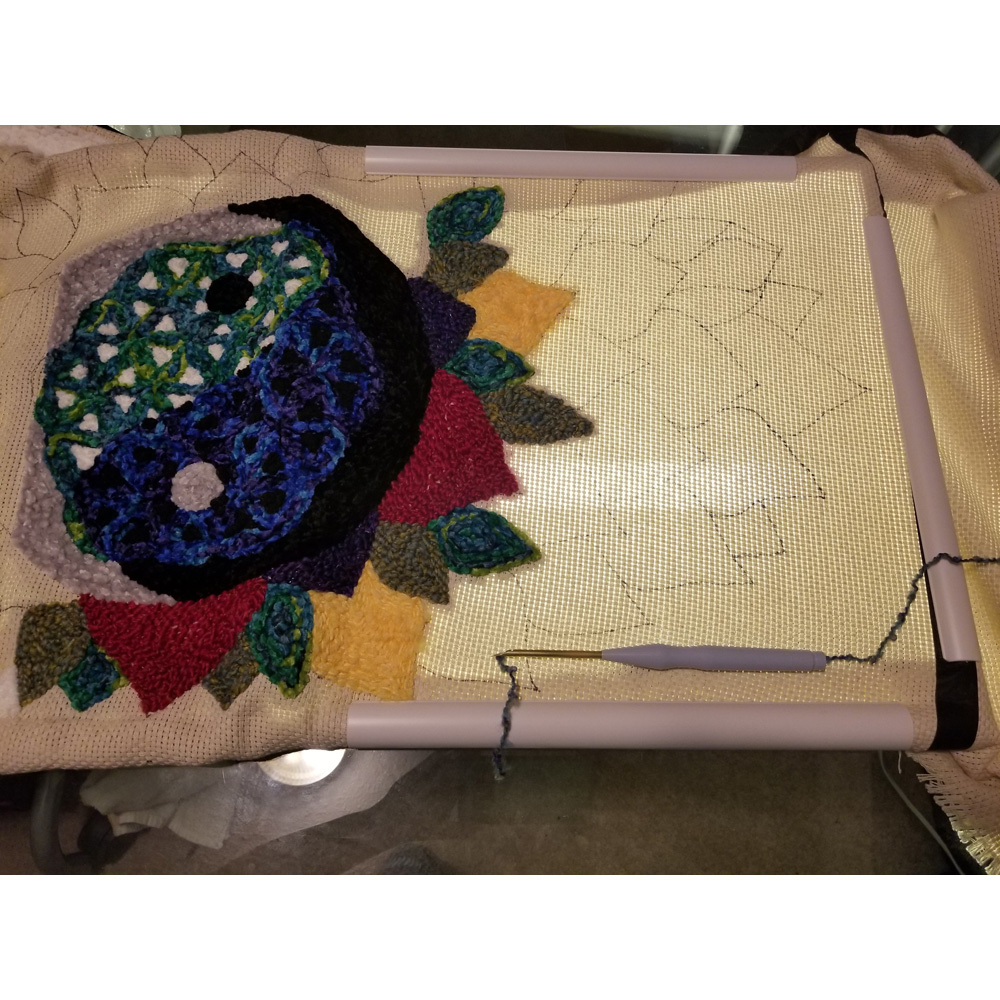
Once I had the sketch drafted I taped it to my glass desk and put a light under to make my desk into a light table. Then I put the monks cloth canvas over the drawing and began making marks on what would become the back of the punch needle artwork. I traced the drawing onto the cloth and this created a guide to show me where to stitch each section of yarn. At this point I took a picture of the canvas and created another sketch on my Note8. In the default Samsung Notes application I imported the image and began coloring in the drawing based on colors that are similar to the colors of yarn I had on hand. I worked on my sketch until I was confident it was the way I wanted it to be stitched out.
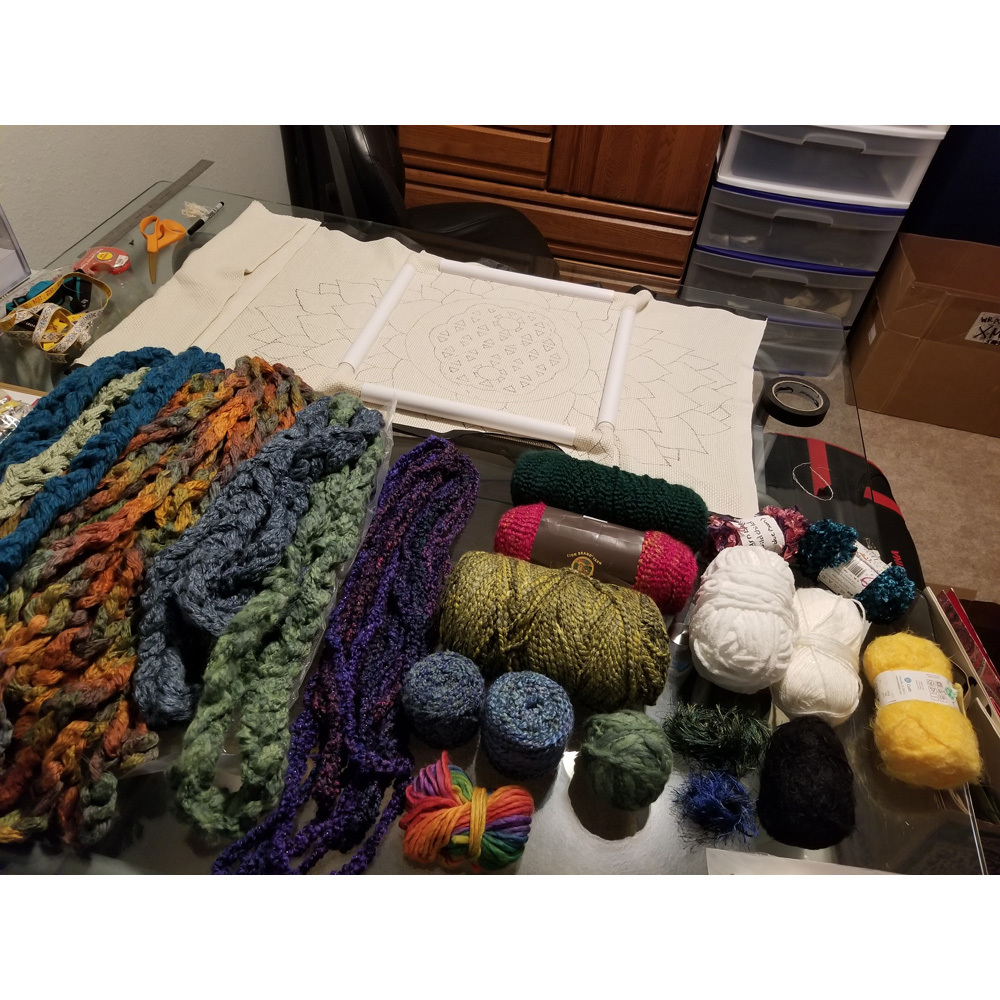
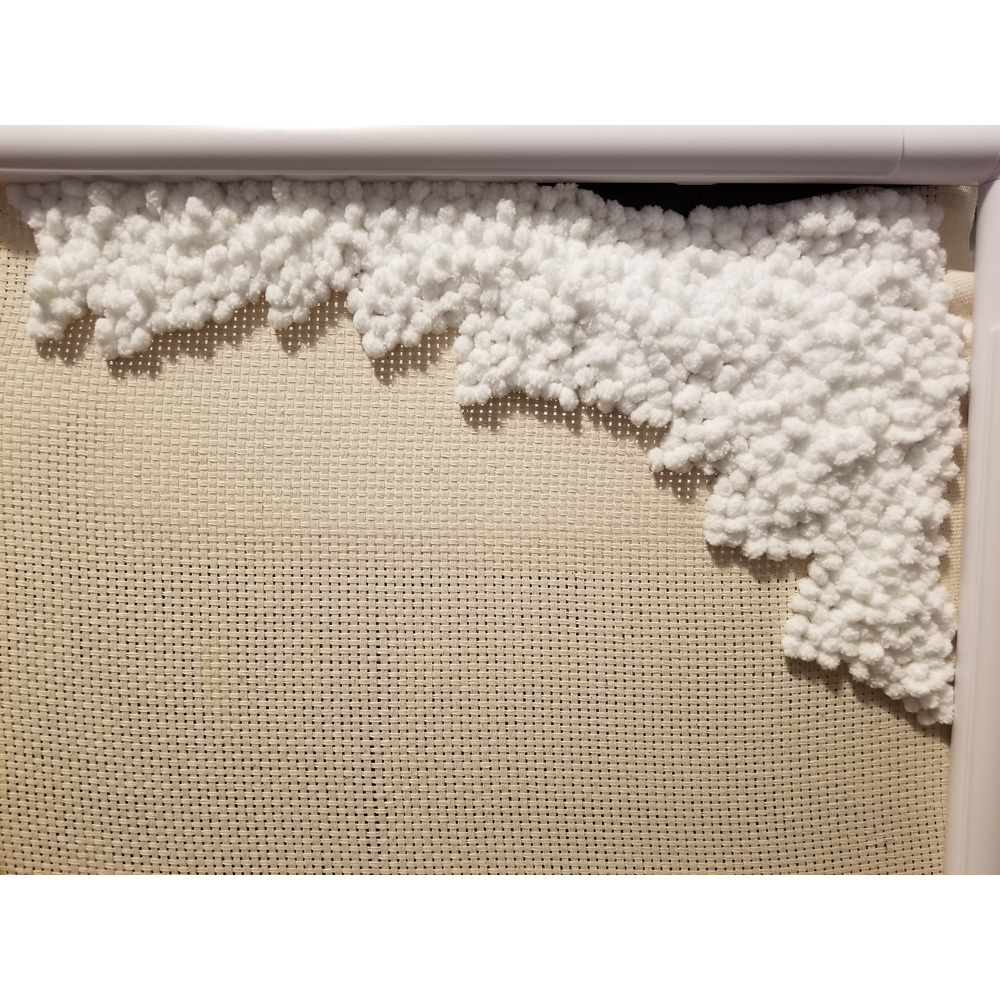
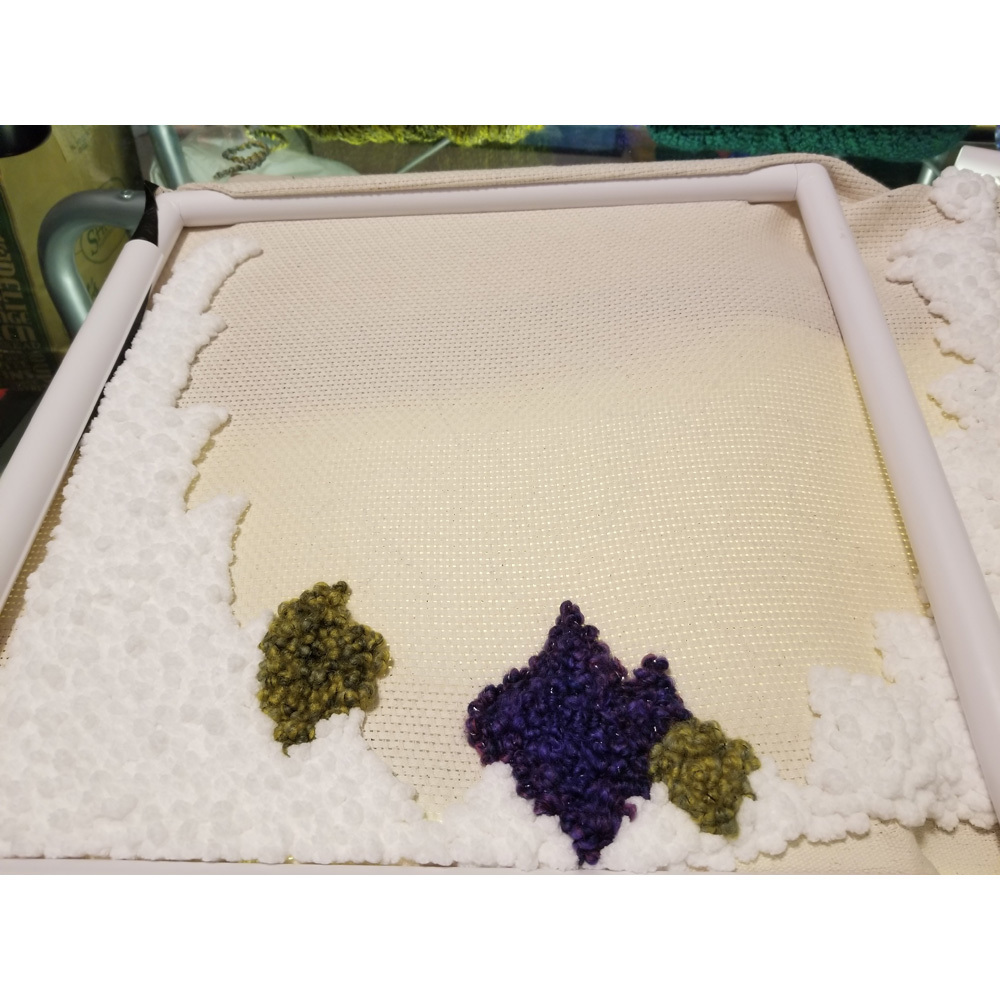
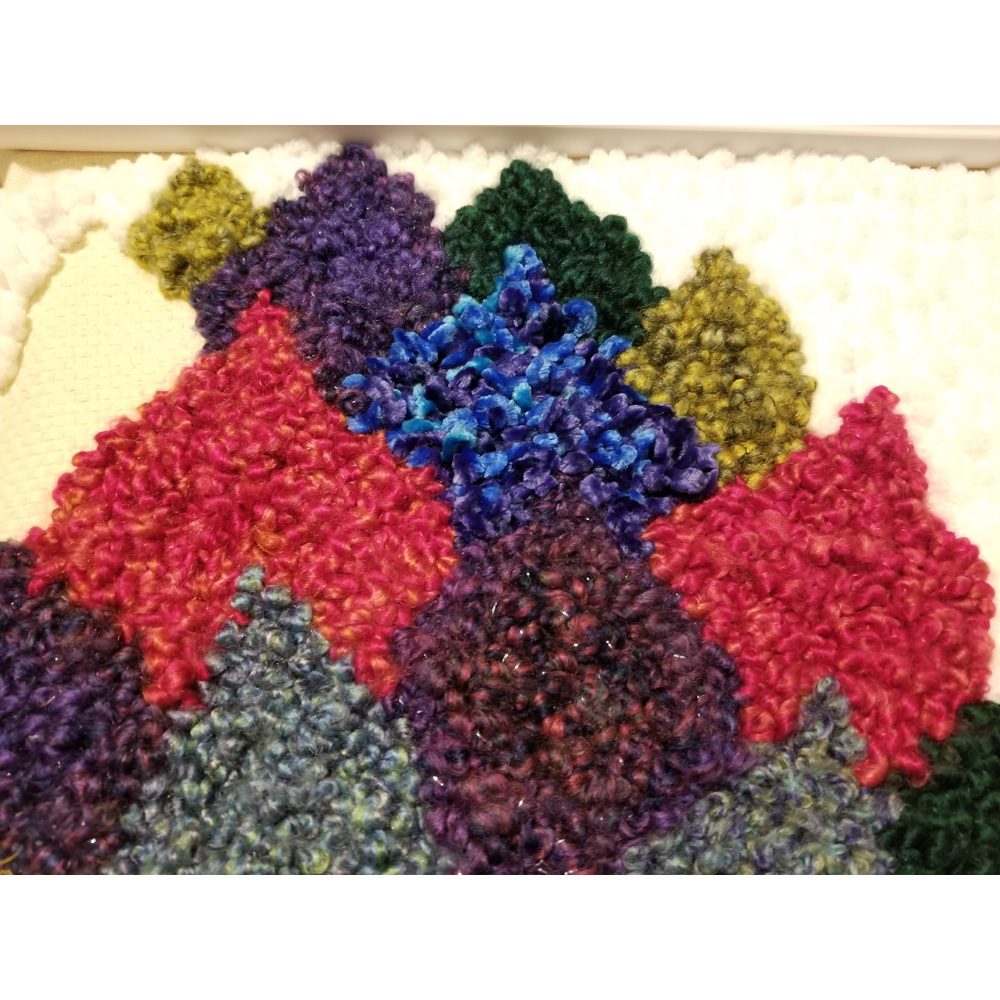
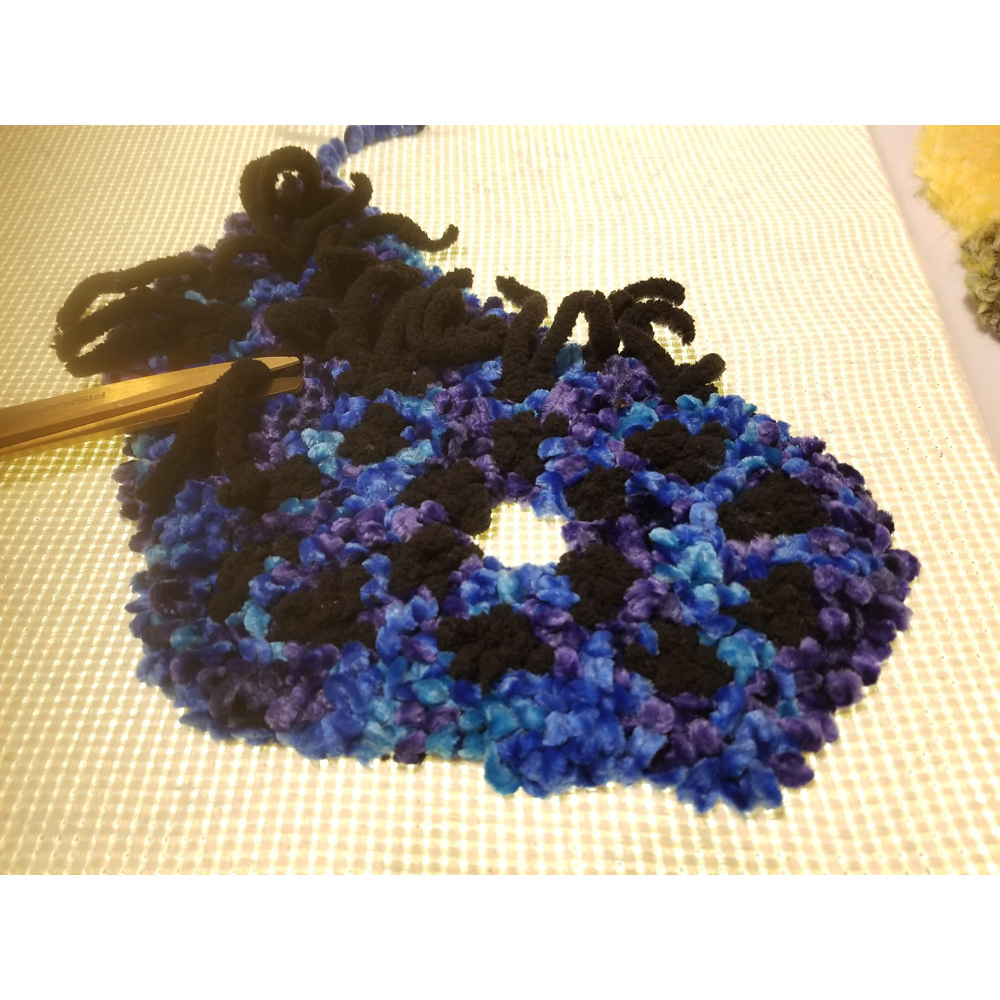
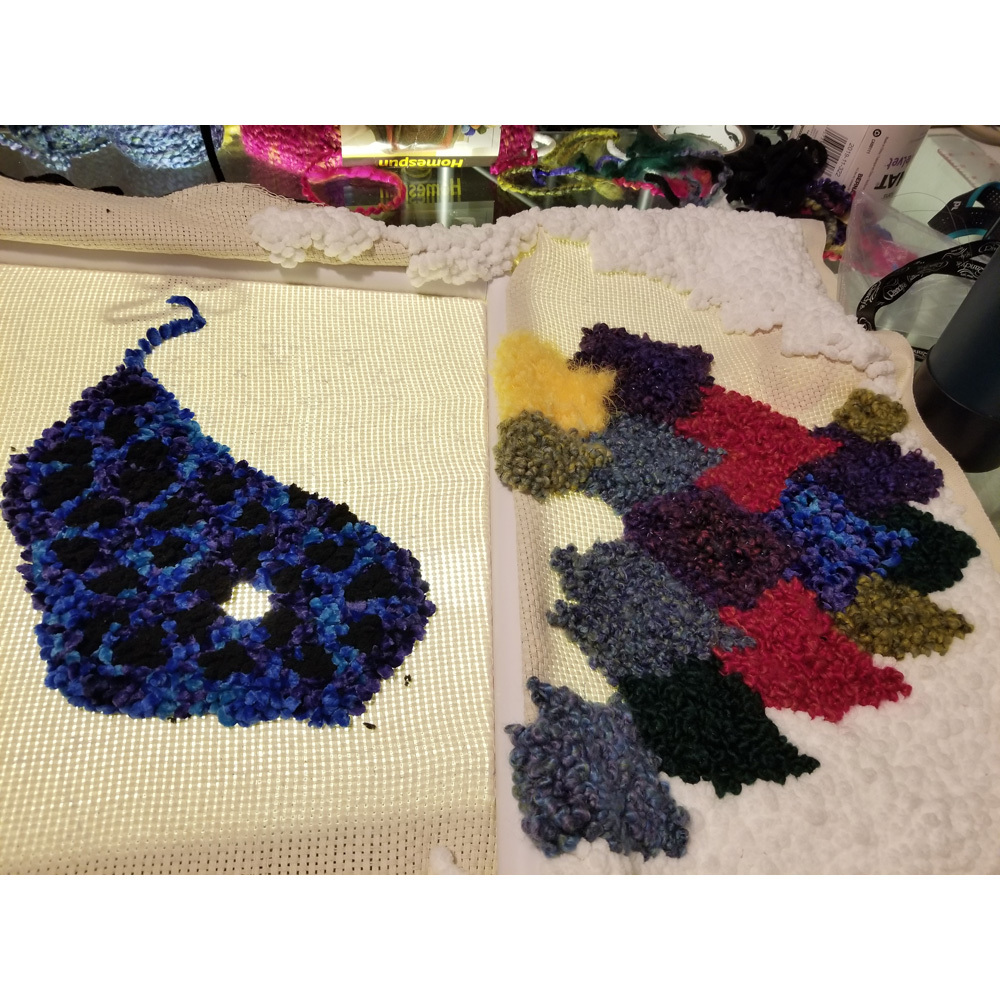
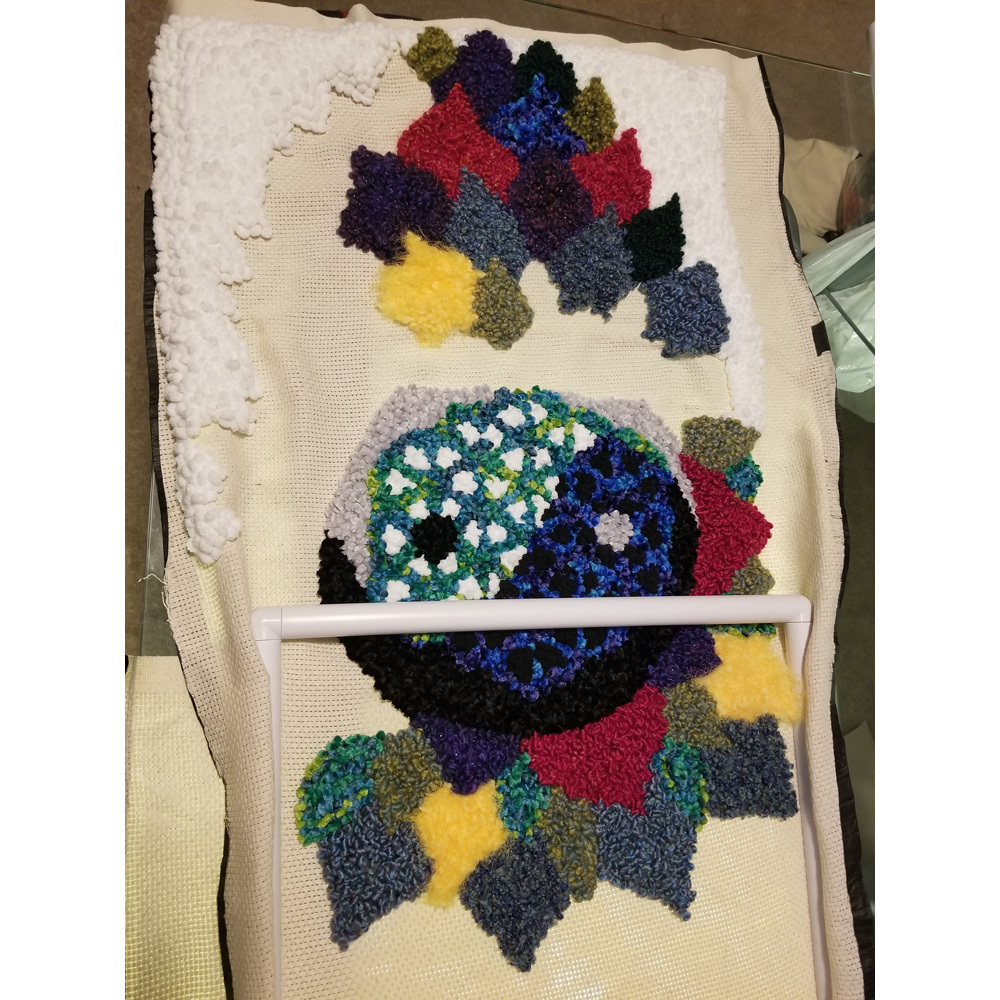
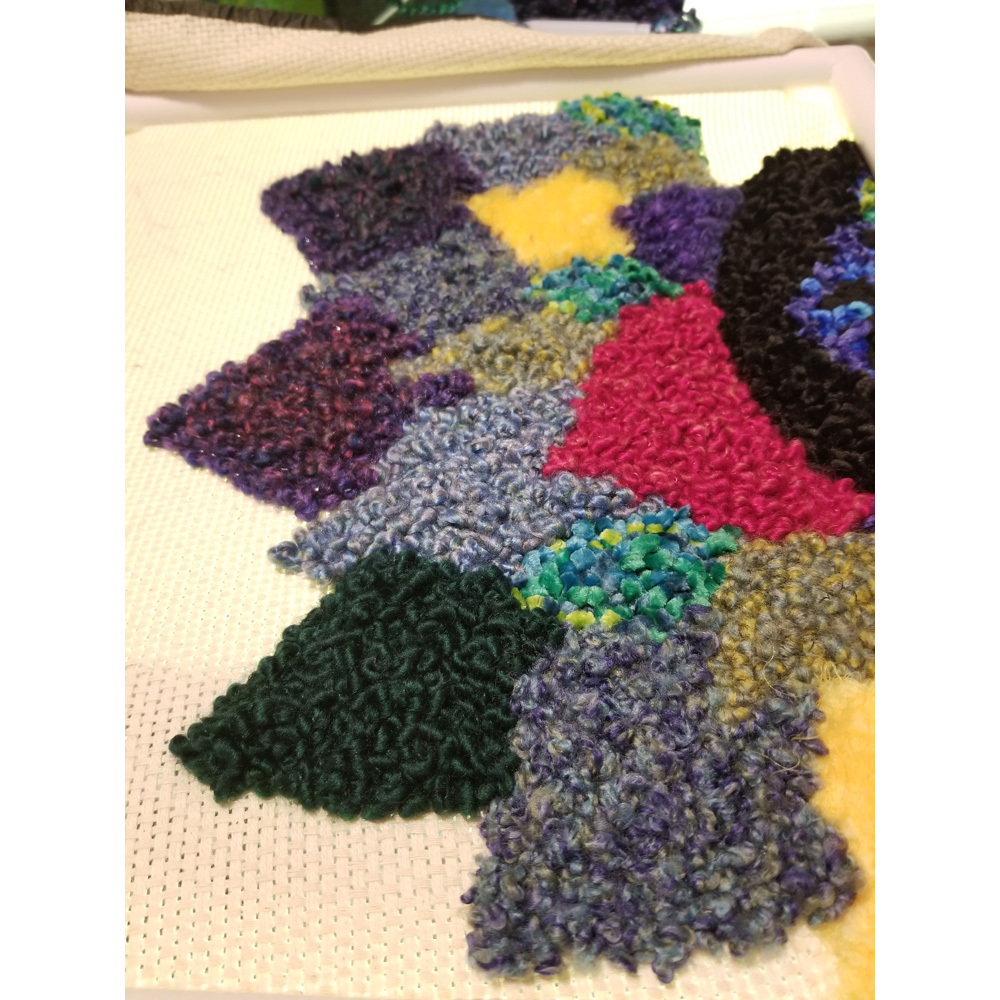
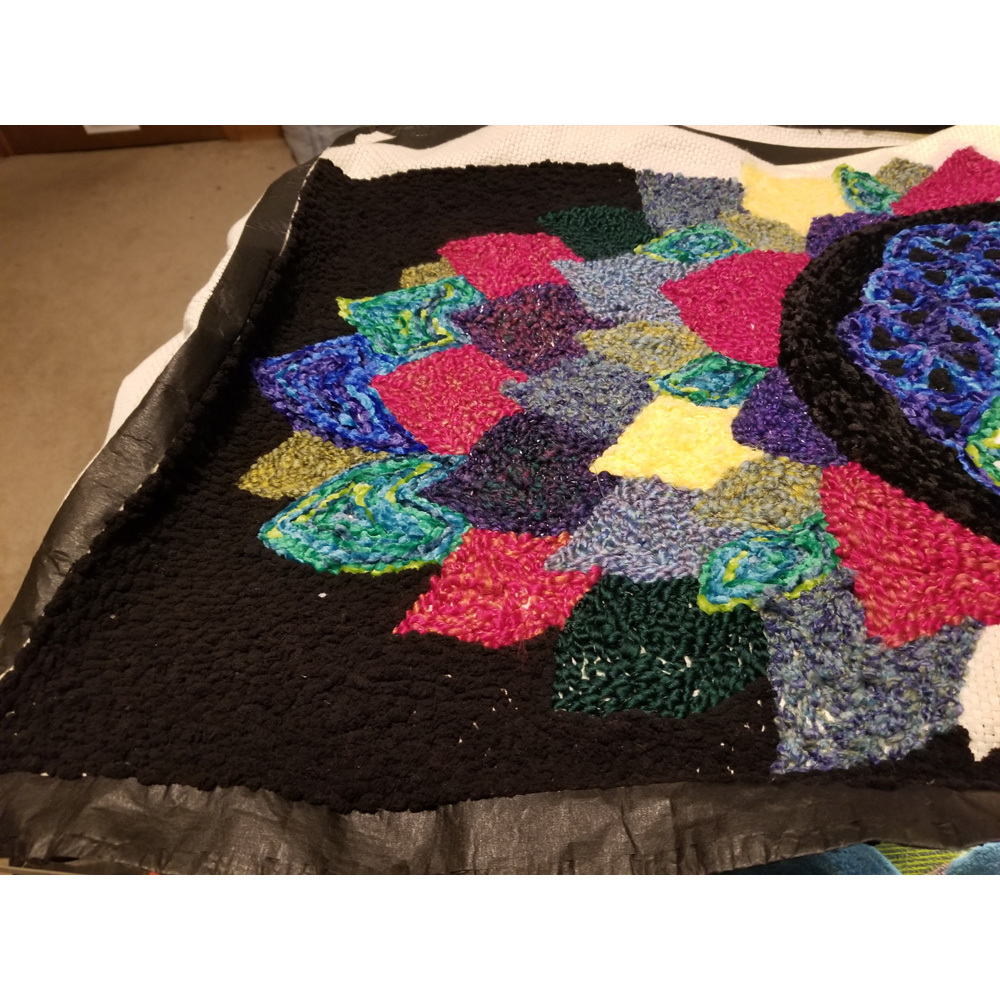
The yarn I had to work with varied in width and texture. I noticed the crushed velvet yarn was the easiest to work with as it did not unravel. The velvet yarn was also extremely soft and the perfect choice for a pillow. I also used some “chunky” baby blanket yarn and this was the highest gauge yarn I could have used with my punch needle. The texture was perfect for the edges of the pillow cover. The rest of the yarn was traditional knitting yarn and was somewhere in the middle.
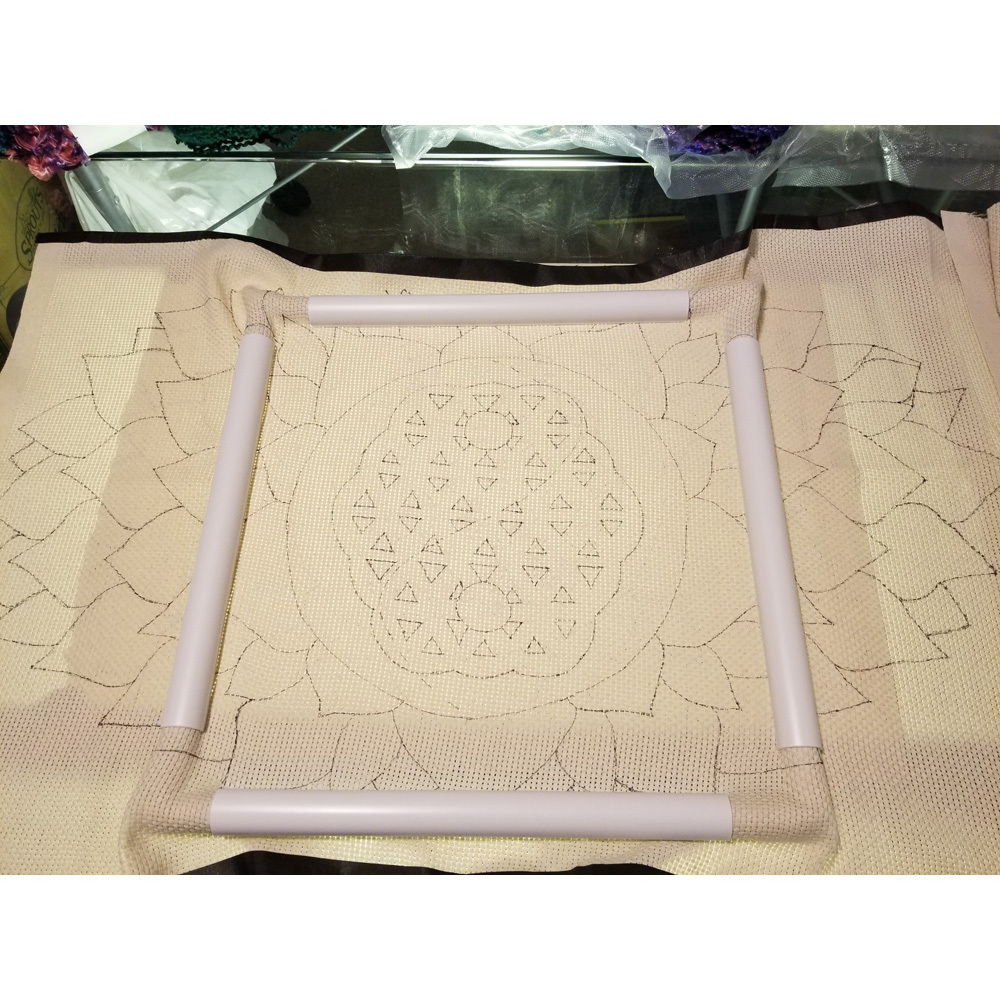
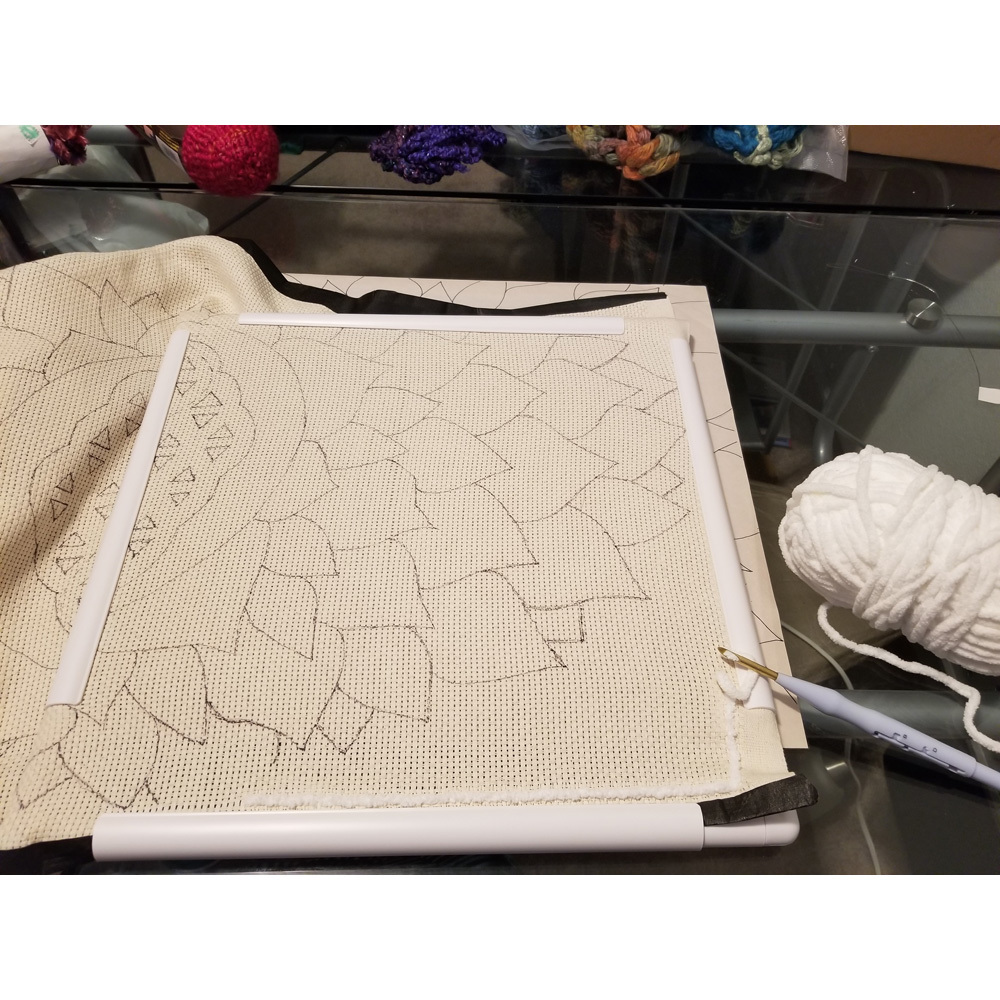
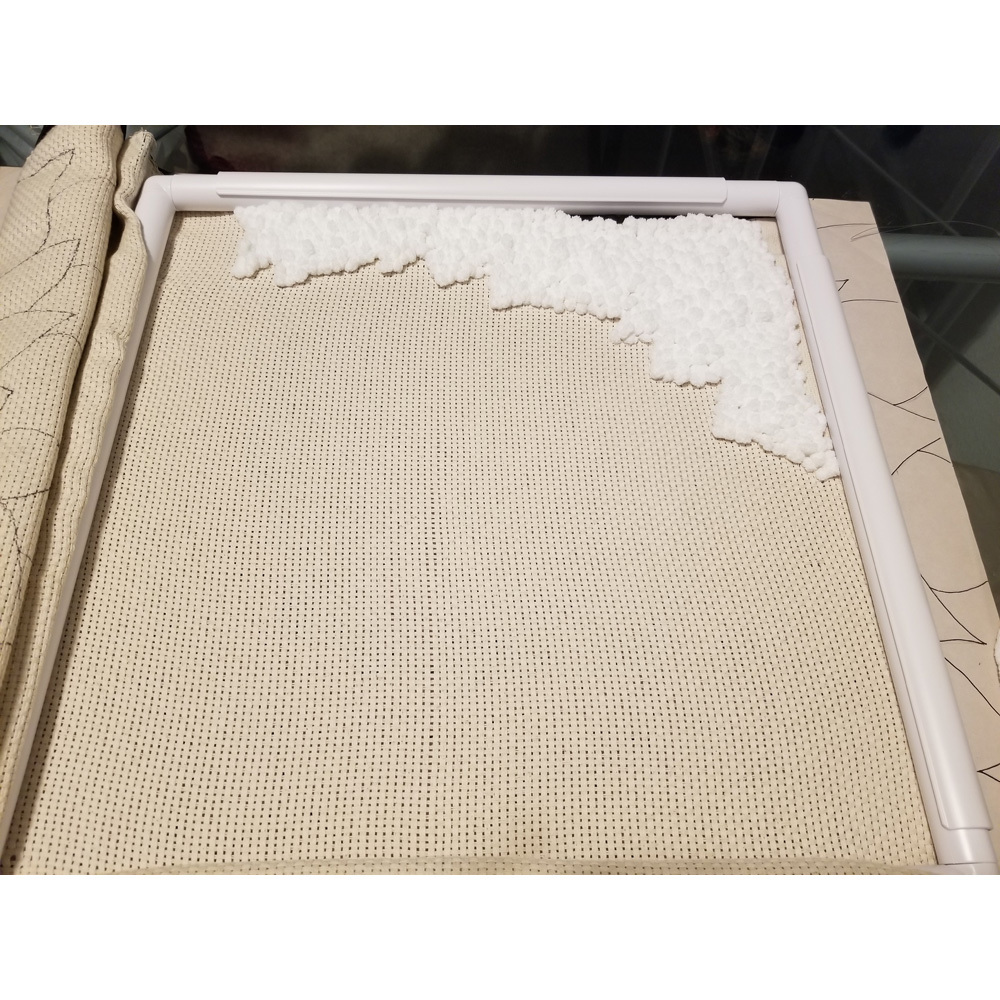
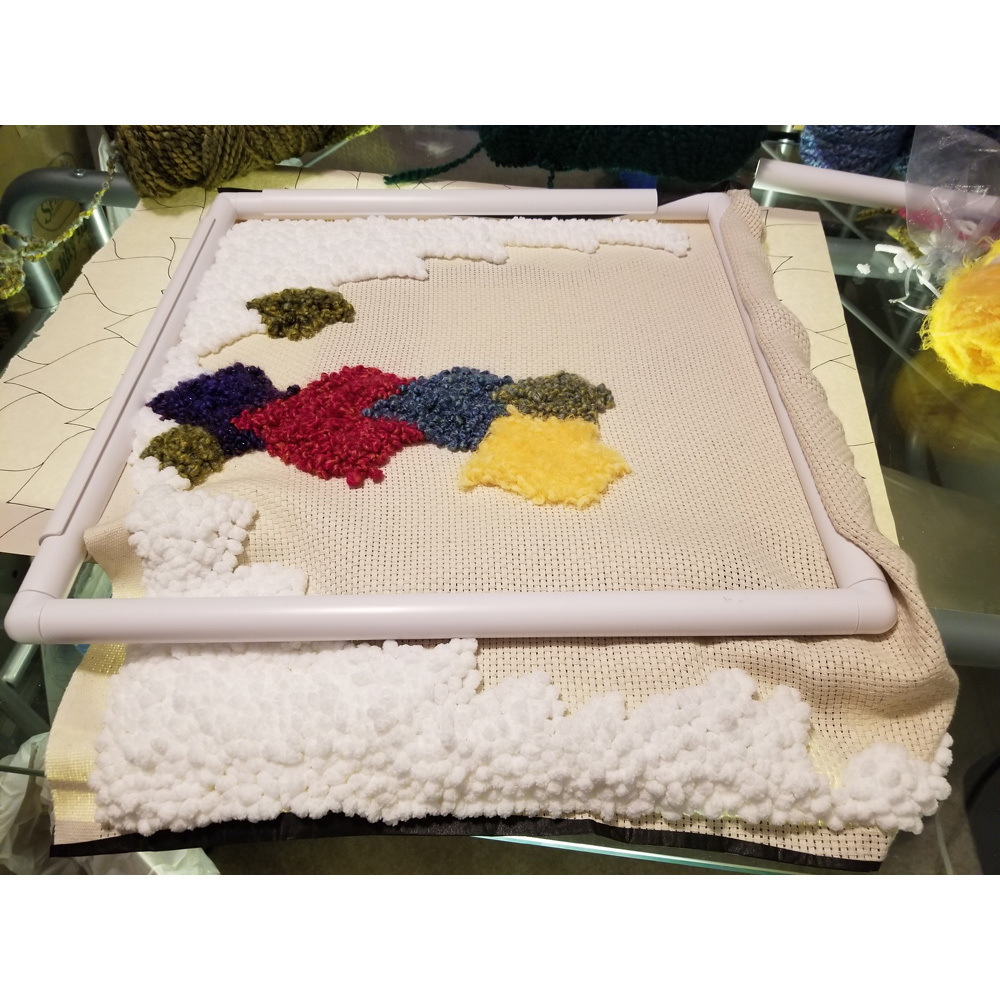
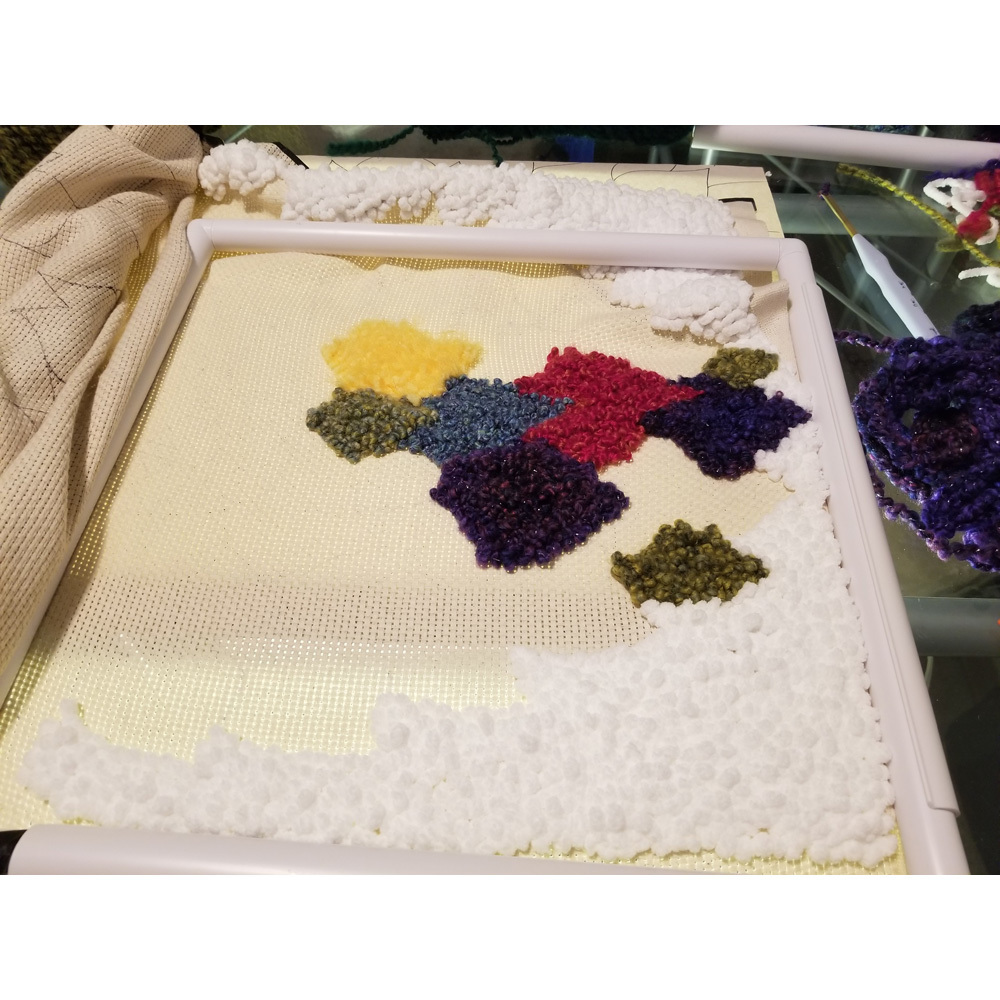
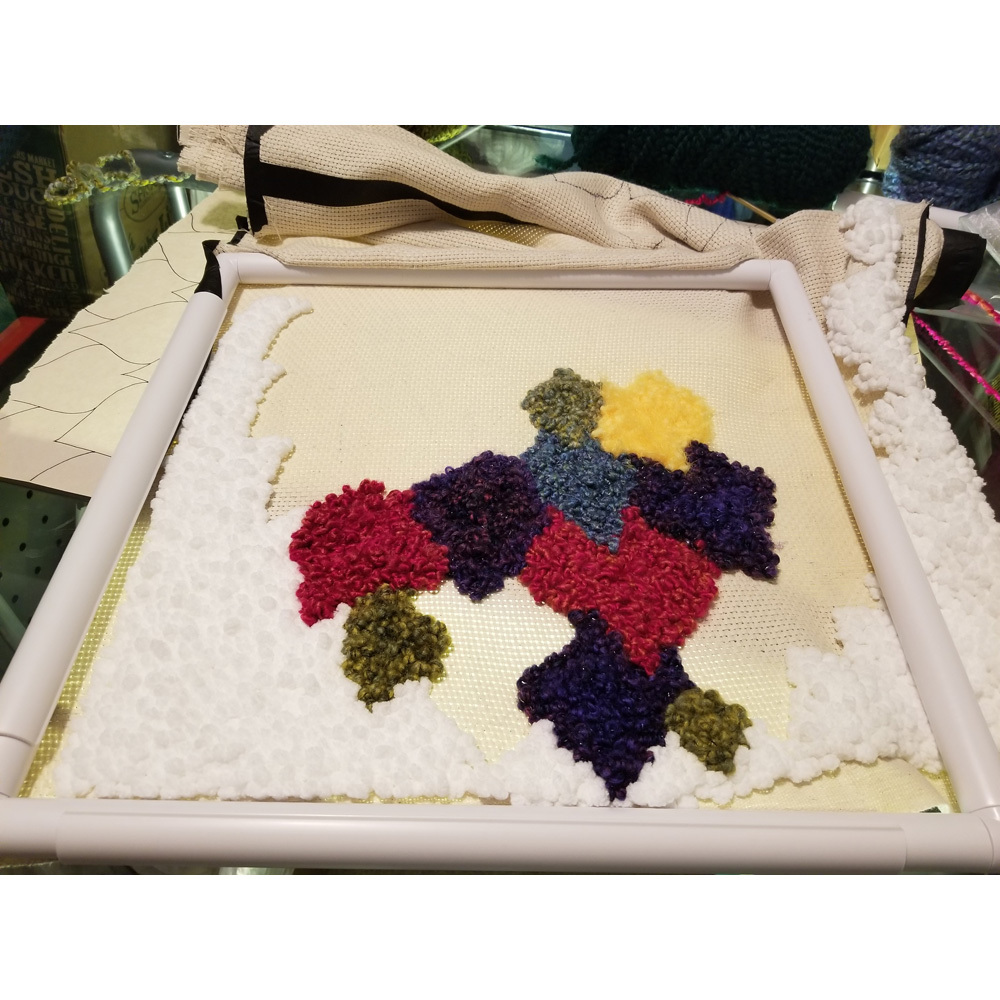
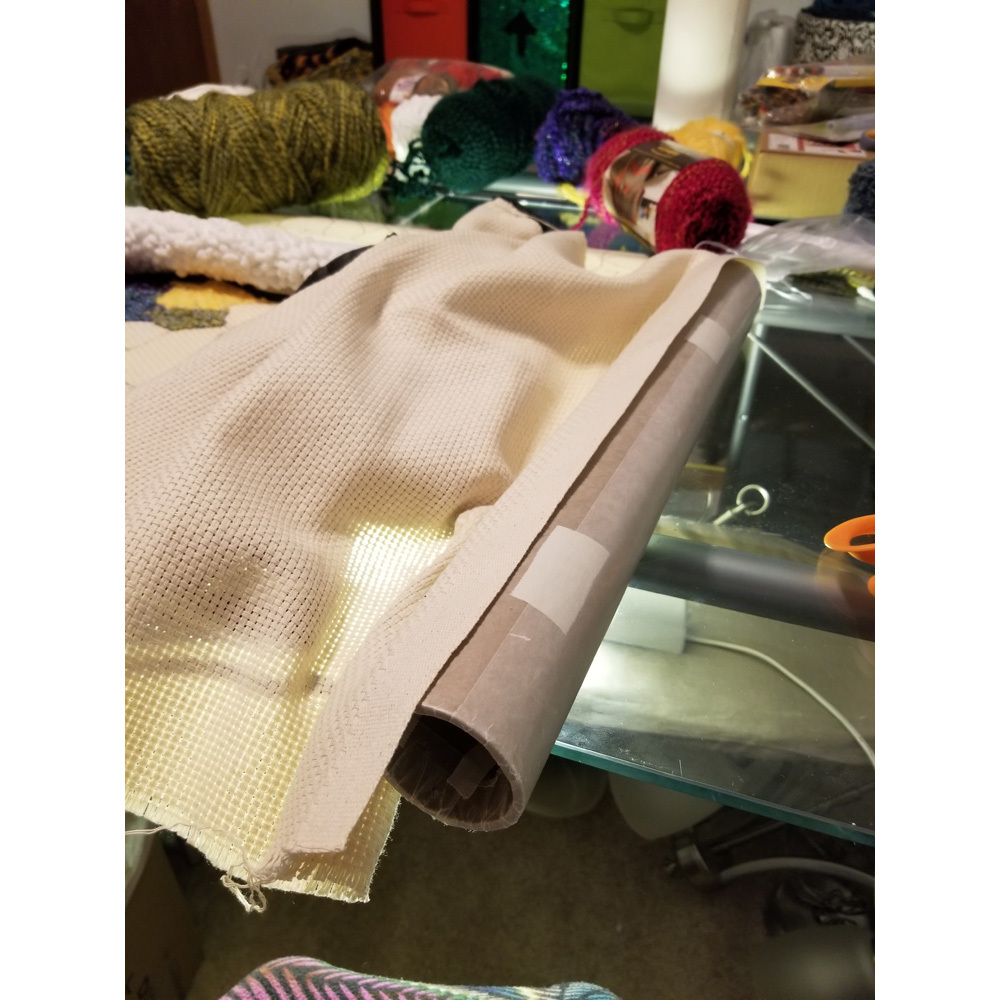
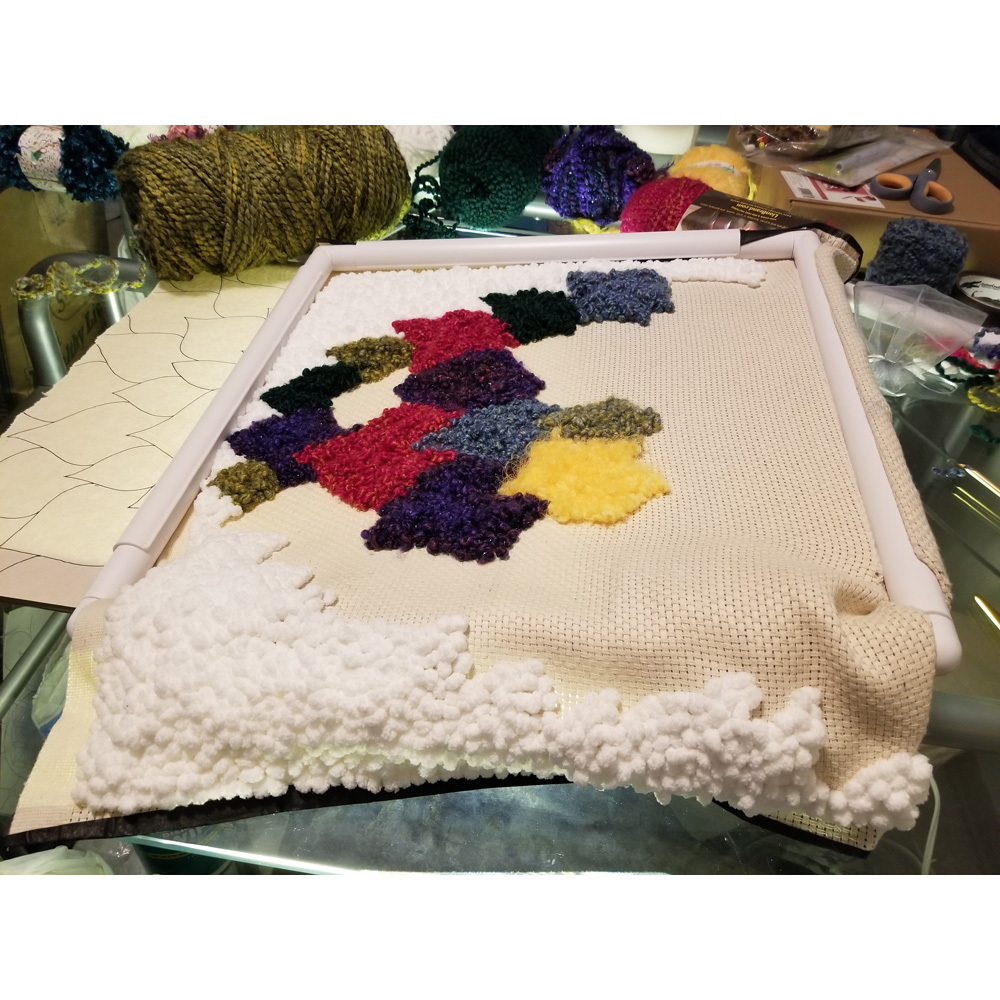
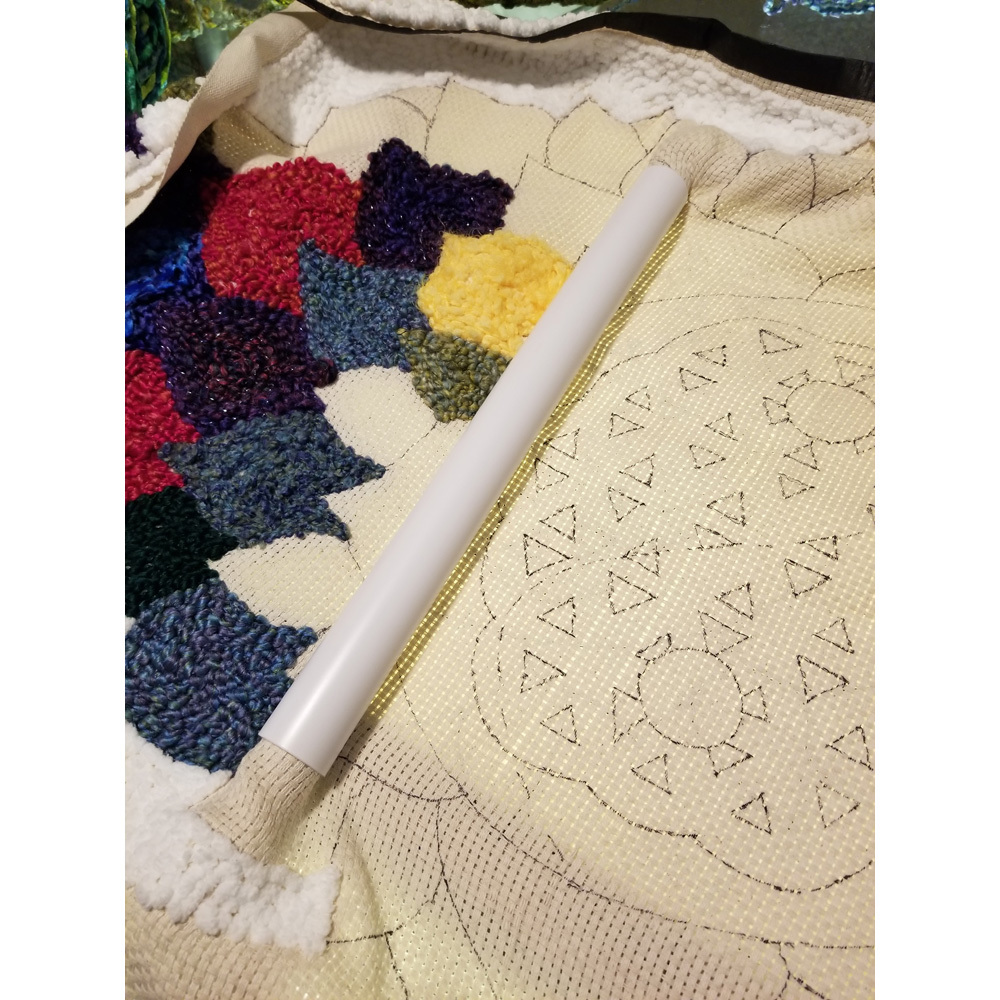
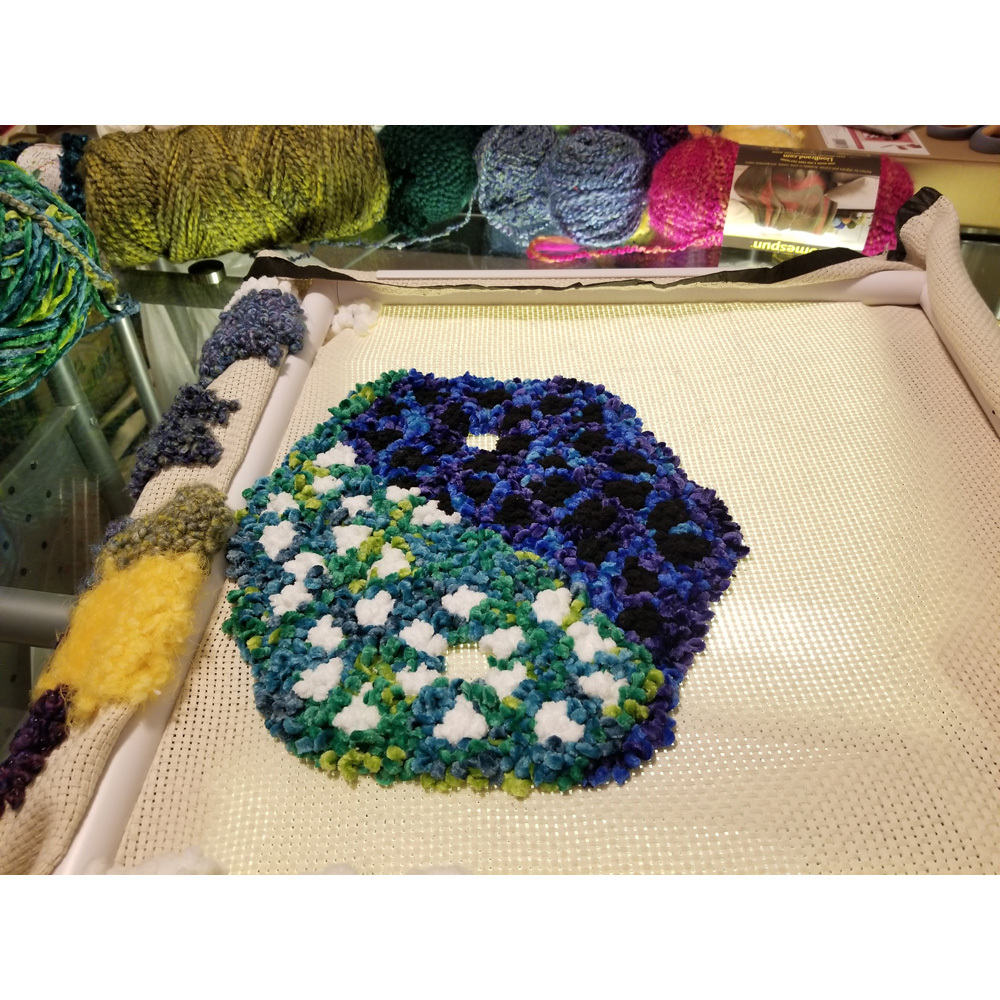
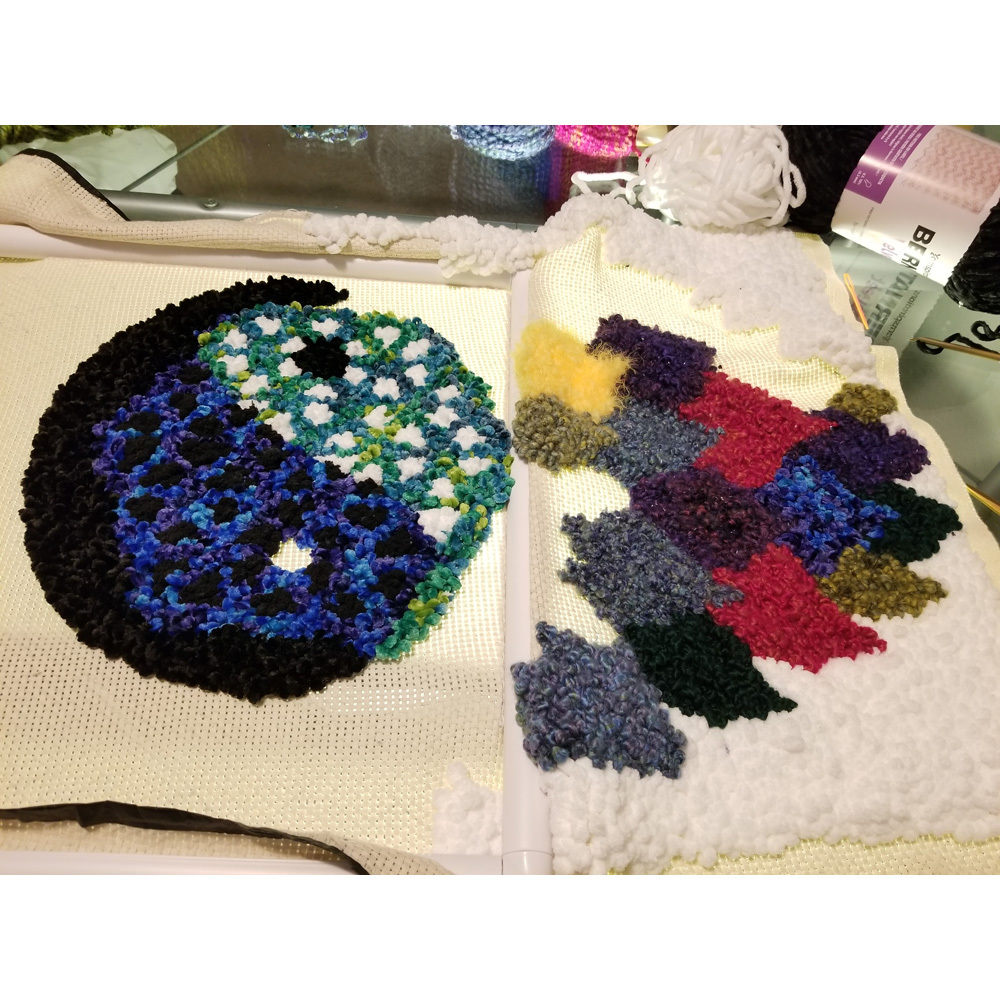
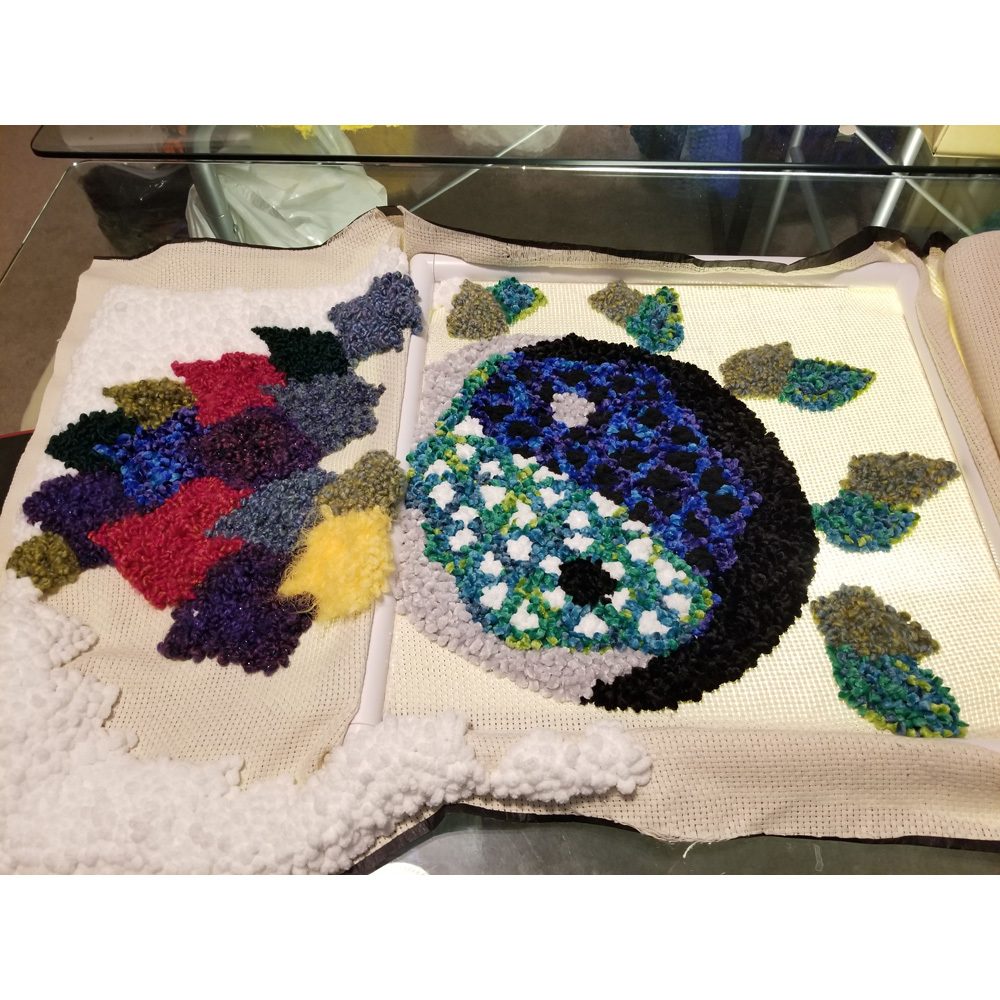
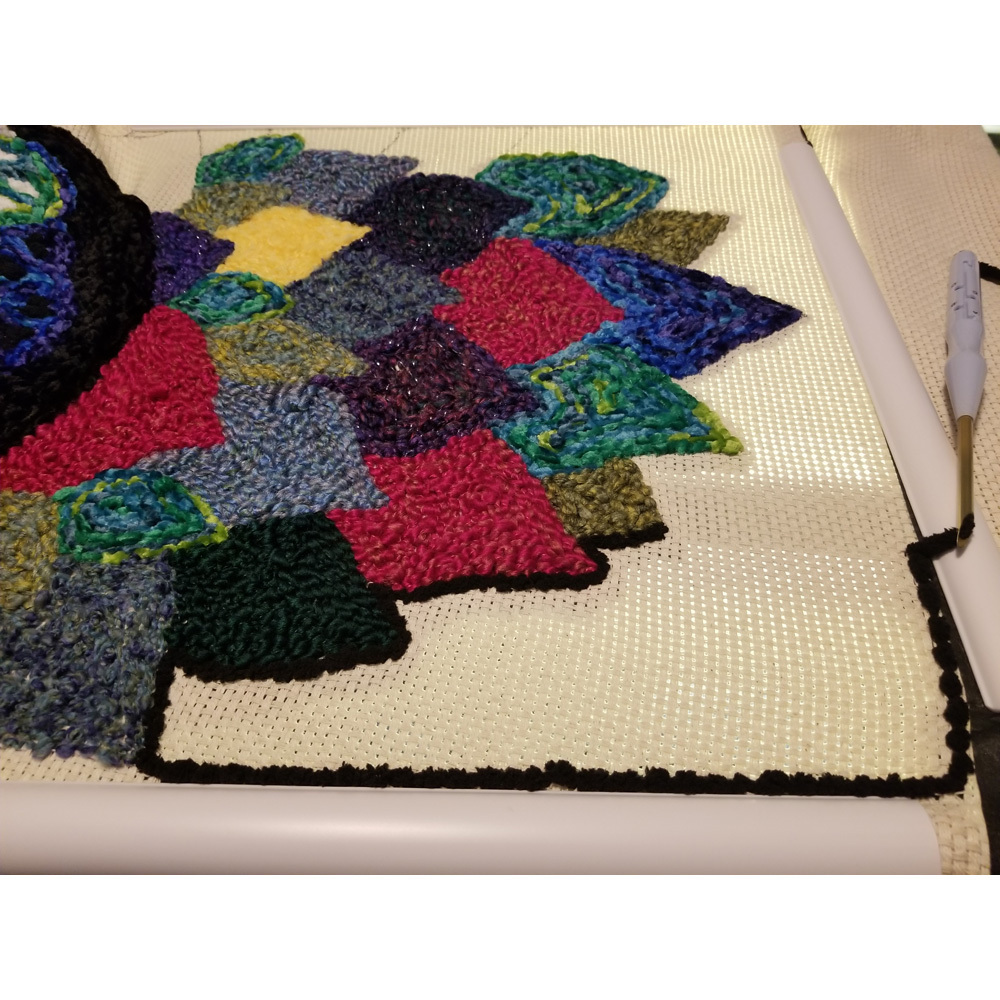
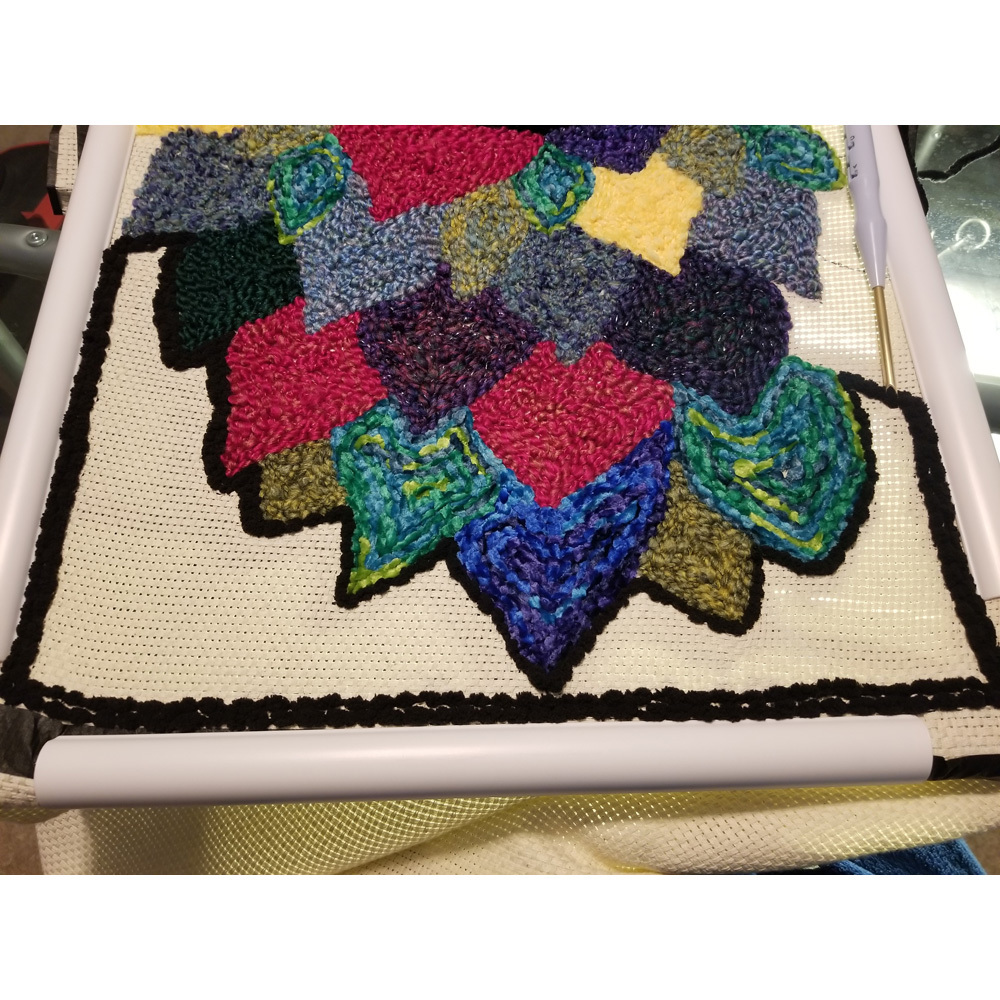
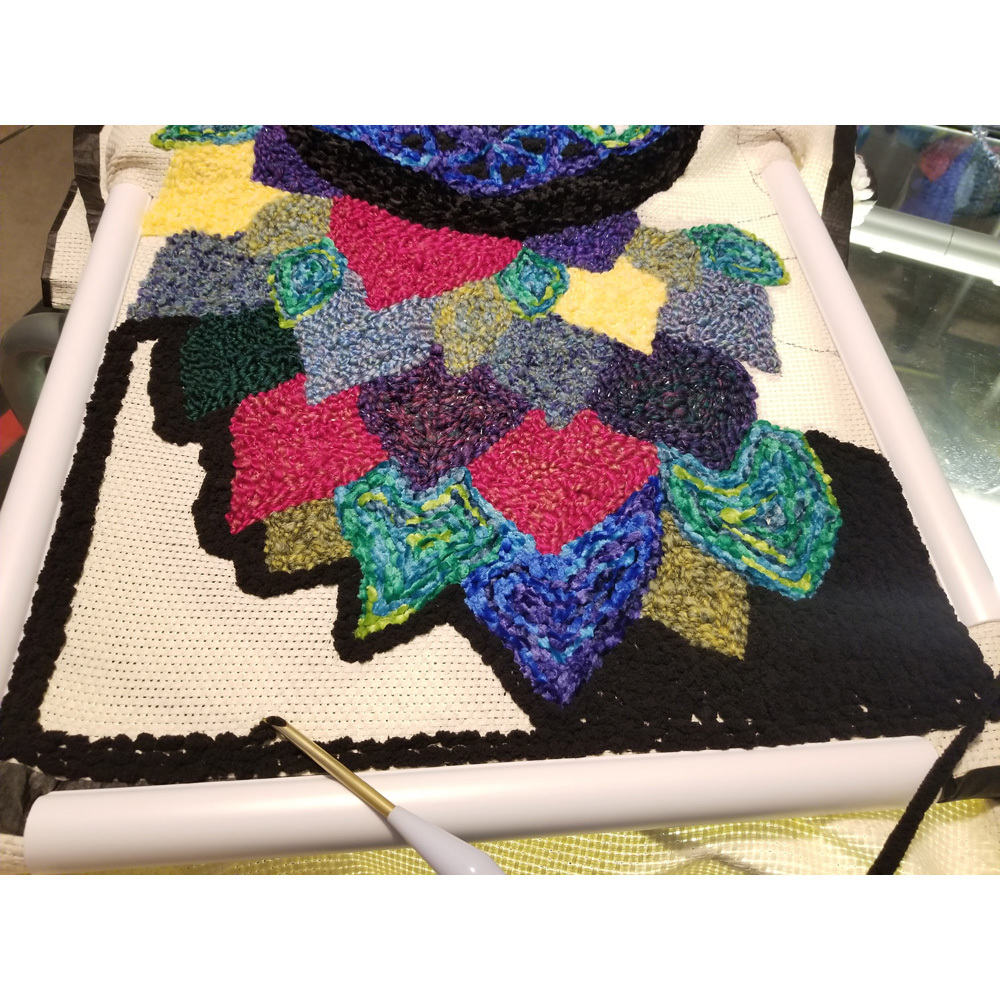
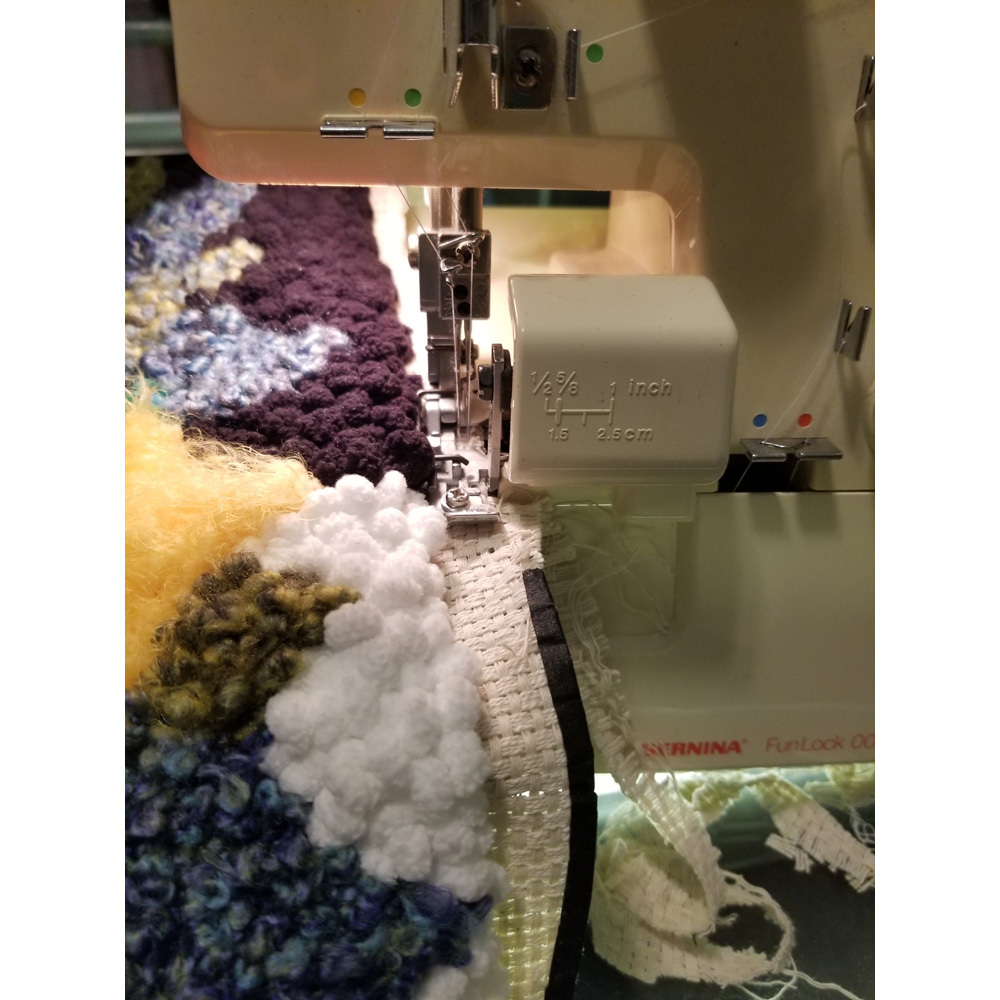
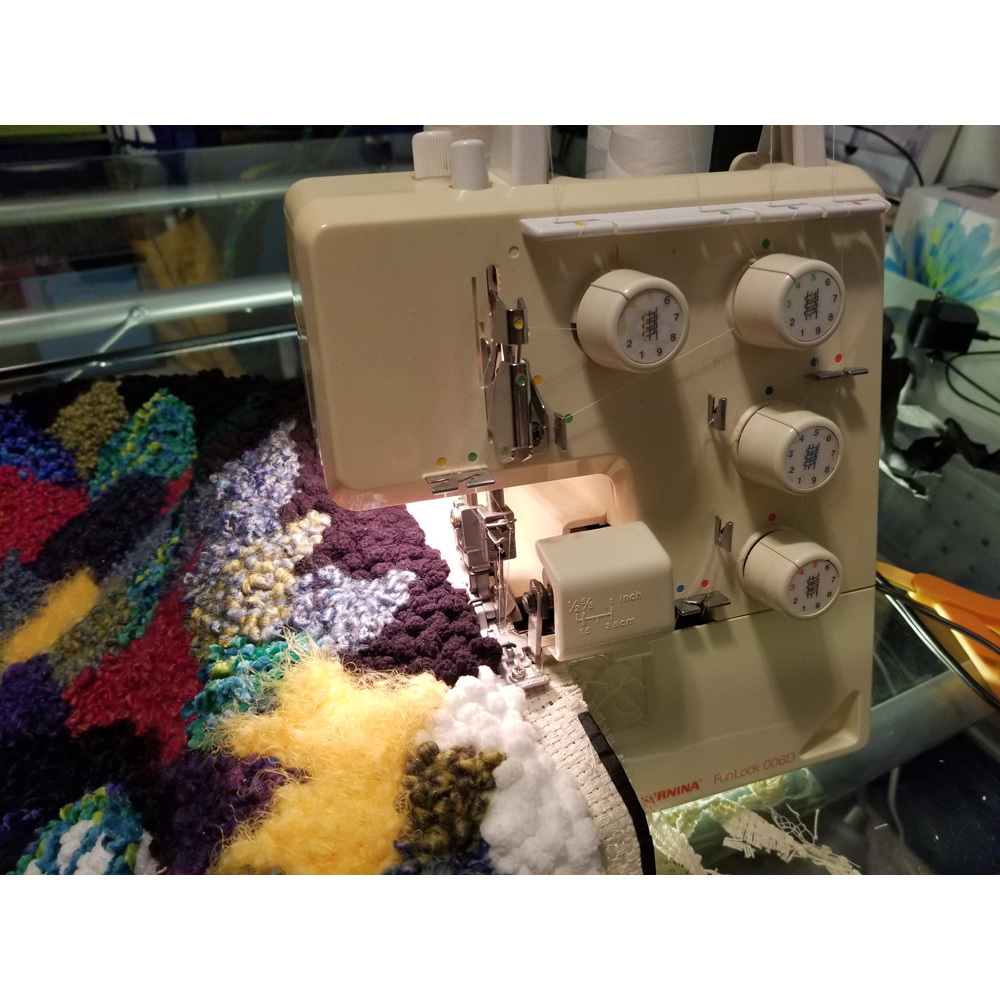
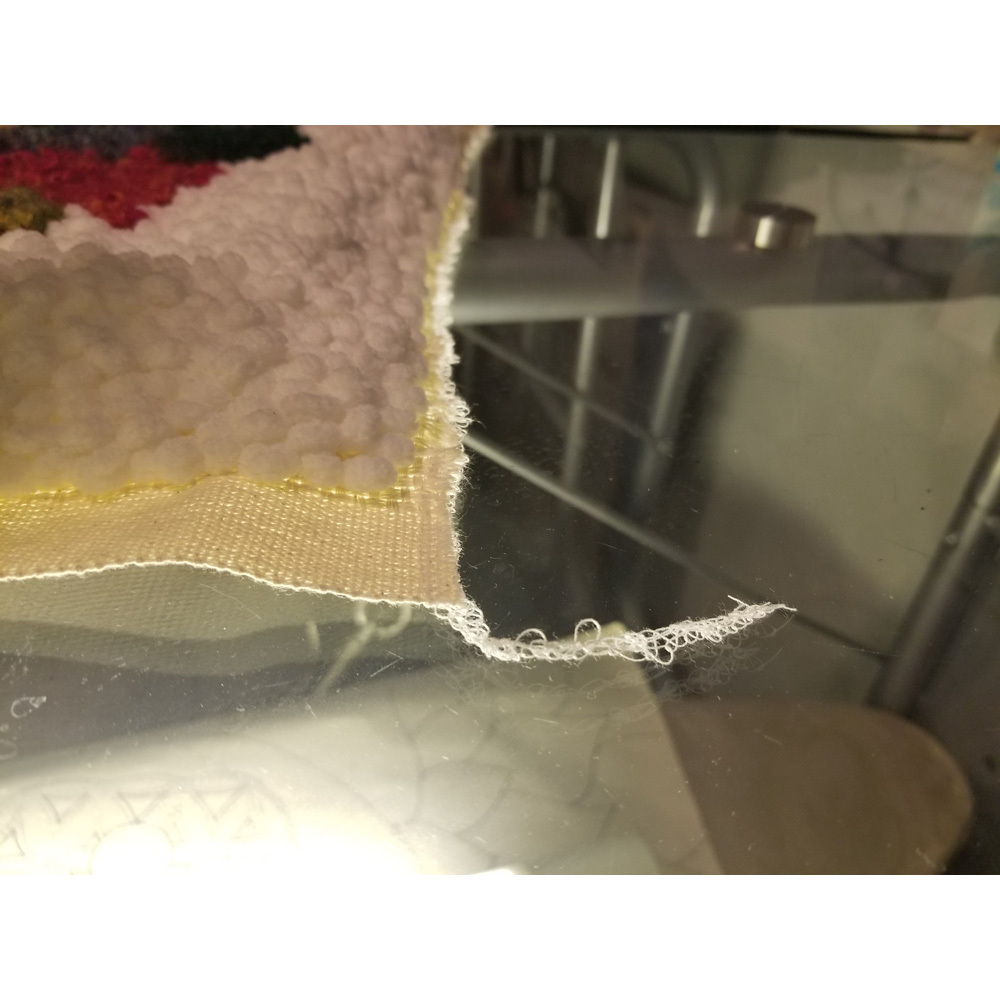
I needed to prevent the monks cloth from raveling while I was working so I used black masking tape on the edges. I was debating on using fabric tape, but I decided not to waste it. In hind sight, I should have used my surger to tack the unraveling edges together and I did use it later on in the project. After securing the edges I popped the plastic frame onto the monks cloth canvas to keep the weave taught while I worked. Alas, it was too small to help throughout the entire project and towards the end I would be working on it without this tool.
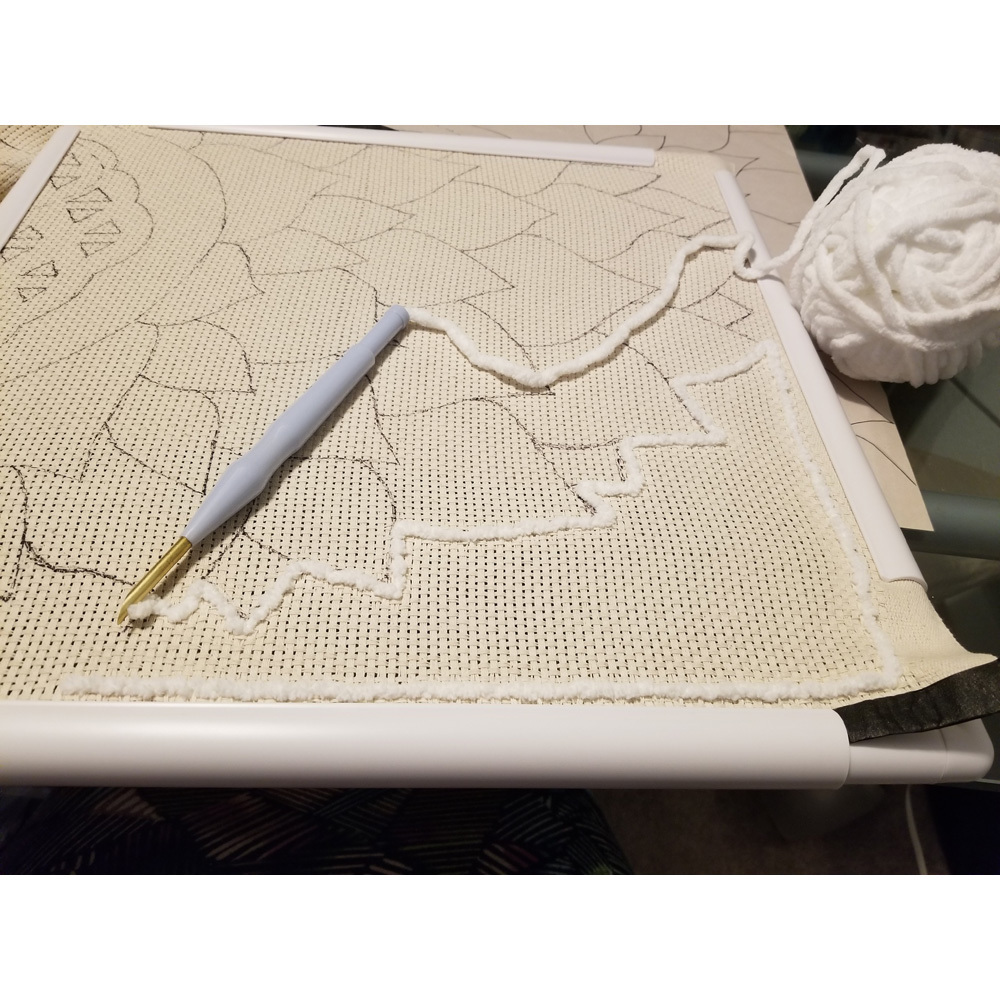
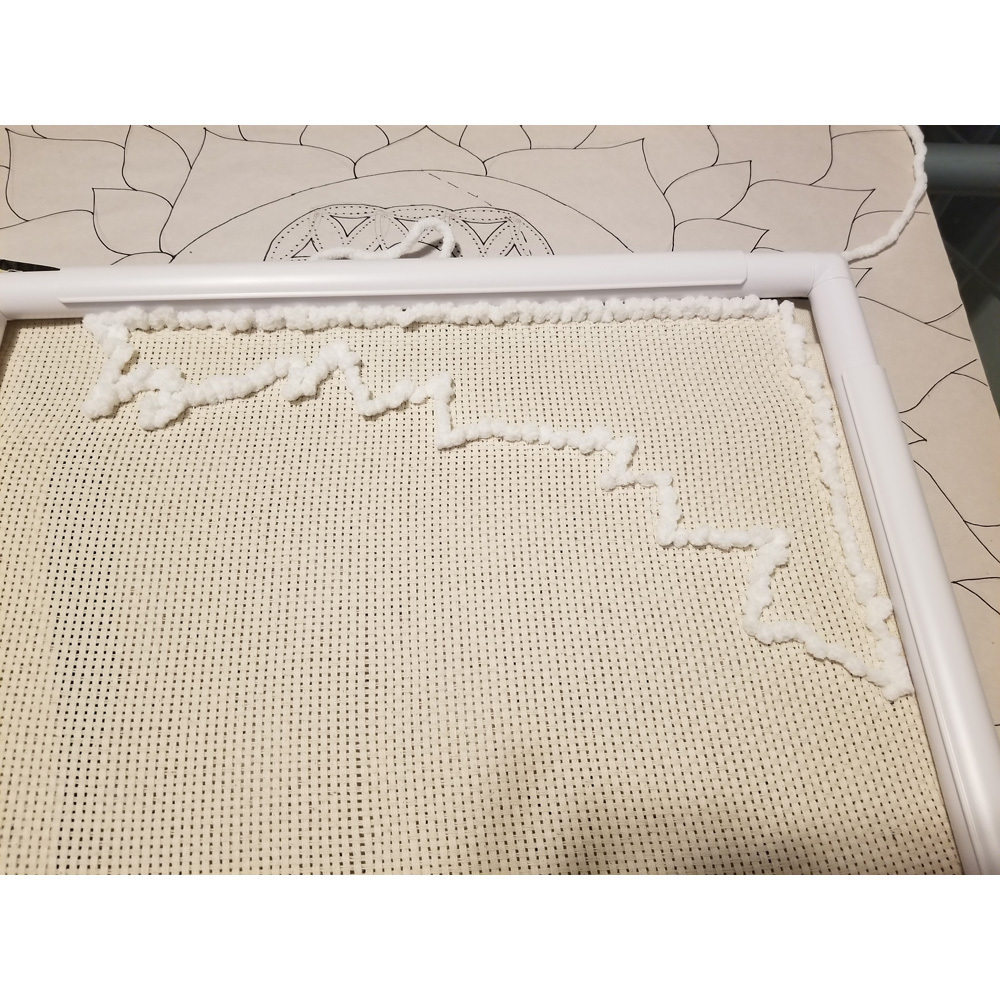
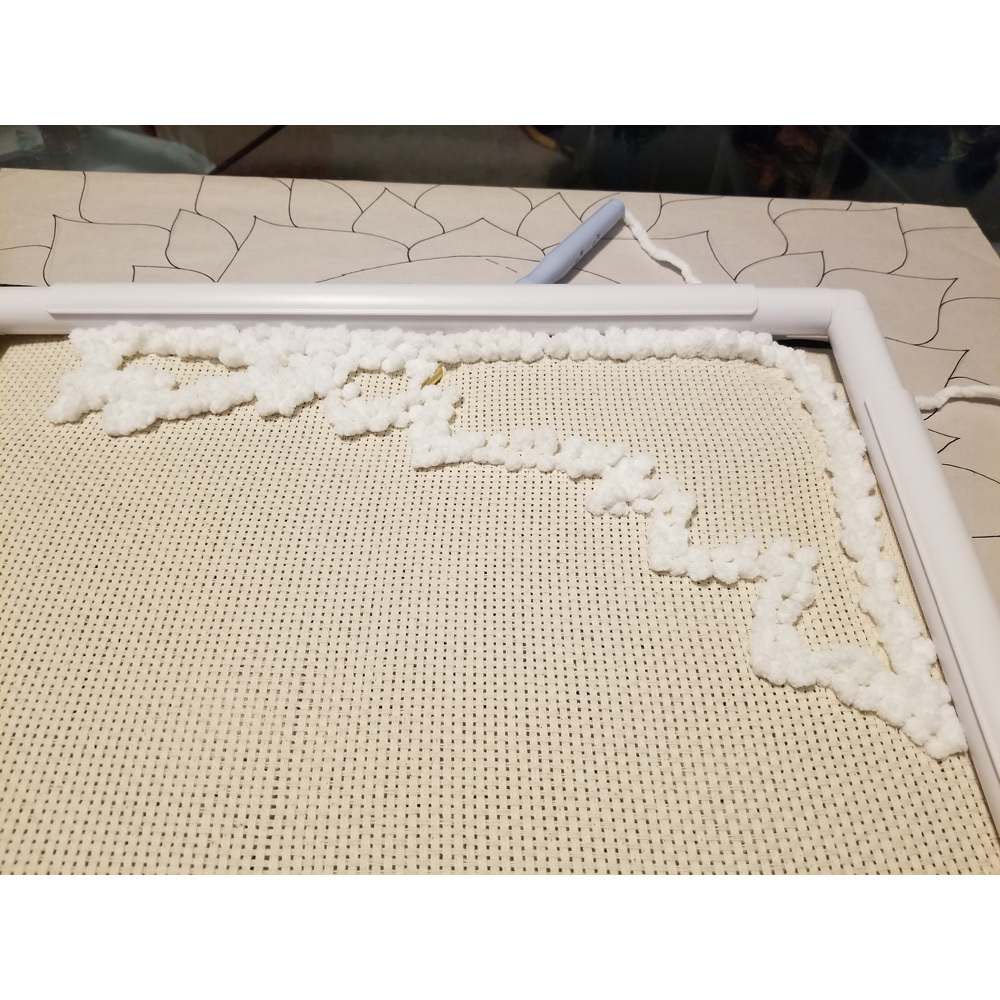
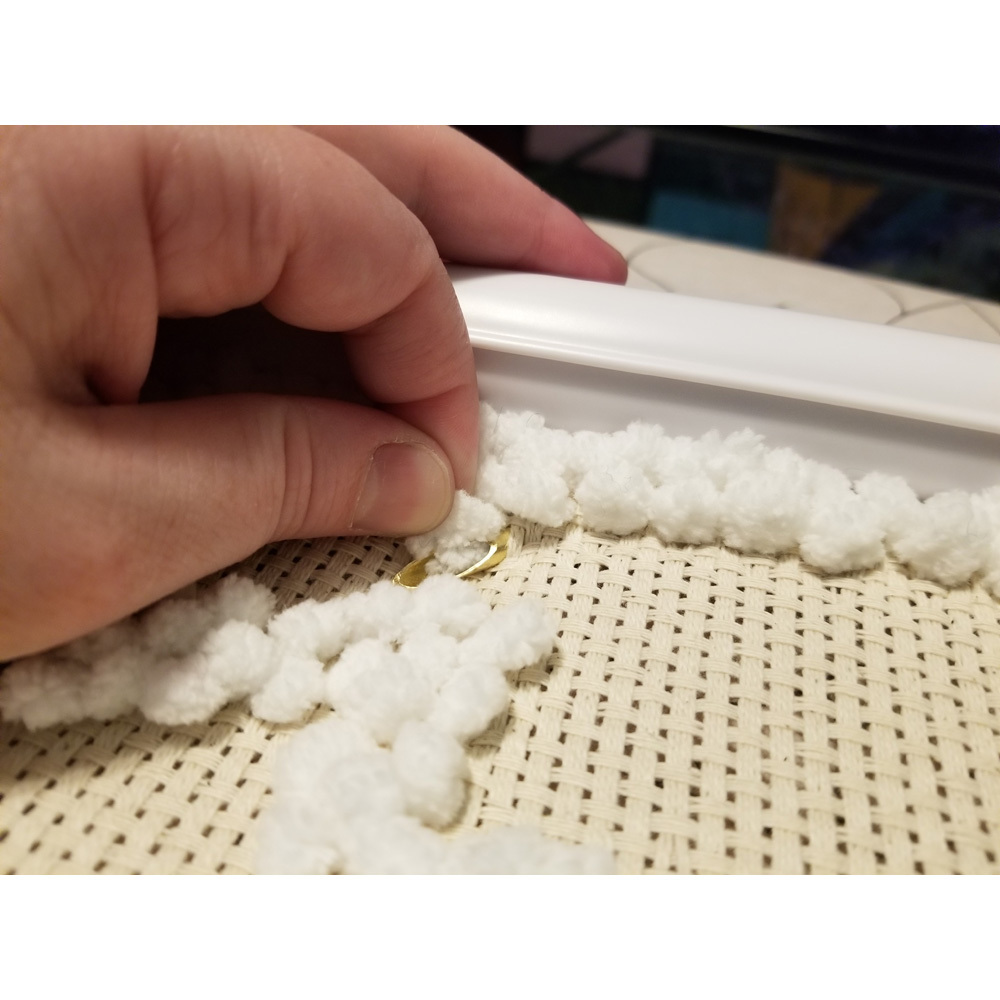
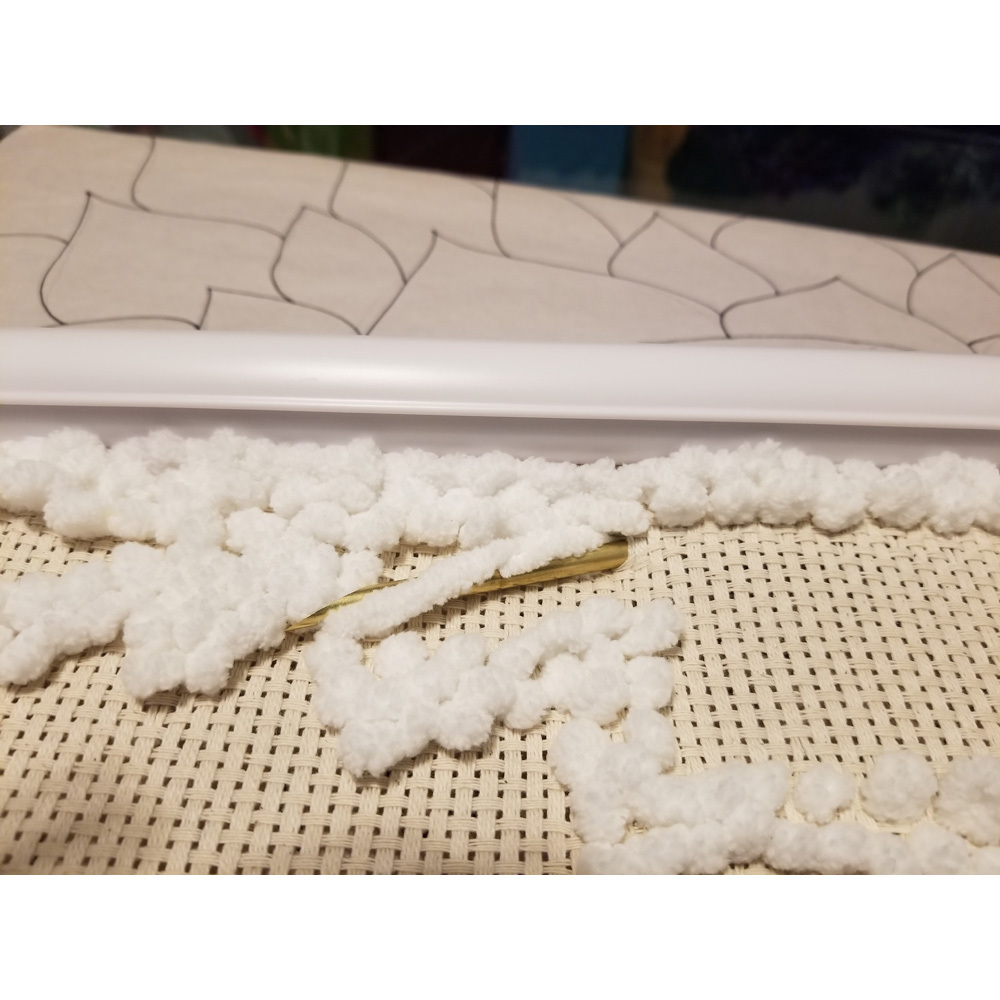
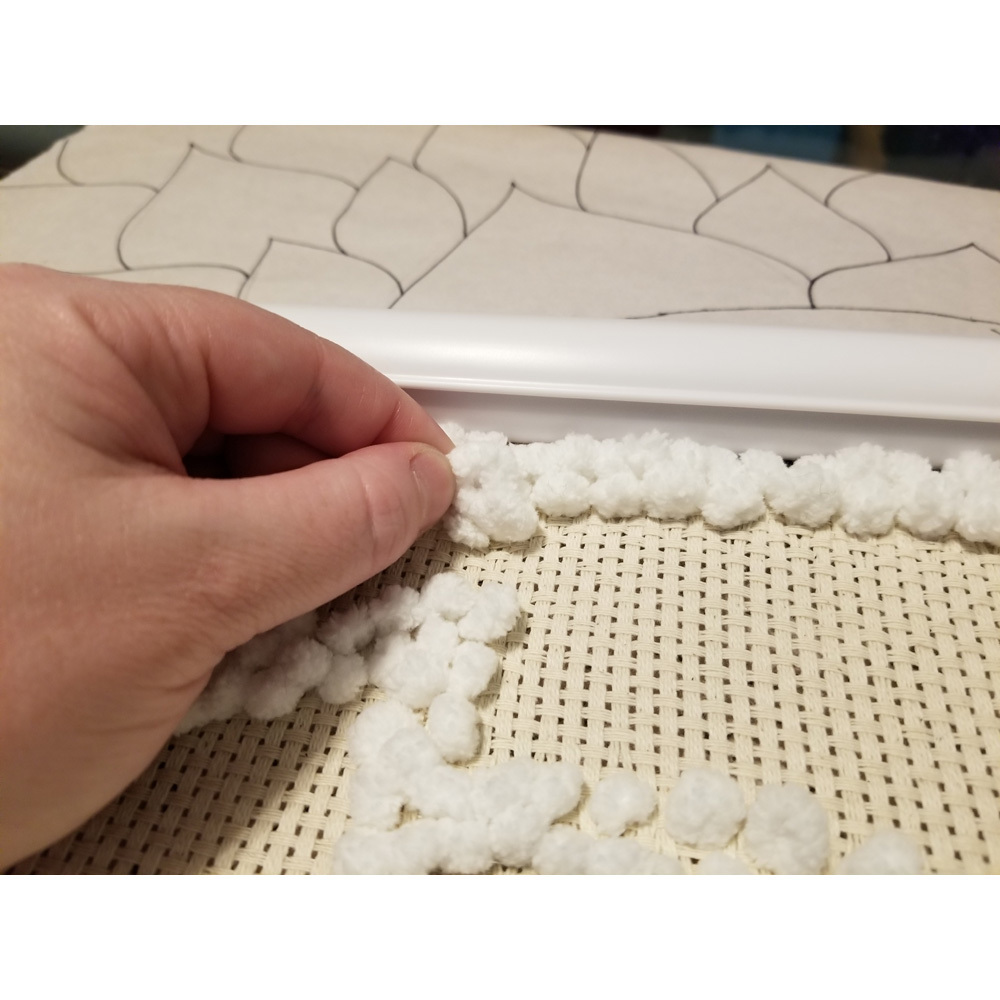
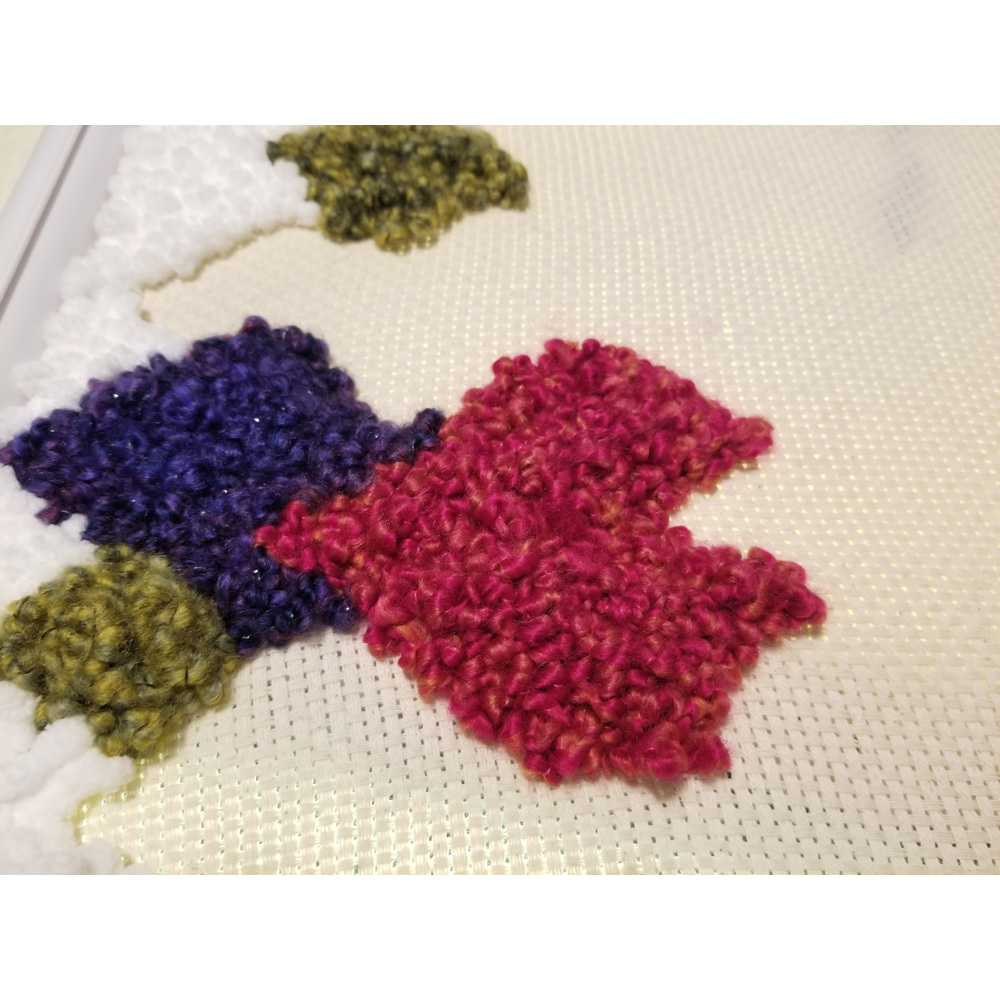
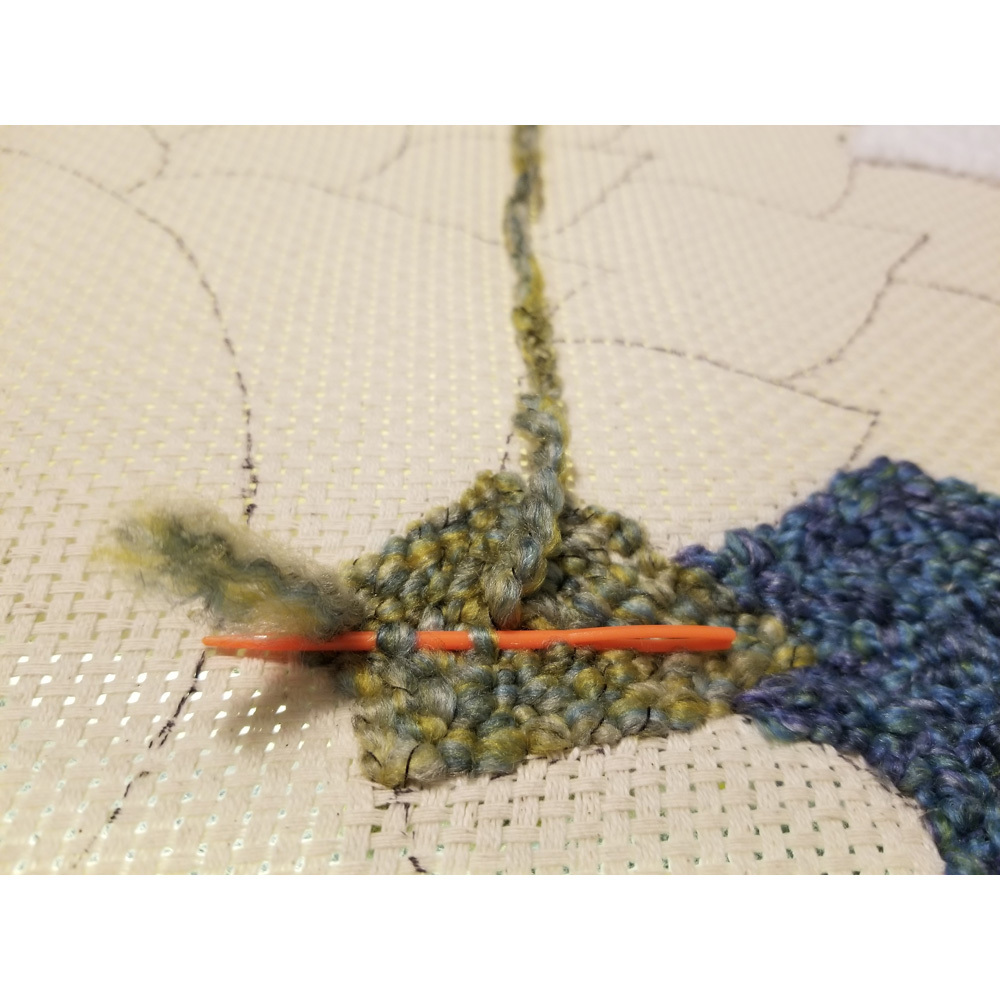
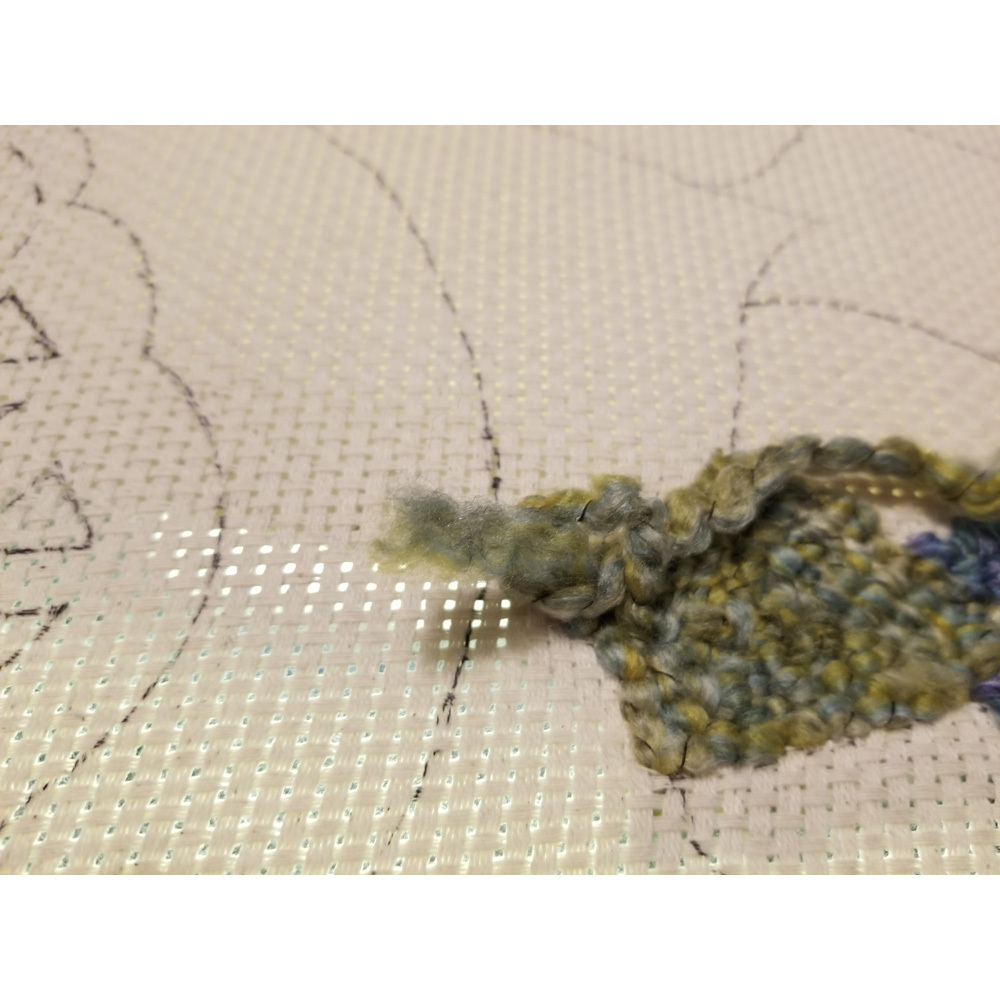
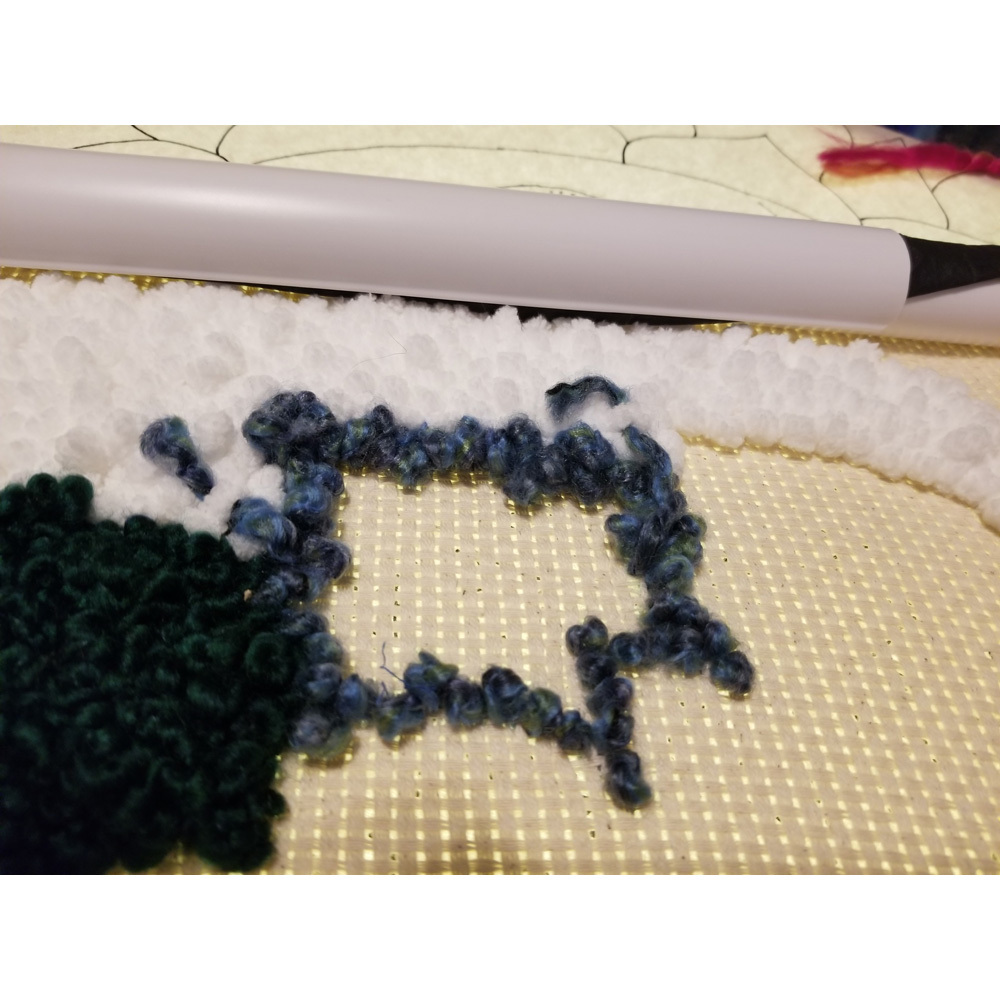
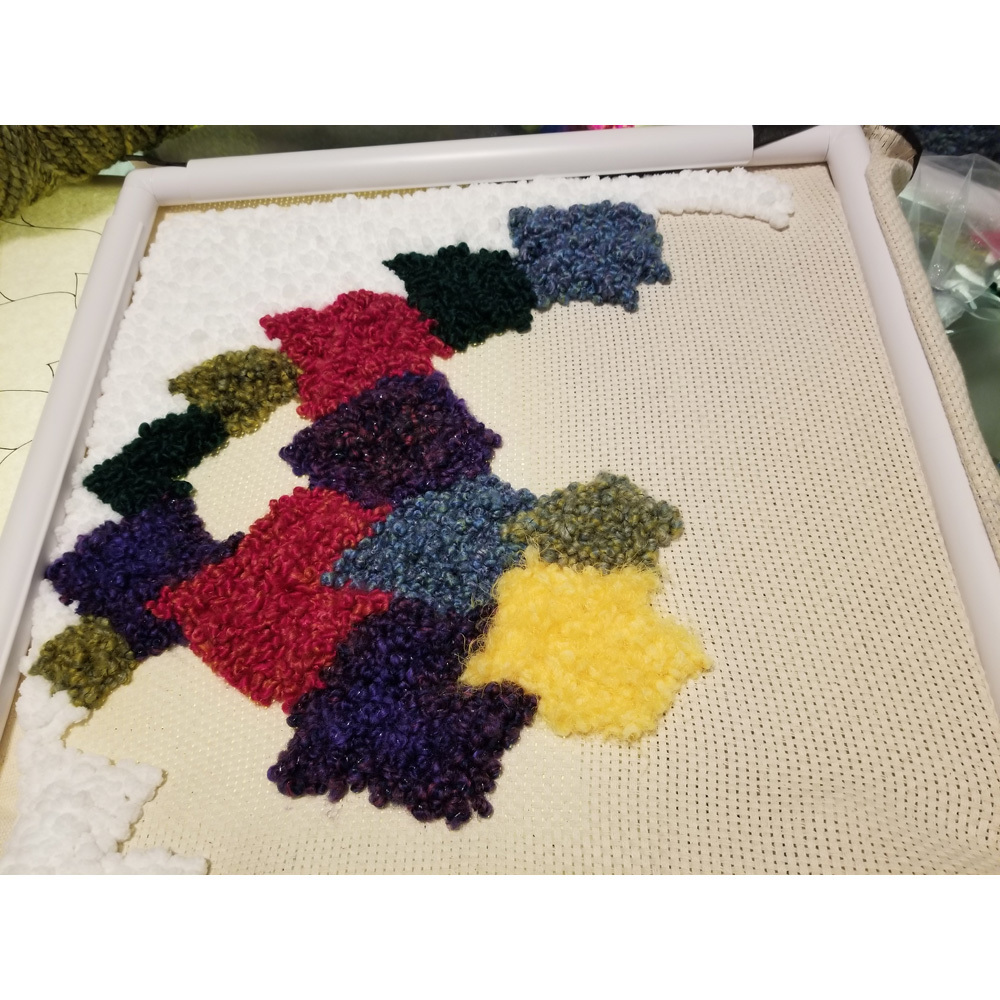
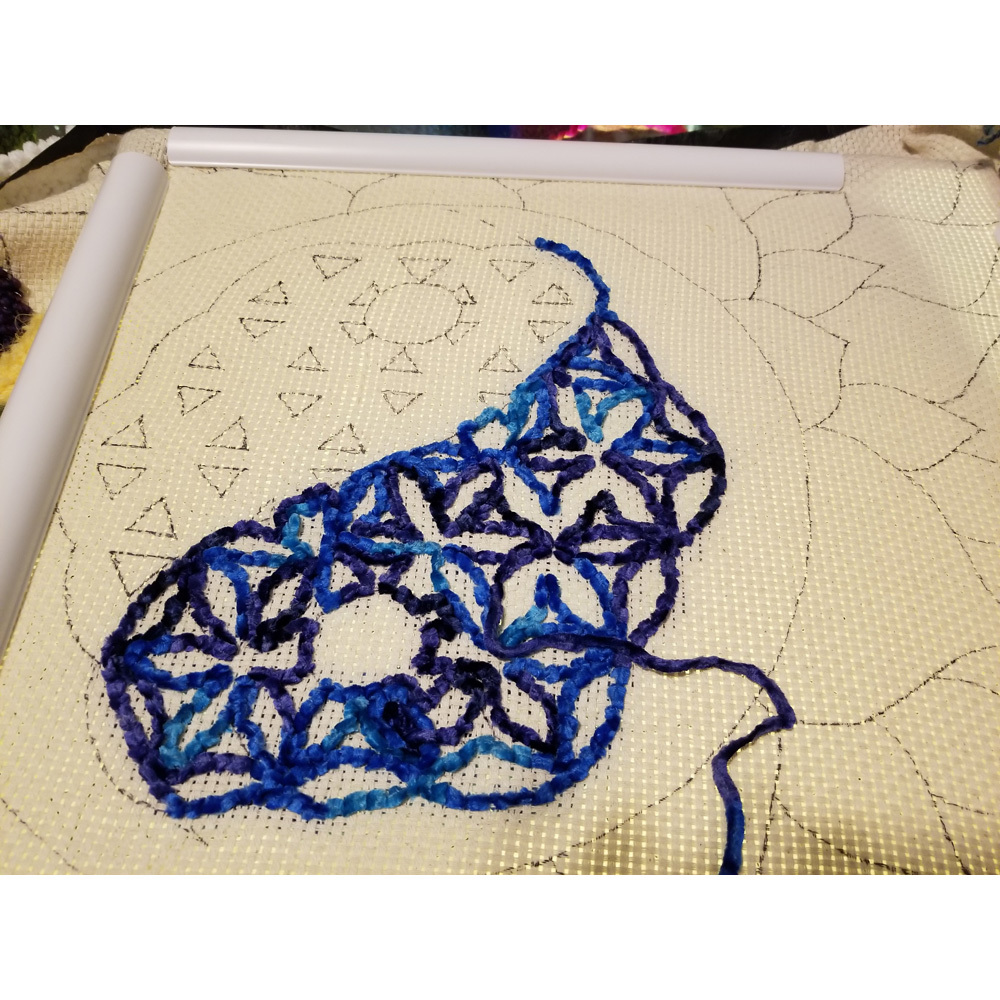
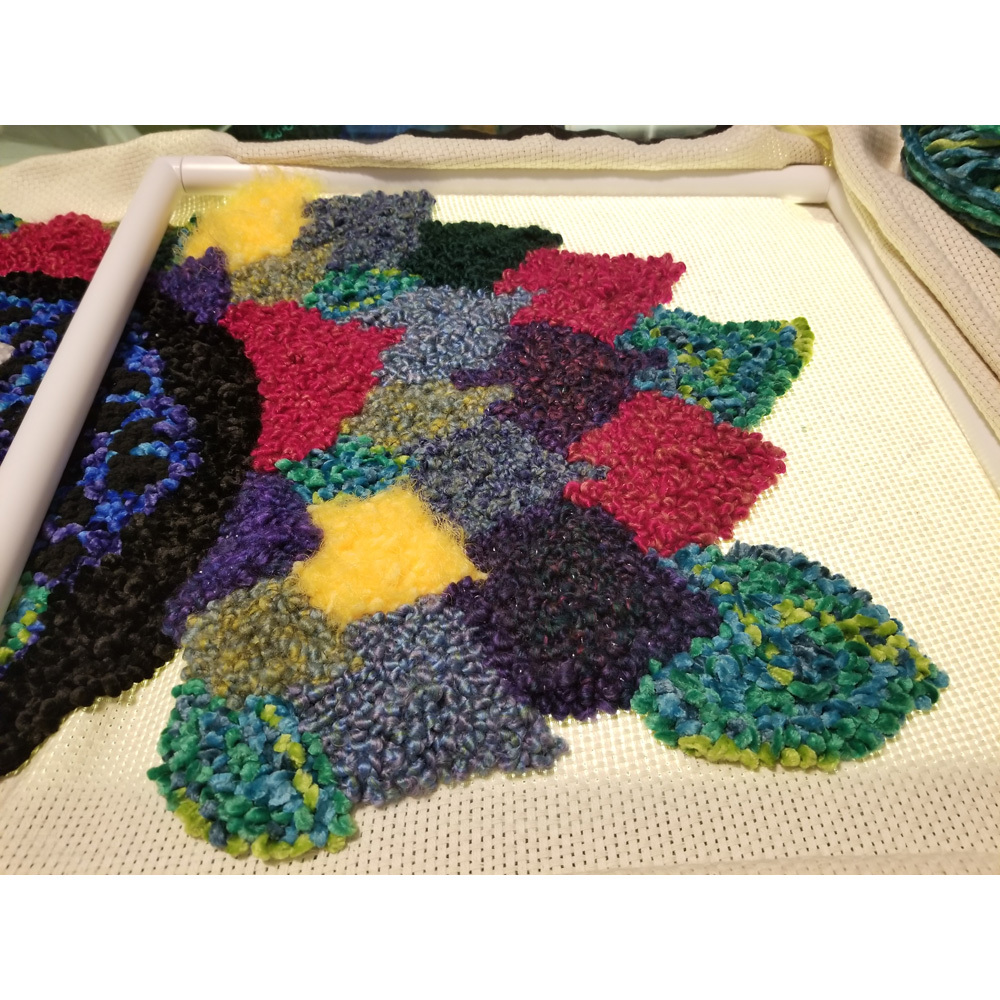
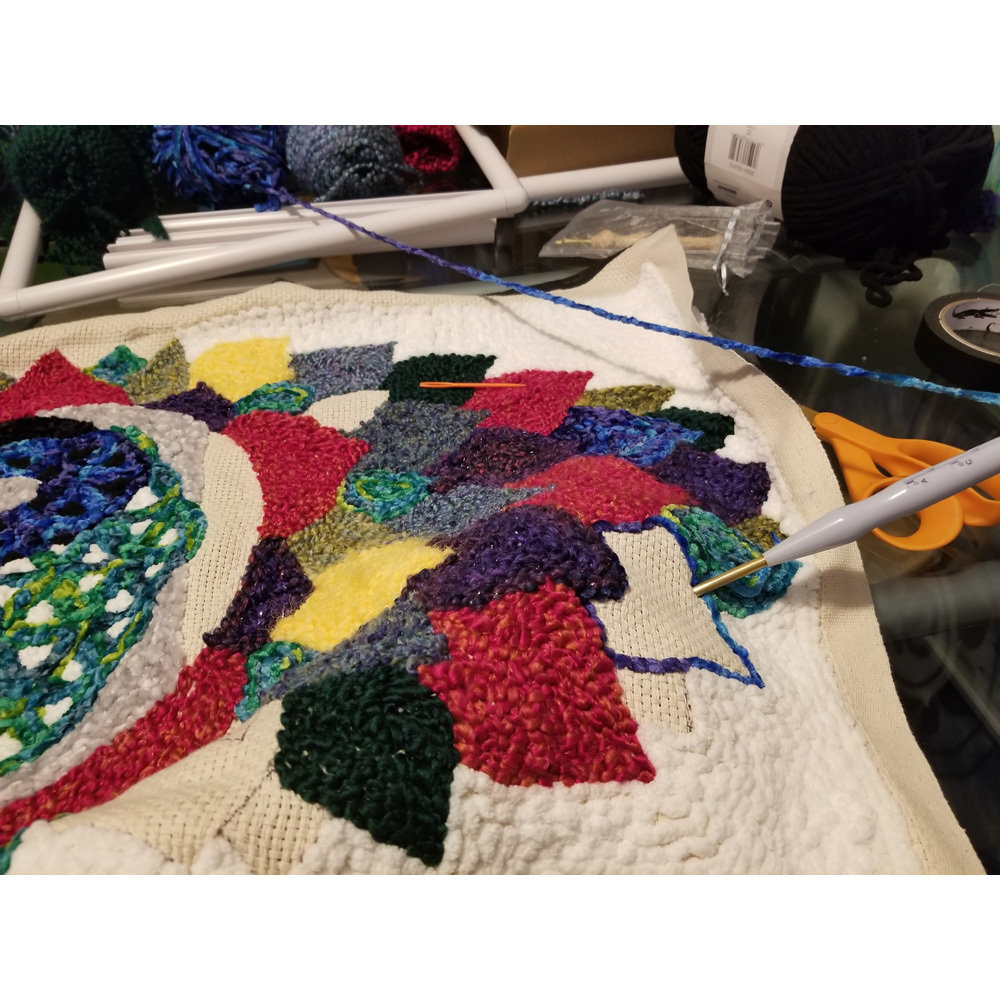
Once I was ready to start I picked the chunky white baby blanket yarn and used the threader to pull it through the needle and the eye. I would punch the monks cloth with the threaded needle and hold the loop on the front side so it did not come undone. Then I would pull the punch needle out of the cloth carful not to lift it away from the canvas. Then I would make another stitch and hold that loop. The monks cloth will hold the loops in place after they are stitched, but it is also very forgiving. This means if you make a mistake you can pull out all your stiches with ease. Thus, I would hold the loops while I was stitching them to make sure they didn’t come out while I was stitching the next loop.
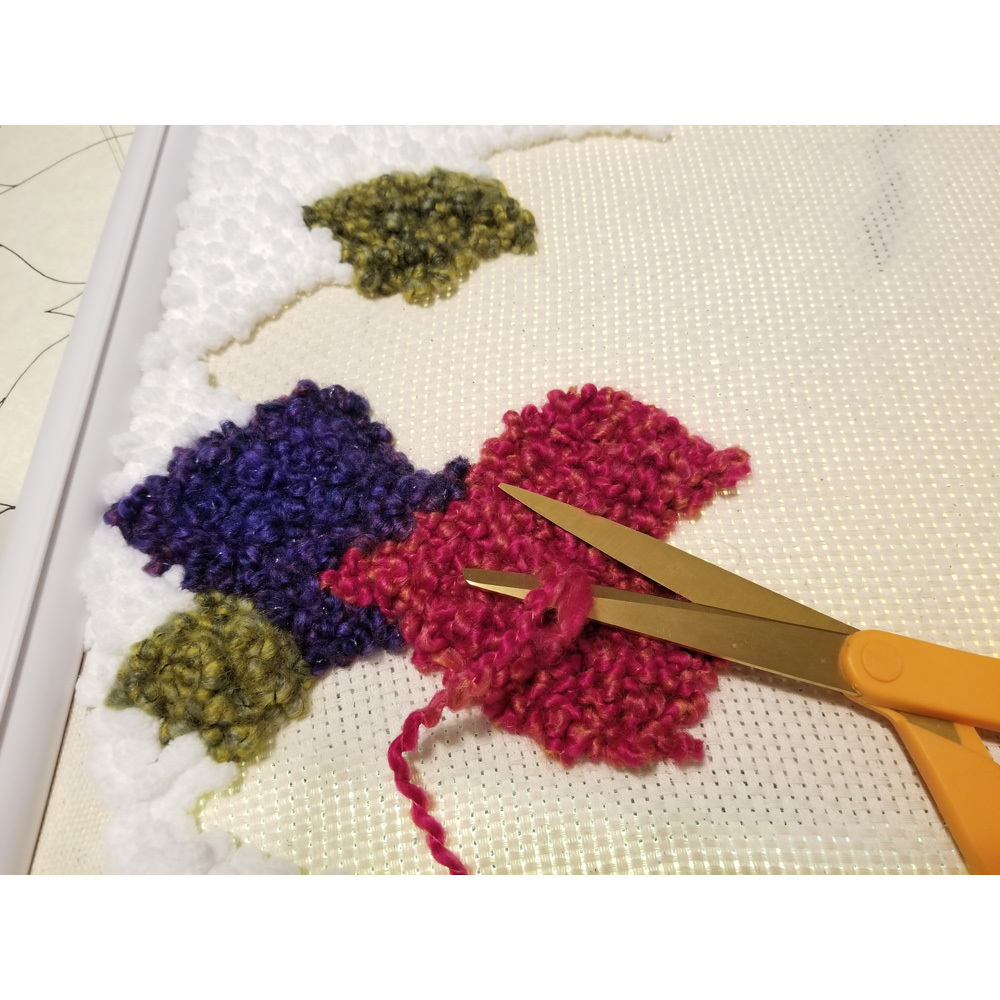
The pattern for stitching would depend on the shape I was working with. Normally, I would stitch around each section and move inward in a spiral motion until there was no cloth left. Once I was done with each section I would carefully bring my end piece back to the starting piece to tie them off. Once each section was secured I would use a darning needle to thread the yarn ends to the front. Then I would trim them to the same height as the loops.
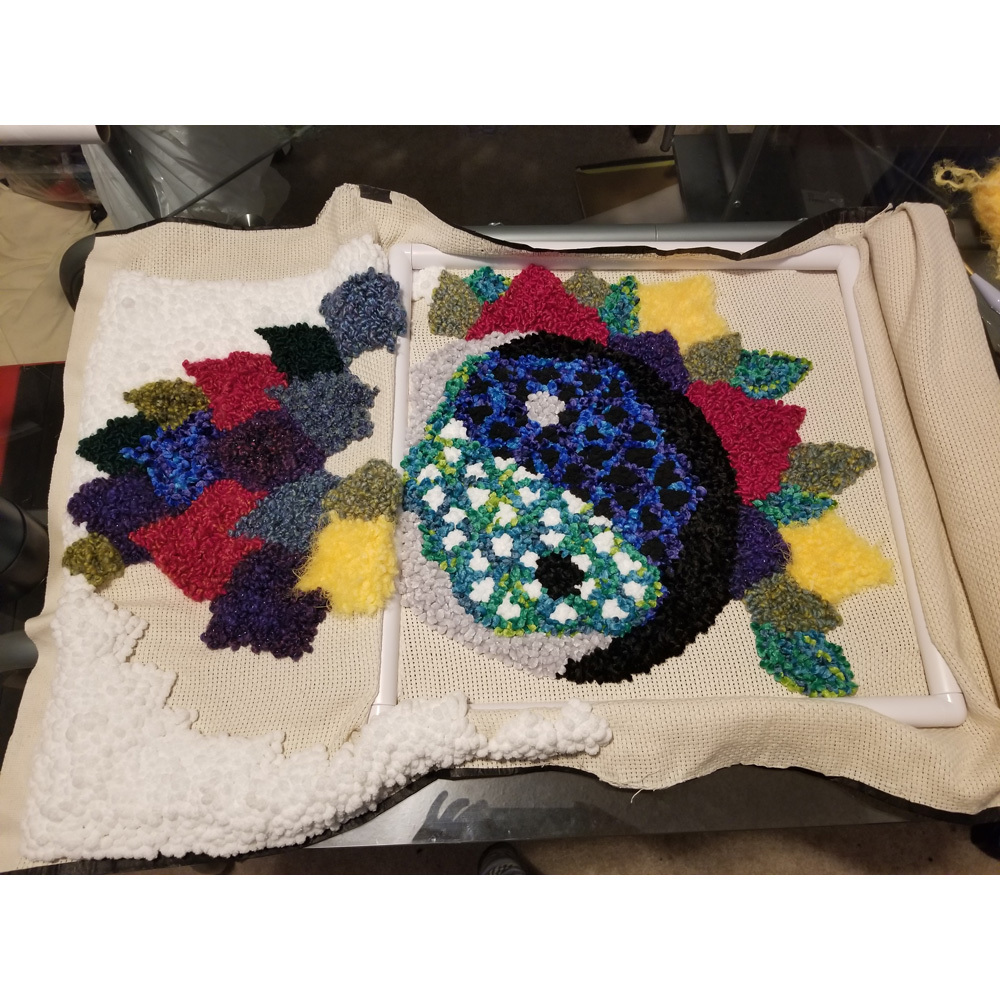
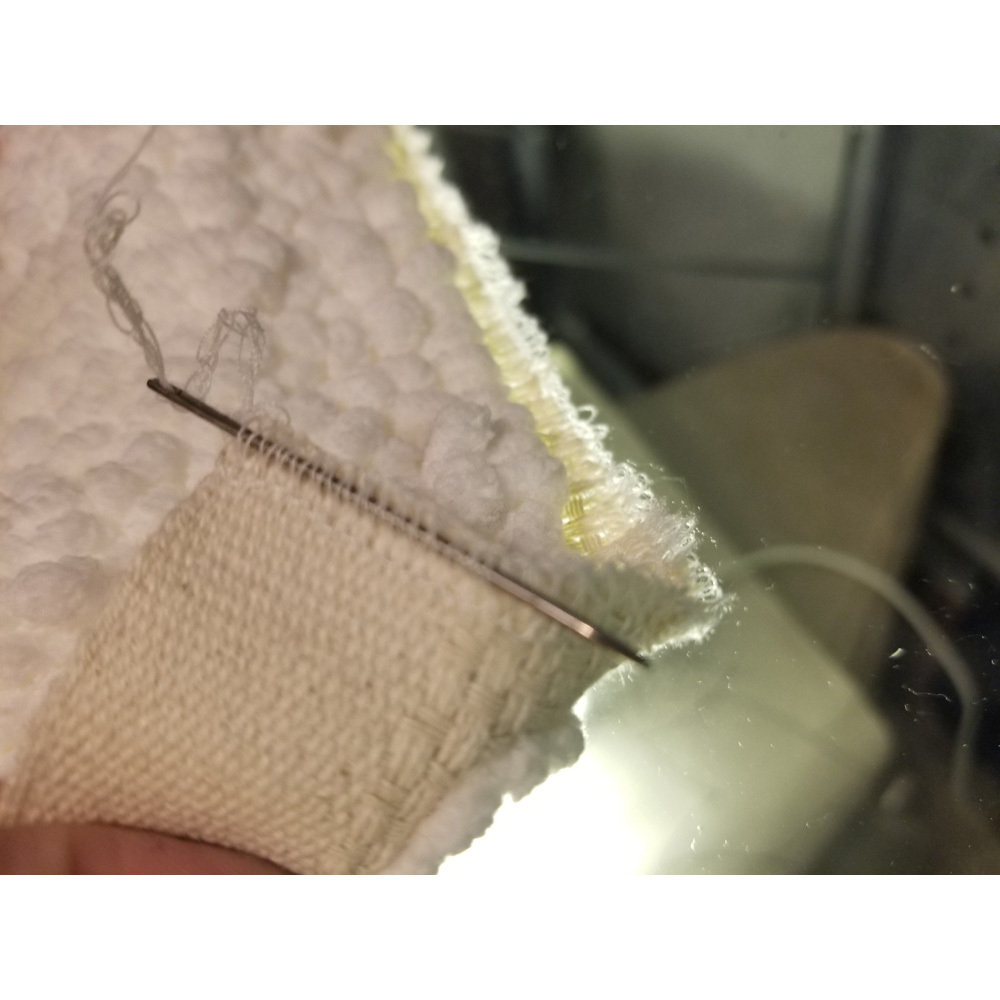
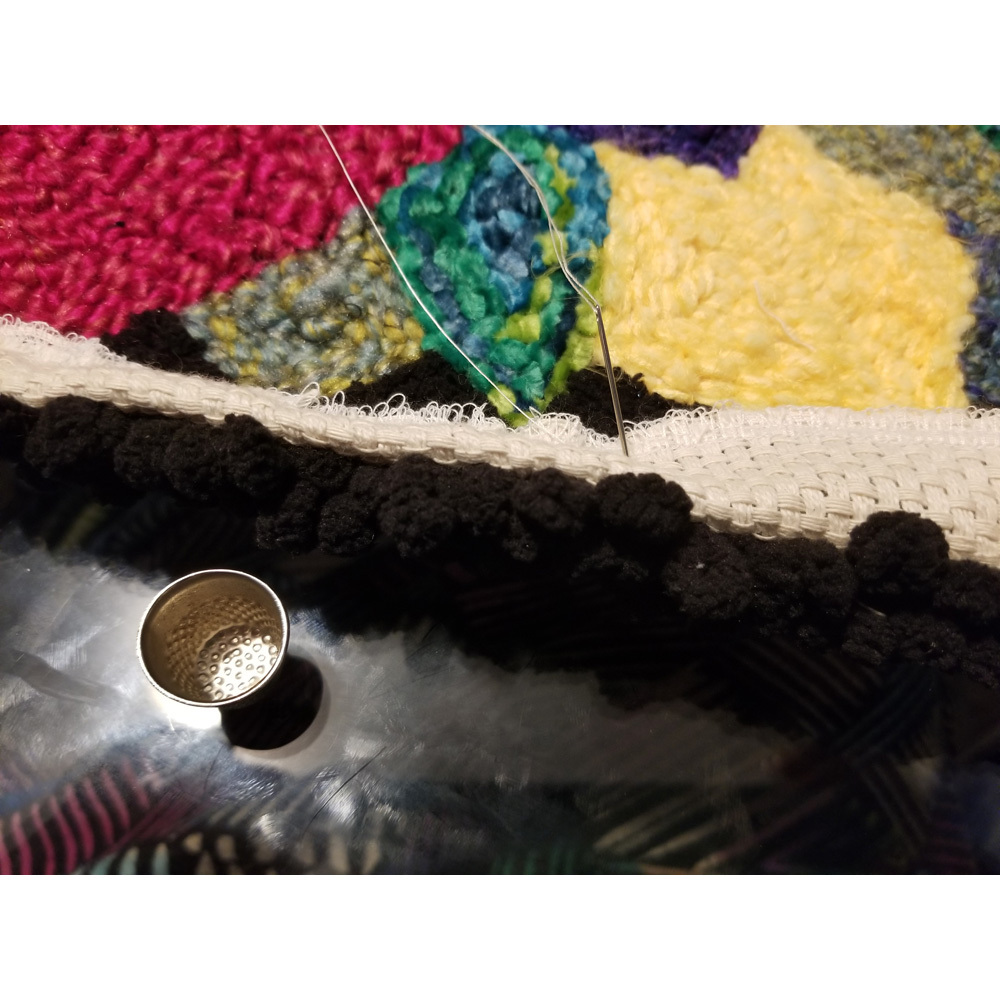
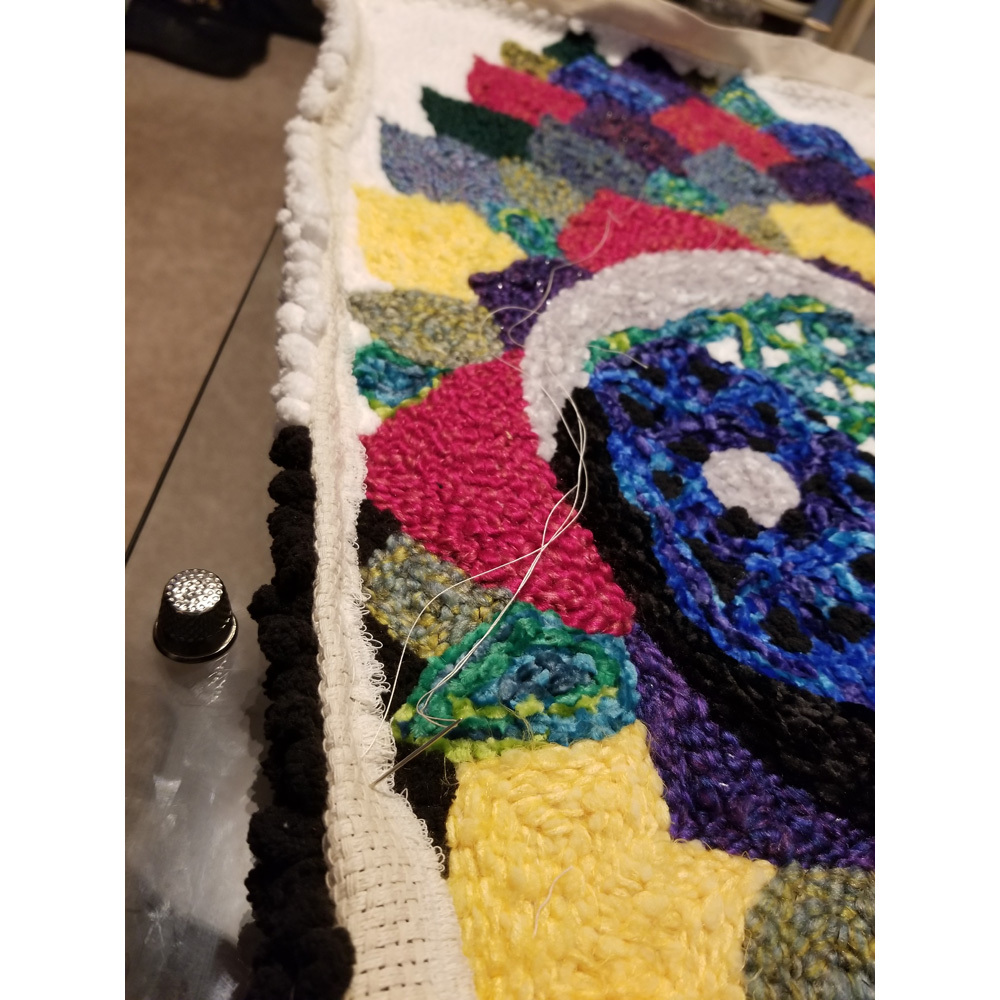
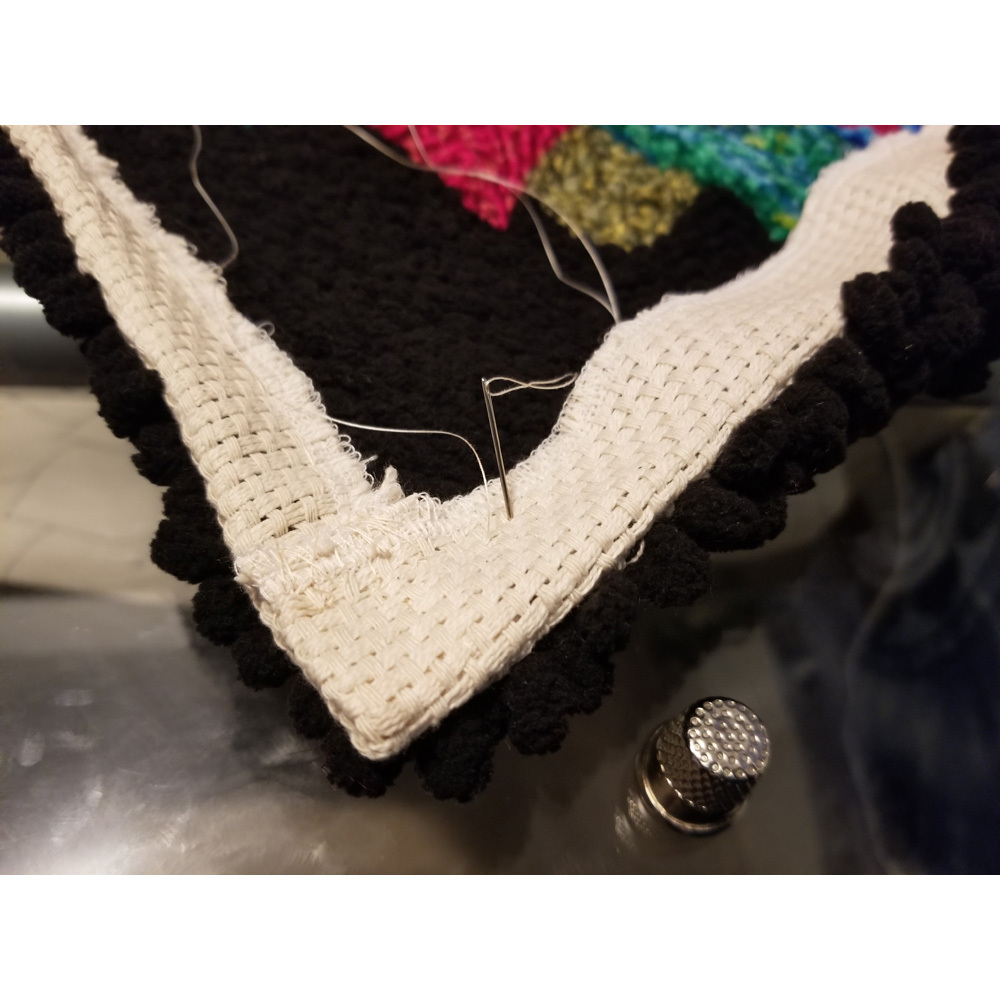
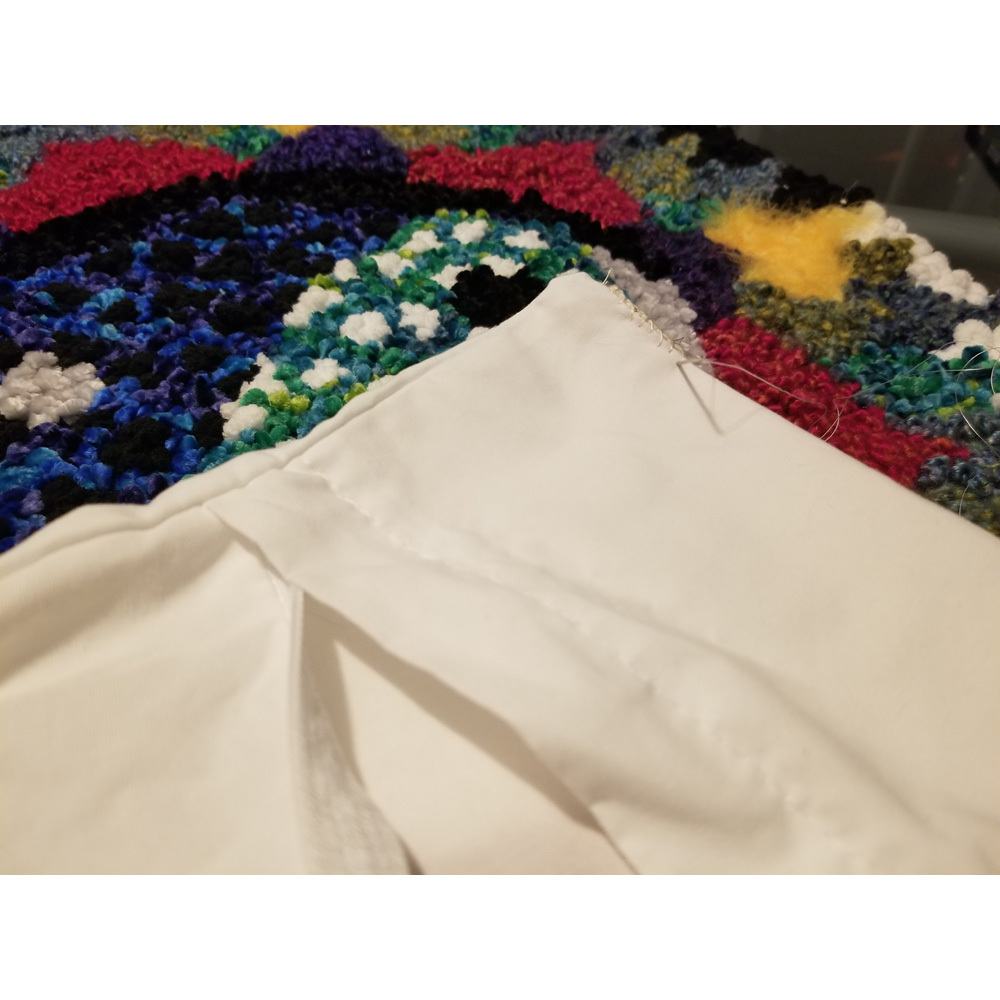
Days of stitching went by and I was able to bring my sketch to life on the monks cloth with soft and vibrant hues of yarn. I then ran the edges through my surger and used a darning needle to thread the ends through the near by stitches. At this point I was left with a little under an inch on monks cloth around the edges. I tacked these edges of monks cloth onto the back side of the punch needle art and I sewed it in place by hand. I then got out a king sized zippered pillow cover and matched up the ends. Since the zipper was not on the edge I was able to sew–yet again by hand–the monks cloth to the edges of the pillow cover. As you would be able to see these stitches on the final product I used white silk thread, and I used two threads instead of one to ensure each stitch would have greater strength.
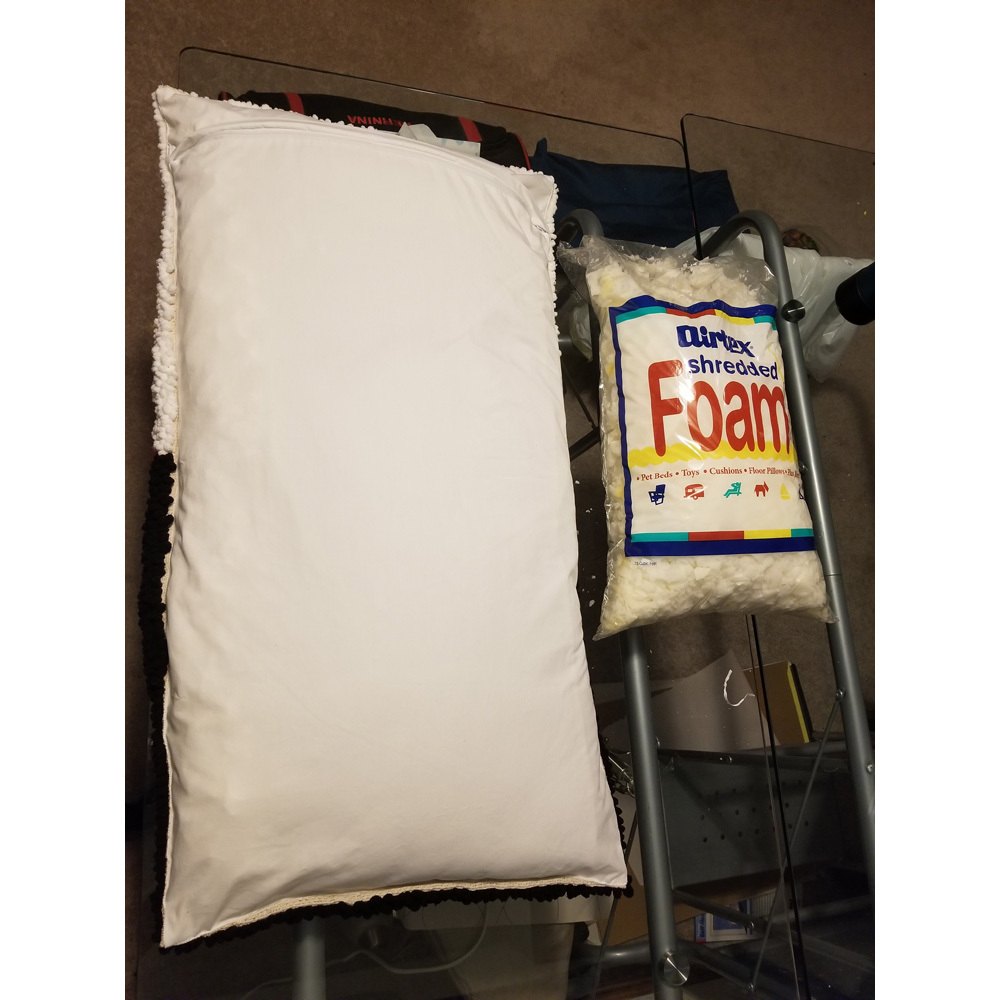
Once I had the punch needle art attached to the zippered pillow cover I was able to fill it with shredded foam. In the end I was left with a beautiful, soft and handmade pillow that I would gain contact comfort from in the years to come. It was a wonderfully fulfilling activity and I love what I was able to produce with a little bit of patience and diligence. Hard work has a way of turning out for the best when one puts their mind to it.






Beautiful work! When did you discover this craft? Decades ago I started a few rugs using this technique, but lost interest and never finished any.